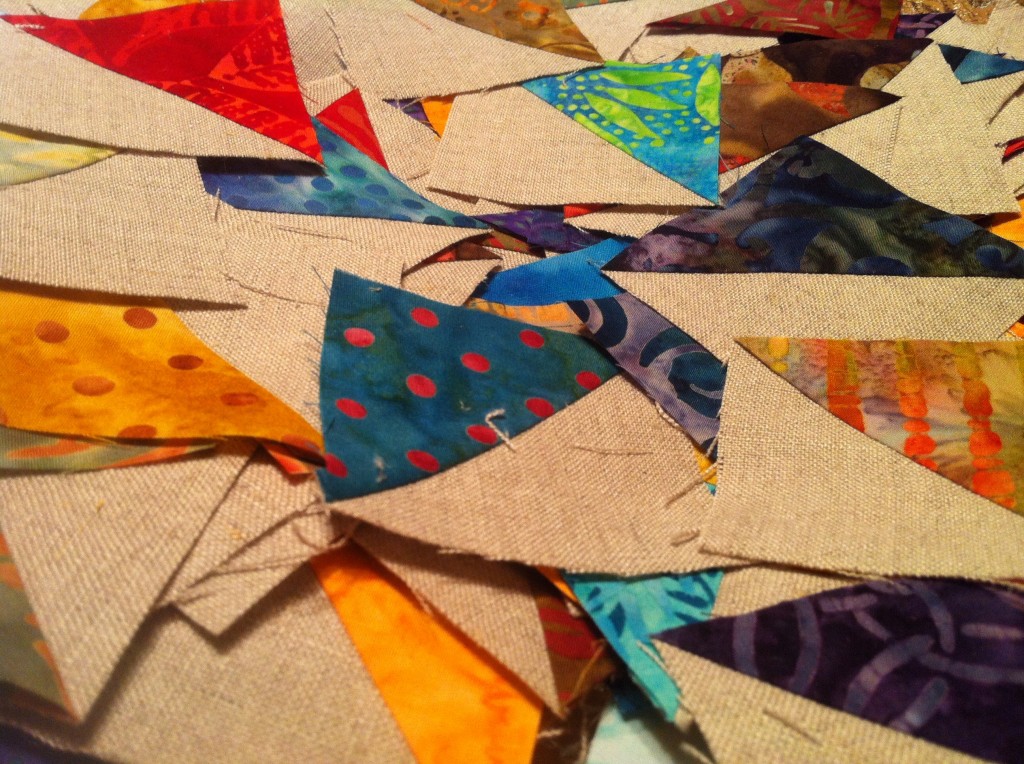
 There aren’t really too many challenges quilters face that can repeatedly frustrate us—unless we’re talking about the Dreaded HST. (It even sounds like a disease that could be featured in a movie like Contagion.)
Yep, those Dreaded HSTs are enough to send us screaming from our sewing machines, pulling at our hair as we race for the anti-deps in the med cabinet. Why? Well, it’s a little quirk in fabric called bias and it’s a b-atch to deal with on a regular basis. Also, because you’re sometimes sewing points under your presser foot, it’s easier to have your needle shove that point of fabric into your machine’s bed instead of passing it smoothly under the stitching. (Tip: ALWAYS use a fresh needle for pointy pieces!)
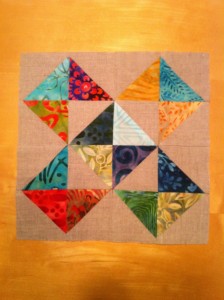
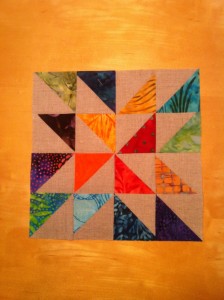 I guess the bigger question becomes why should we bother with the Dreaded HSTs in the first place? Simple. Because so many of our best and brightest patchwork blocks include Dreaded HSTs. Triangles add another line of interest in an otherwise straight world and the creative potential of working with diagonals gives us Ohio Stars, Flying Geese and Ocean Waves blocks, to name a few.
That’s why there are soooo many tools and techniques out there in our q-world devoted solely to mastering the creation of the perfect HST.
This week, we’re featuring two different but related techniques using easily found products to make the HST here: ruler and paper-piecing. Each approach has two variations.
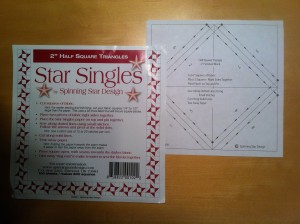
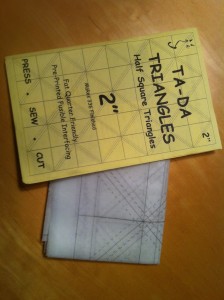 Today we’re looking at the paper-piecing methods. Star Singles uses pre-printed squares and Ta-Da Half Squares uses fusible interfacing with a printed pattern. Each method begins a little differently, but then proceed in exactly the same way, which is why we’ll show you the entire process using the Star Singles.
When you know what size you want your finished HST to be (common sizes are 1”, 1 ½”, 2” and 3”) choose the paper-piecing product that will create that size. Both Star and Ta-Da come in varied sizes. We’ll be making 2” finished HST, (which are 2 ½” before being sewn into a block).
1. Cut squares from two different fabrics at the size specified on the package. (6 ¼” squares for the Star Singles papers) 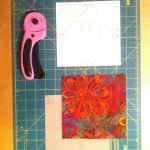
2. Place squares right sides together and add paper creating three layers all lined up. Pin in center. 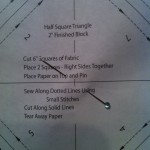
3. Lower stitch length to 1.8 or 1.5. The smaller stitch length helps perforate paper for easier removal later.
4. With paper facing up, start at 1 and sew along dotted line. 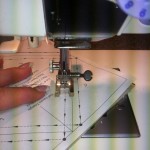 At corner, needle down and pivot sandwich. Continue along 2 and repeat pivot at next corner. Continue along remaining six lines until all dotted lines are sewn.
5. Cut sandwich carefully along every solid line. Trim outside seam allowance first, then cut squares into halves and last along the diagonal line. 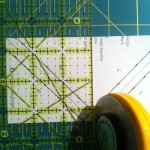
6. You now have (8) half square units. Carefully fold then tear each paper along stitching line. Press half square open with triangle to the darker seam on front, taking care to not stretch the HST. 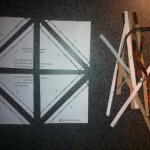
To use the Ta-Da fusible, following instructions for ironing, iron to the wrong side of a length of fabric. You can trim down the product to squares, like the Star Singles, or work with a larger piece if you’re trying to create many HSTs of the same combo at once. One the interfacing is adhered to one fabric, layer it on top of another fabric cut to the same dimensions and right sides together, pin and sew along the lines, following the numbers on the fusible side. The stitching pattern is exactly the same as the Star Singles, but if you’re working with larger pieces of fabric, you can more efficiently stitch through several sets at once. With Ta-Da, you don’t remove the interfacing; it’s thin enough that it just becomes part of the project.
Star Singles works great for many different fabrics and Ta-Da really excels at producing many HSTs from two different fabrics at once. Both are excellent and easy to use. Neither are reusable.
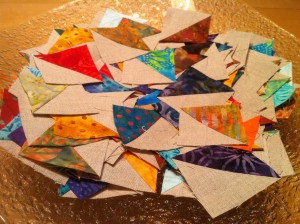
I’m working on a sampler of linen and batik HST blocks. Using Star Singles, I was able to create almost 500 HST in an hour. I had my kid help tear the papers off during a guild meeting and voila! No pain and all gain.
Ta-Da Half Squares can be bought directly from the company, Ta-Da Quilt Products, (952) 232-0667. Each package costs $6.99 and how many HST are made depends on the finished size. For the 2” that we used, each package makes 336 HST. Ta-Da also makes printed fusibles to create binding strips and quarter-square triangles, and has a huge range of finished sizes.
Star Singles can be purchased through Brewer Quilting & Sewing Supplies at (800) 676-6543. Each package sells for $10 and range in how many sheets and HSTs can be made. The smaller the size of the HST the larger the number of finished HSTs made from each package. For the 2” size, 100 sheets will make 800 finished HSTs.
Tune in tomorrow for Part 2 of the Dreaded HSTs. We’ll play with ruler techniques and give you all some links to other options.


COMMENT #1
I had slogged through the traditional way of making these pieces and was particularly sick of squaring them up. I searched YouTube and found a quicker way of making them.
COMMENT #
too bad that the video is no longer available…
COMMENT #2
I love both of these products! But here’s a couple tips for the Star singles (or any other paper, one-use HST aid).
Pin the paper against the lighter-colored fabric. Then, after sewing and cutting, press the units open BEFORE removing the paper. The paper helps stabilize the bias seam, so there’s less chance of distortion. And by having the paper next to the light fabric, the seam allowance goes right under the dark fabric automatically!
COMMENT #3
Your name for these nasty things is slightly nicer than mine. Think I’ll adopt yours and try a few of these methods – thanks!
COMMENT #4
Ooh, great tips, thank you
COMMENT #5
I’ve tried TaDa triangles and they work amazingly well. There is also a product called Thangles that works well, it is much like the paper version you showed.
I have to tell you the link to TaDa does not work .
COMMENT #6
Hi Jake – great post. I just finished a Lady of the Lake quilt for my great niece – all HST. I agree – using a tool such as paper piecing does make it easier. I used Triangles on a Roll and Thangles – both similar to the Star Singles you mentioned. But – dang that bias does sometimes give me fits – even though they were sewn & cut on the lines, a few just wanted to be contrary and look totally wrong. I’m not sure I understand the Ta-Da product – hope you can clarify how you use it – does it function like paper piecing except you fuse to the fabrics instead of pinning?
COMMENT #
Oh Deb, I’d LOVE to see your quilt! I love Lady of the Lake and I bet it’s beautiful. The Ta-Da is like the Stars in that the pattern guides your sewing and cutting, like paper piecing. BUT, it is fused to the fabric so you’re not removing it later on. Dianne below said she’s used it too and really likes it.
COMMENT #7
I like to draw a grid of squares on the light fabric (or paper), then draw the diagonal stitching lines. (Doesn’t work for scraps, obviously.)
Anytime I have used a sew-through-the-paper technique I position the edge of a ruler along the stitches, turn my seam ripper point upside down, and run it along the stitches to score the line. Then I cut the blocks apart. Doing it before cutting the blocks apart helps stabilize it and you can do some LONG scores. Scoring it makes the paper a lot easier to remove. Still a PITA, of course. ;o)