A scalloped border–whether shallow or deep–instantly adds graphic interest to a quilt, and it’s not as hard as it looks. (For scallops in action, take a look at Baby Bubblicious by Victoria Findlay Wolfe in our Fall 2012 issue.)
Now, a scalloped border may not be hard, but it does call for advance planning. Before you start, take a good look at your quilt and decide two things:
A. How many scallops do you want on each side, and
B. Do you want your corners pointed or round?
Once you have these answers, you’re ready to begin.
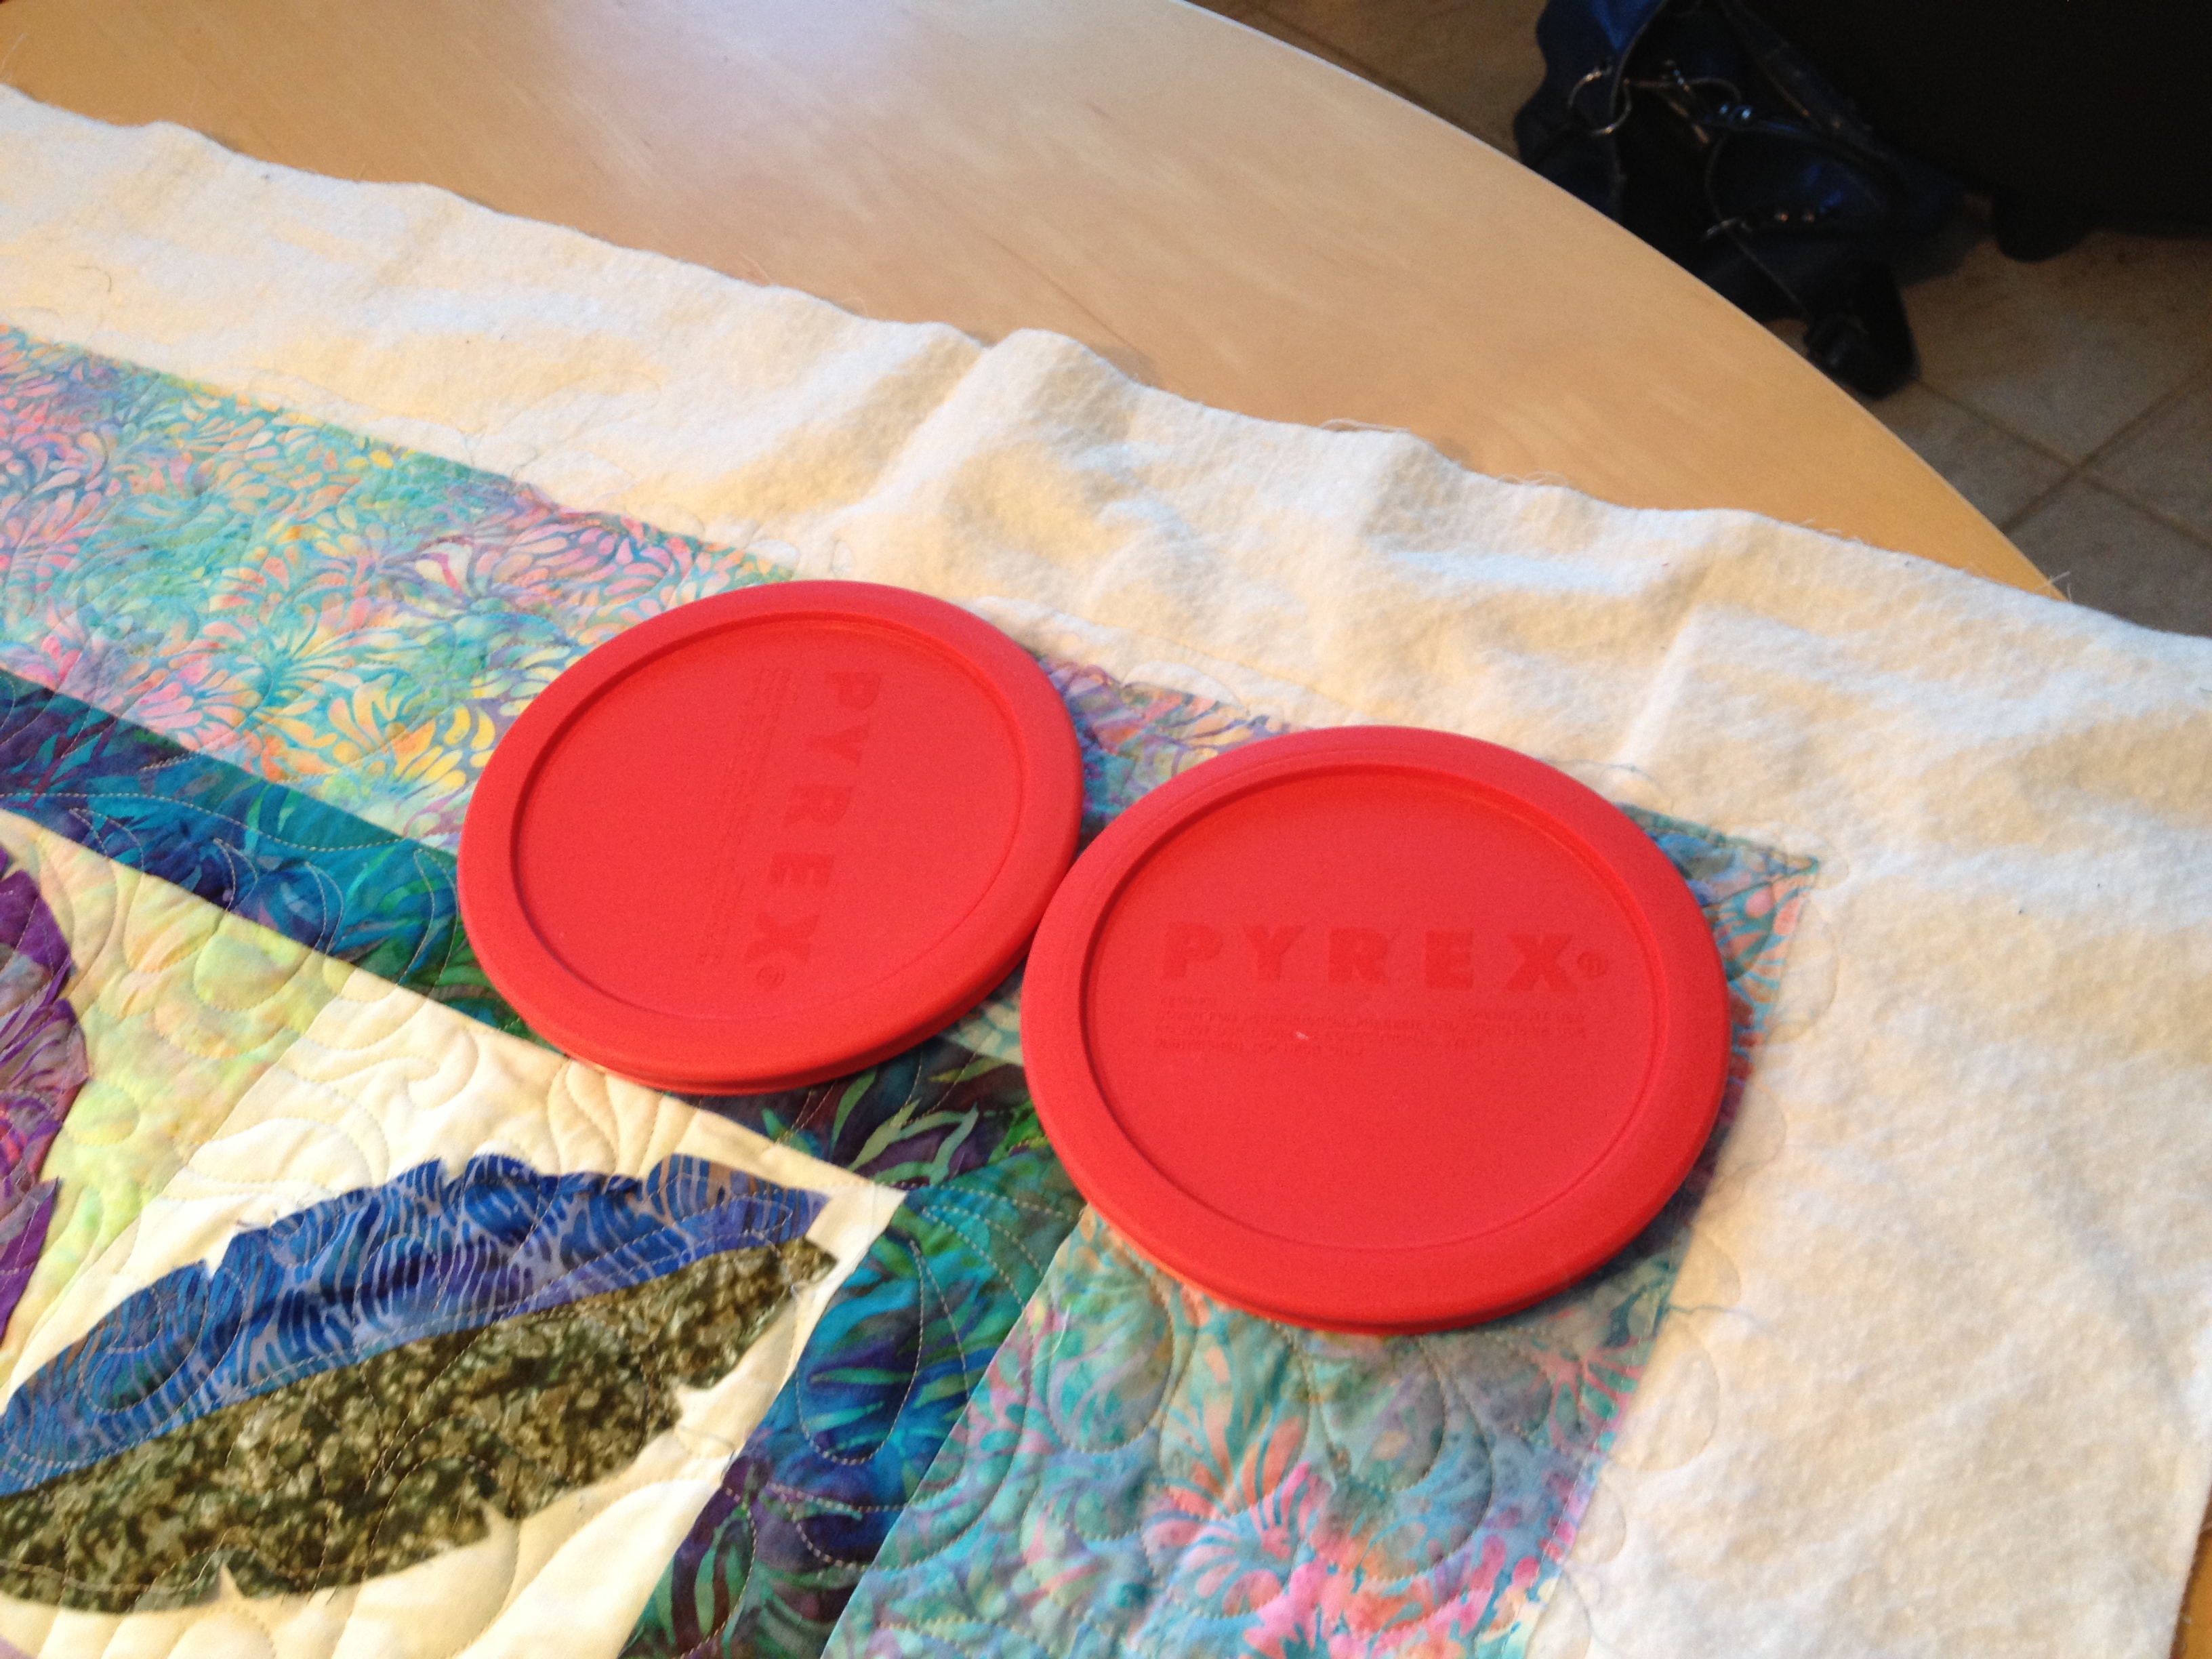
1. Hunt in your kitchen cupboards for round objects you could use as a template. These can be plates, bowls, lids, whatever. Find several different sizes so you can audition different depths of scallops, and if you have 2 “templates” of the same size, this next step gets easier. (Hint: Try items that are either the same or similar size as your block, or 1/2 your block size, 1/3 your block size, etc. Most lunch, salad or dinner plates are roughly 6”, 8”, 9” 10” or 12”, and what are the most common block sizes? You guessed it!)
2. Lay your round object at the edge of your quilt, beginning at the corner. On the quilt in our photographs, I wanted rounded corners, so I centered my template at the corner.
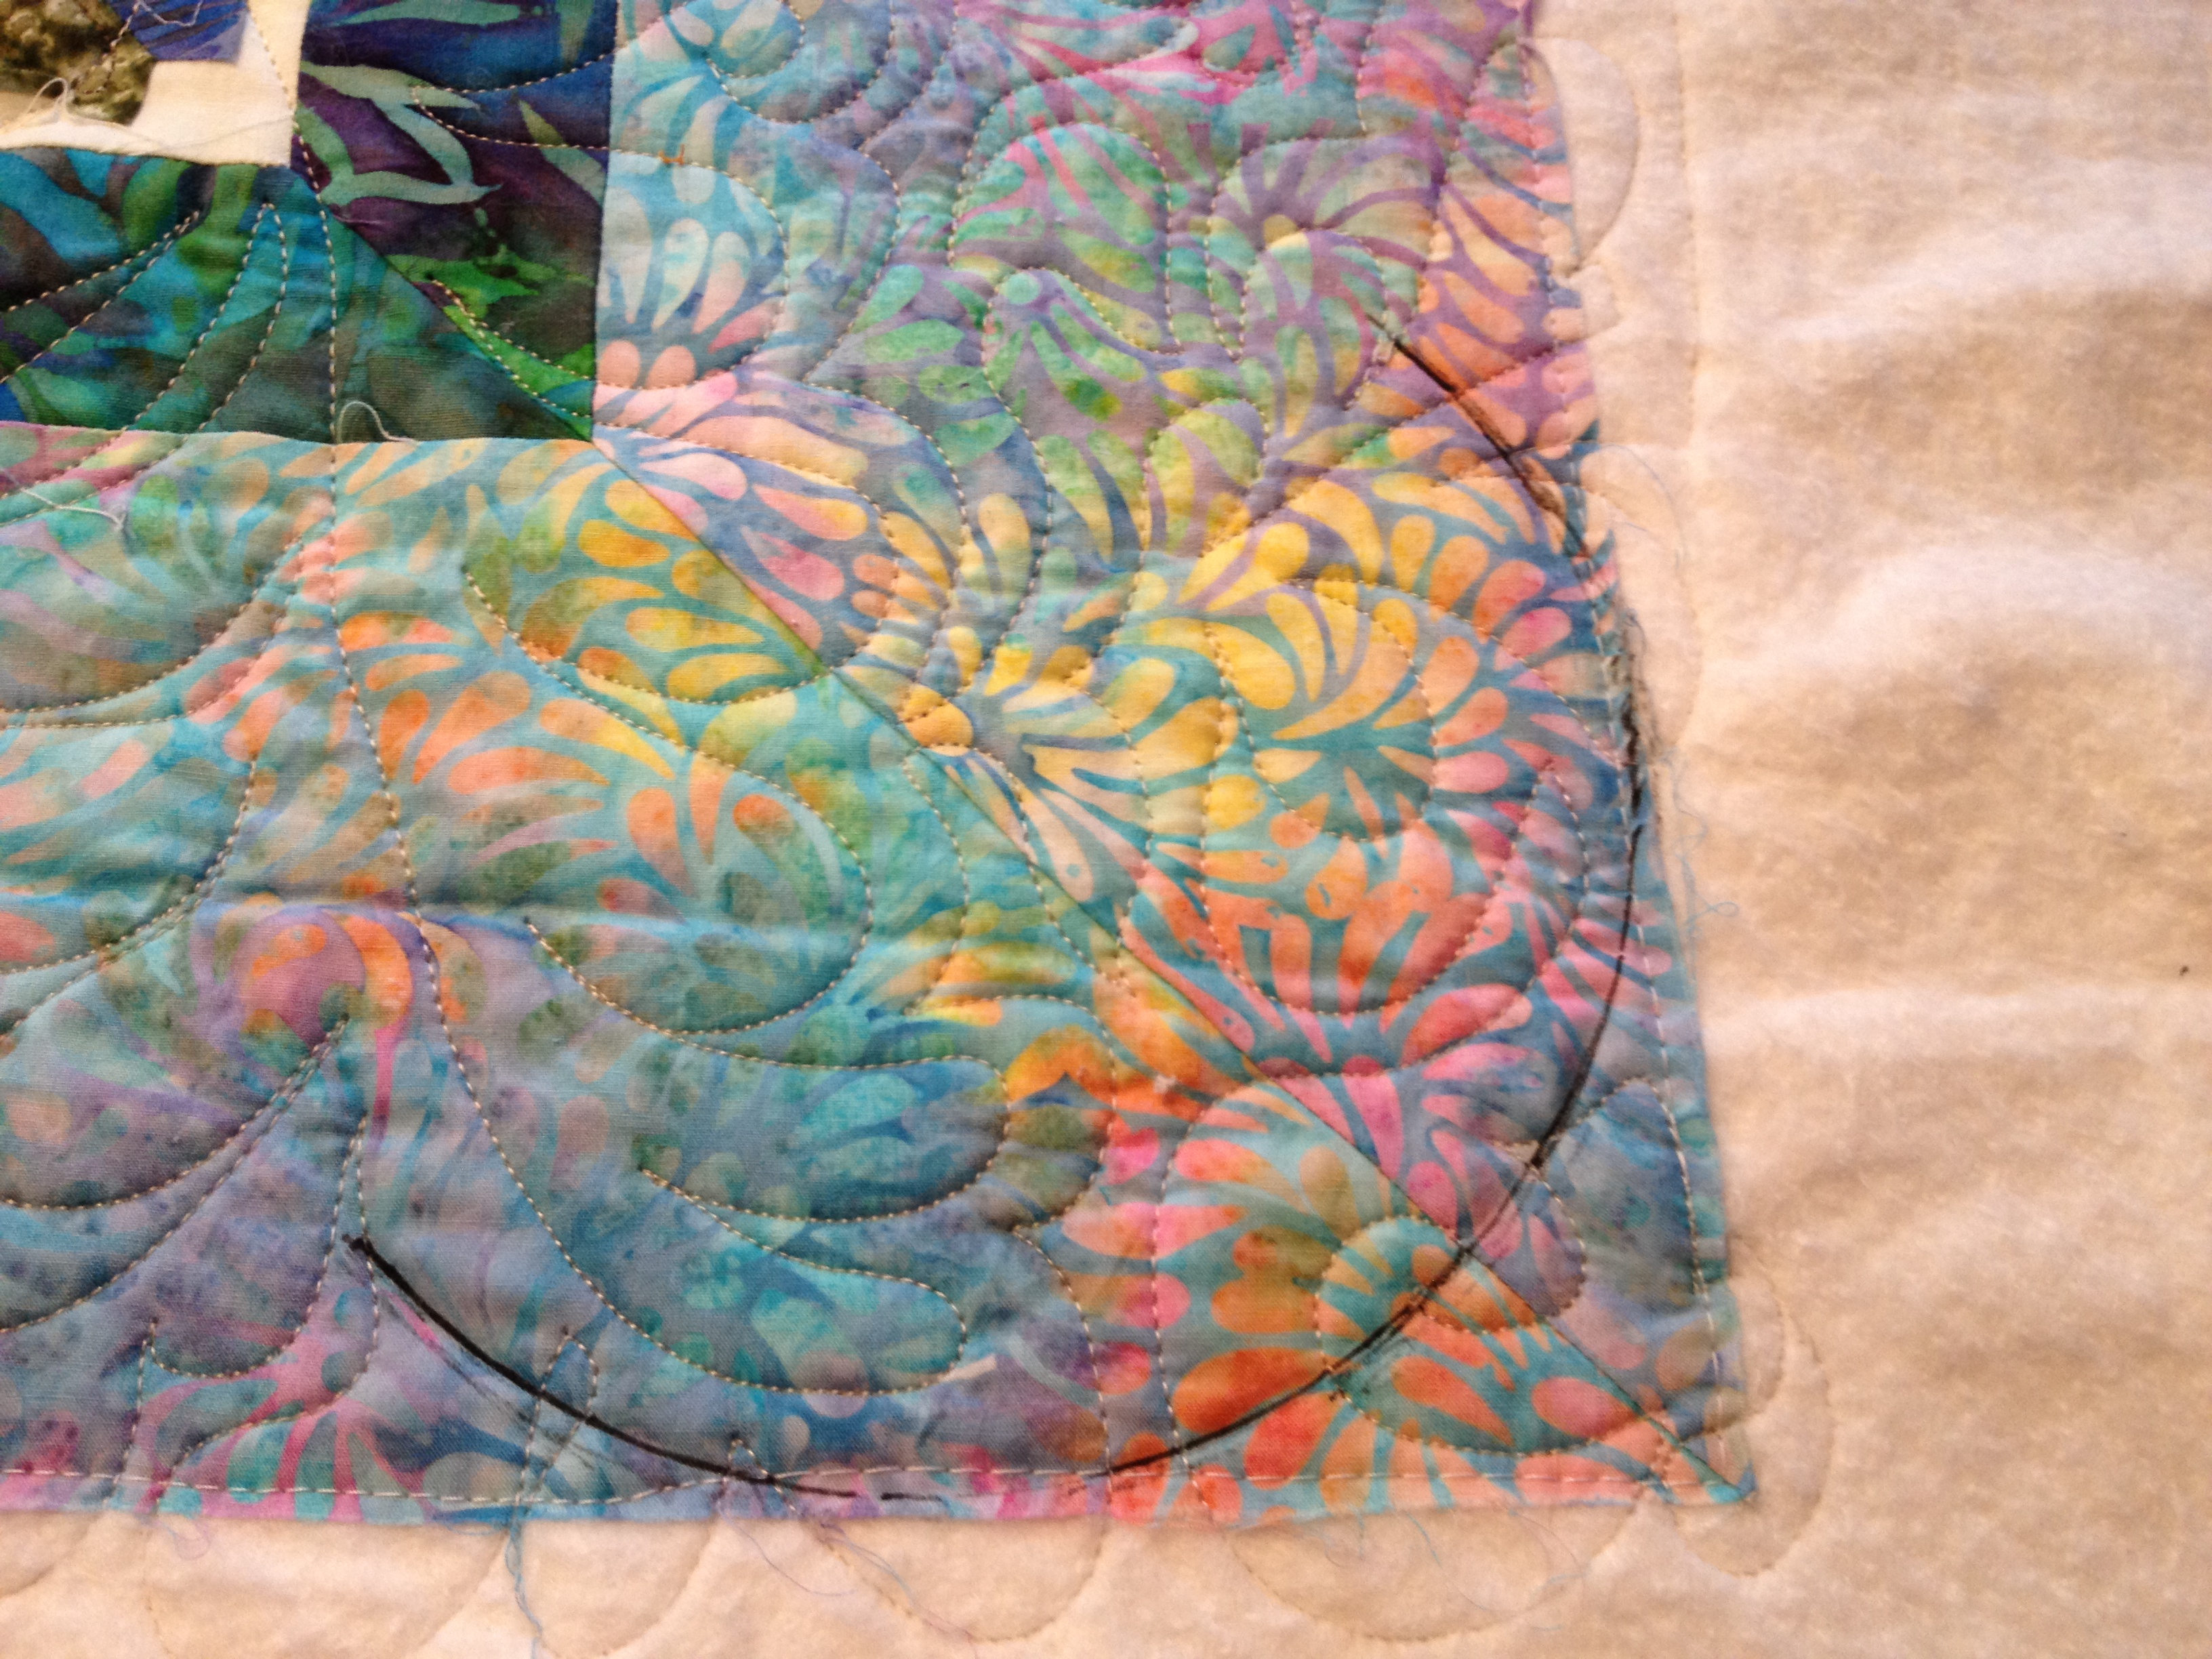
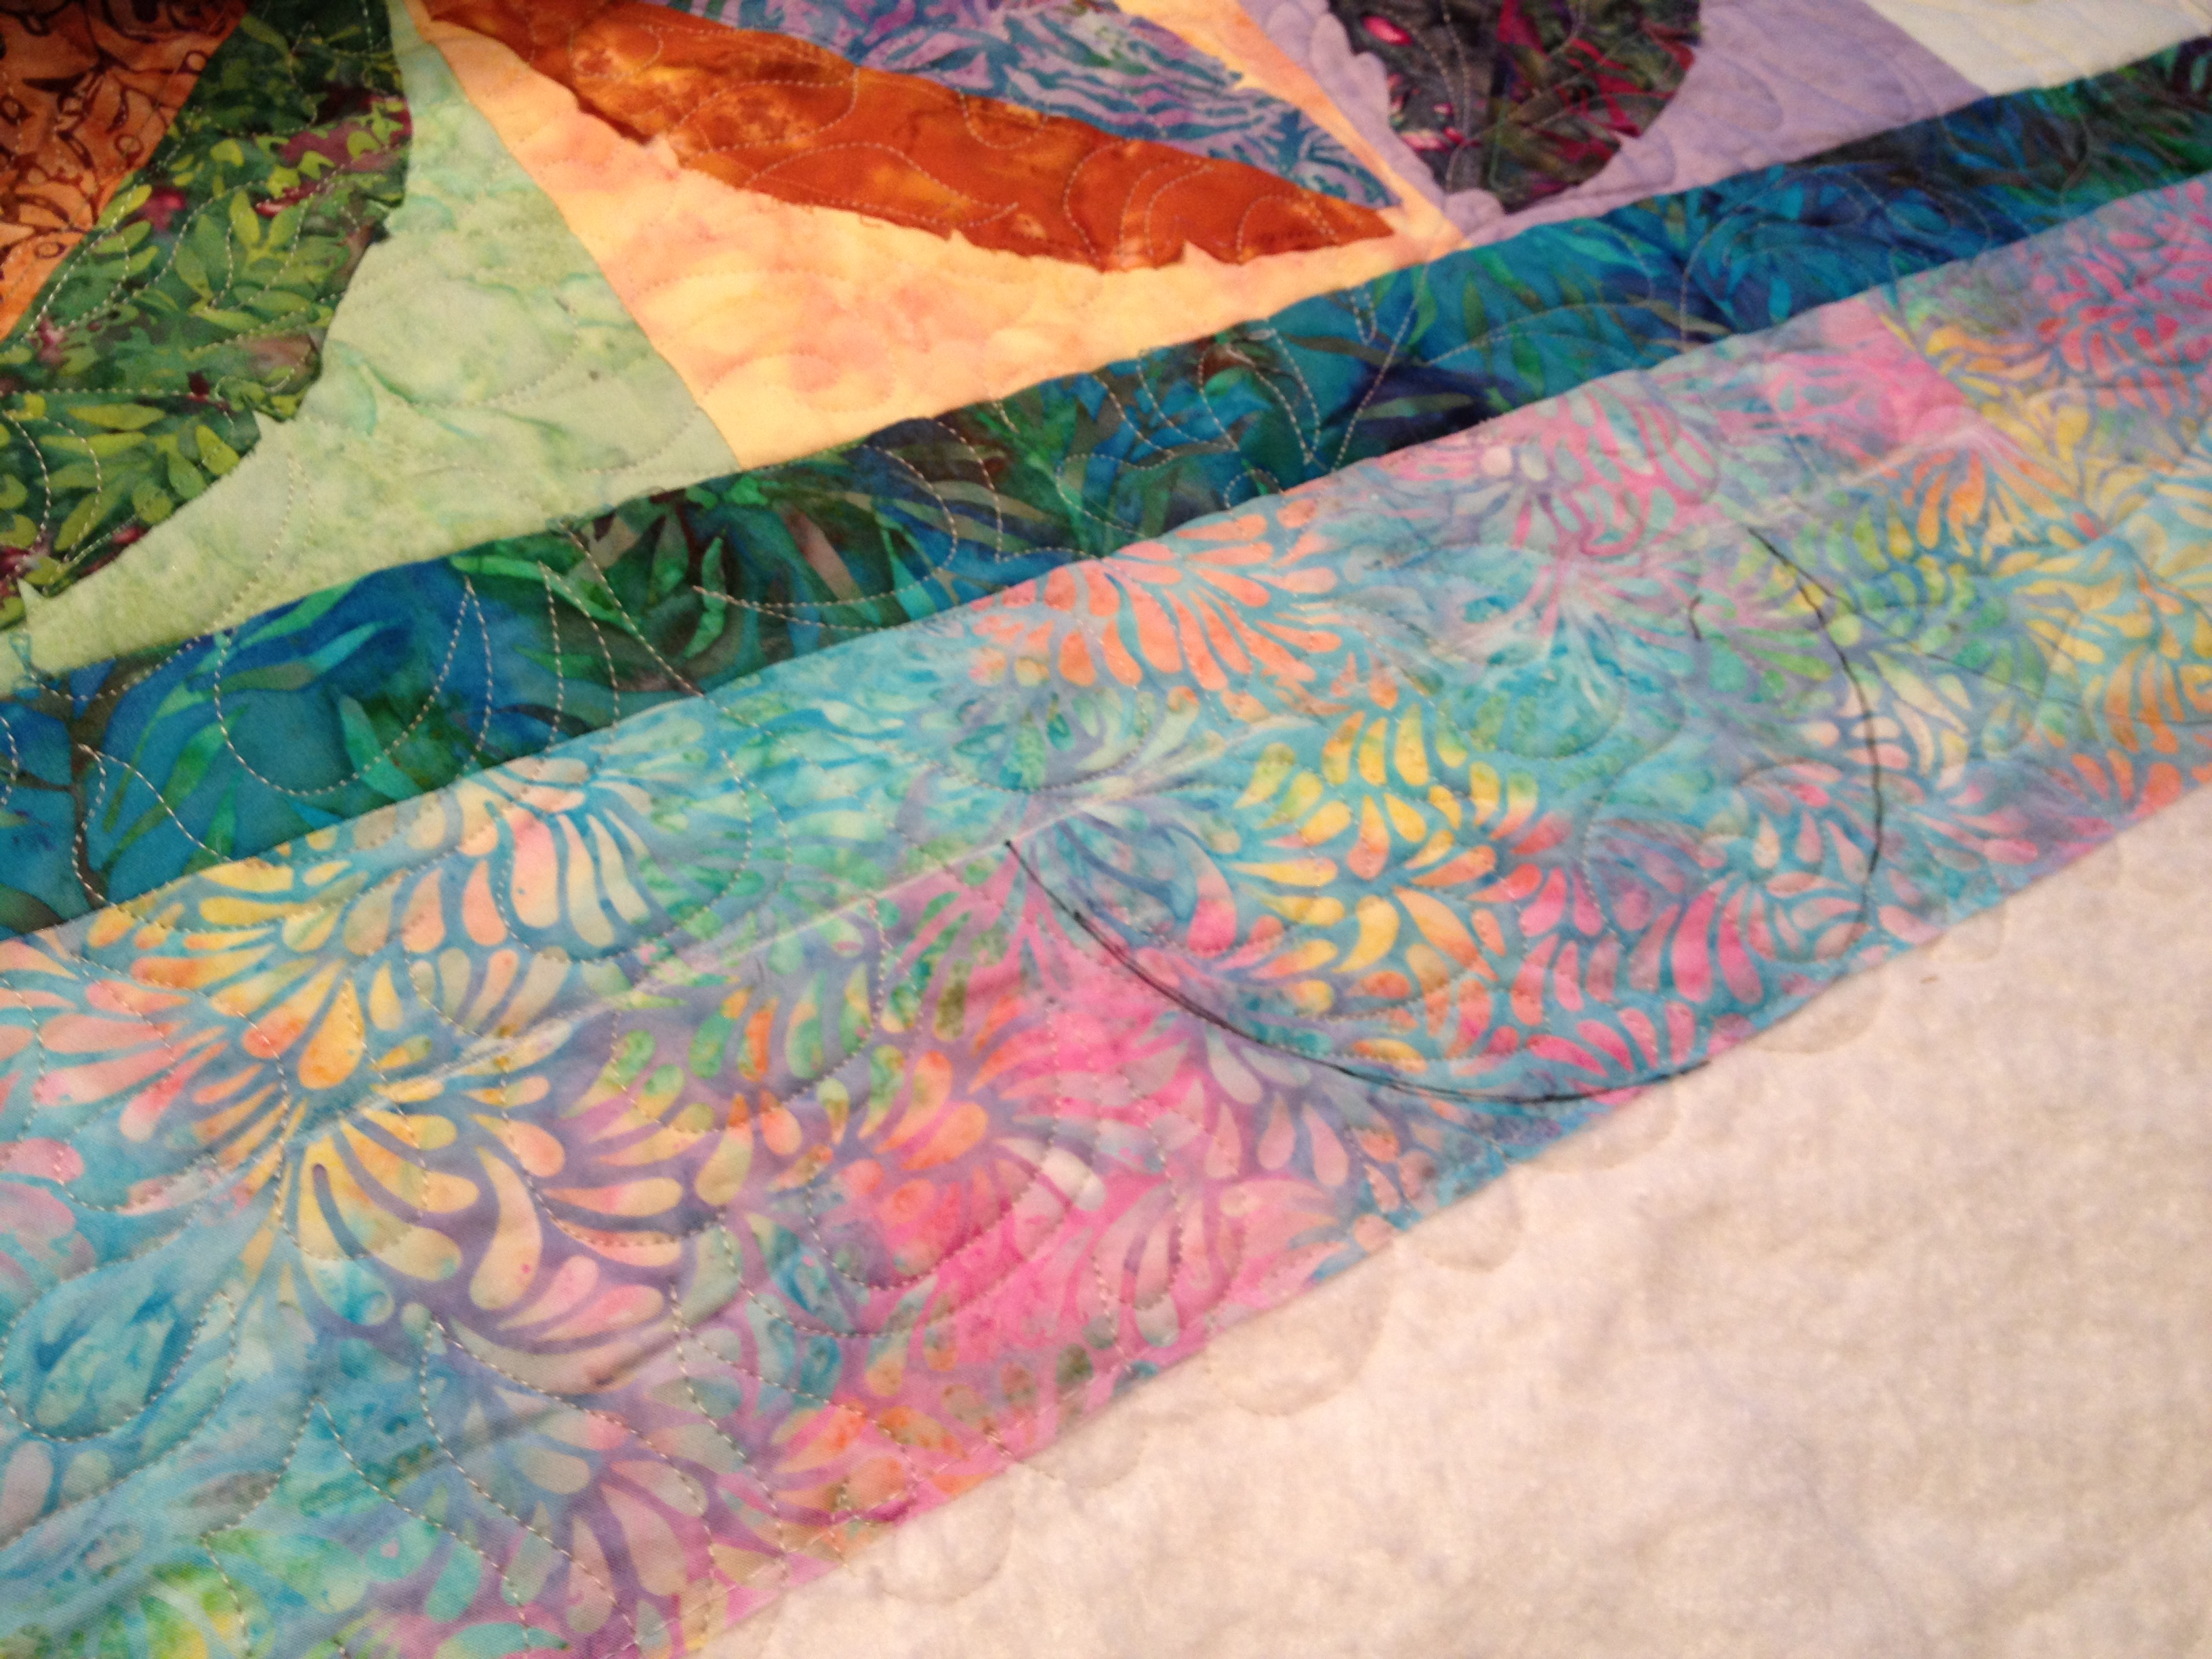
3. Now, place the second template next to the first, leaving enough space between them to use a pencil and draw around the shape. Move the templates to the next position on the edge of the quilt. Continue all the way down the side of your quilt. If your templates end up spaced out equally along the edge, you’re in business! If you don’t have an even distribution, repeat, using larger or smaller shapes until they fit equally. You may need to fudge a scallop slightly by adding or subtracting the space between the shapes. Test this on all sides, especially if your quilt is a rectangle, rather than a square.
4. Once you get the right shape and number of scallops, repeat steps 2 and 3, but this time draw around the shape with a pen, pencil or chalk marker—anything will work, so long as you can see the line. You may also want to draw a straight line along the border from edge to edge to be sure your scallops begin and end at the same distance from your border. Remember, this isn’t brain surgery and no one is going to die if you make a mistake. Just go for it, and if you have to finesse your scallops a bit, no one will notice once you get the binding on. (And please don’t even think about telling them! I mean, really!)
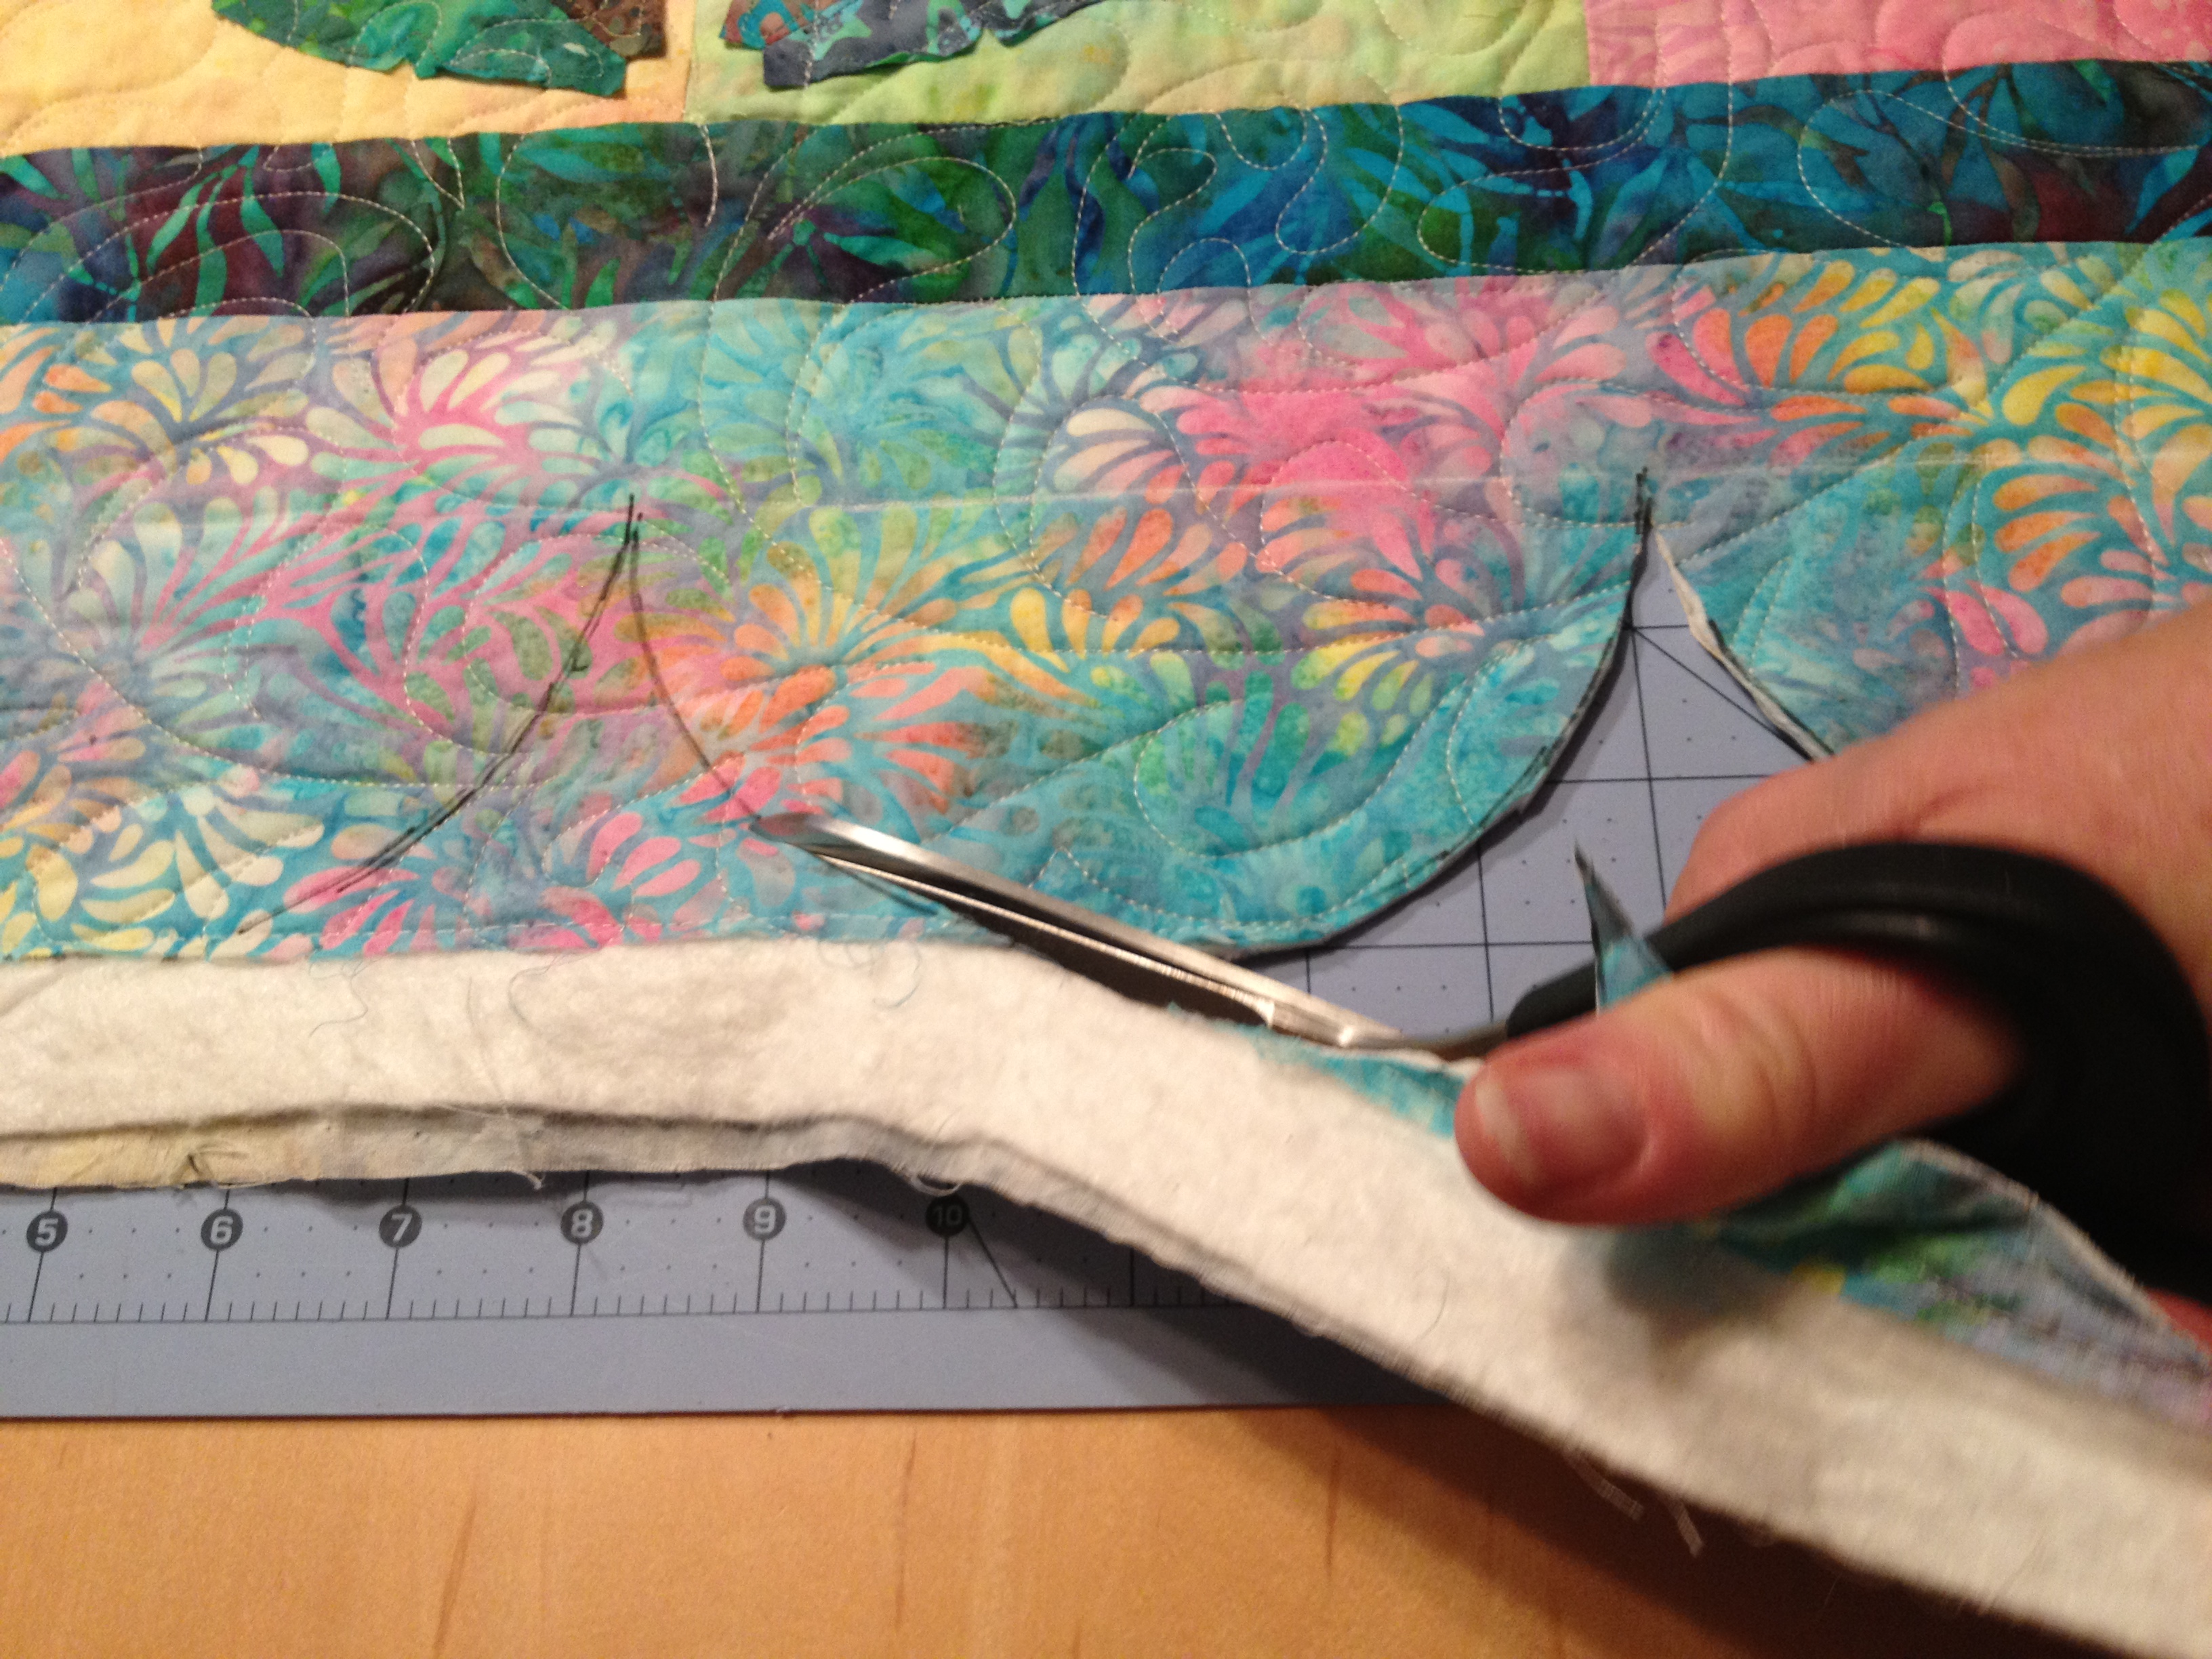
5. Now, using your fabric scissors, cut along the line all around the quilt.
6. To finish your scalloped edge, you’ll need to use bias seam binding, which is easy to make. (And we’ll have a tutorial on that soon, as well). The bias will allow you to ease around the rounded edges as you stitch on the binding. You will still pivot at the inside corners to make a sharp turn. Once you’ve stitched the binding down at the back, you’re done!


COMMENT #1
You make it sound SOOOO easy! Thanks for the great tute! 😀
COMMENT #2
Brilliant thanks 🙂
COMMENT #3
I am nervous about the binding around the narrow part at the top of the scallop. I am excitedly awaiting your tutorial on that before I attempt this. But, I can hardly wait!!
COMMENT #4
What a great tutorial! Thank you so much.