


So it looks like we hit a nerve with some of our readers about these pointy things. It’s like we said: There are few things more consistently frustrating for quilters than the Dreaded HSTs. But never fear. We’re here to help…promise! And if the info we’re sharing isn’t doing it, share your own tips and tricks for loving your way through the Dreaded HSTs in our comments and we’ll all sing your praises. We KNOW we don’t have all of the answers and there are many other ways to make these little devils, so bring it on.
In the meantime, I’m gonna introduce you to two of my nifty little straight-edge friends who will help you in your effort to tame the Dreaded HST. Come meet Olfa and Bloc-Loc!
 Starting with Olfa, these skinny 1/2″ rulers were made just for marking. Each package of the Marking Ruler Trio has three lengths–12″, 6″ and 4″–and all are marked in 1/8″ increments along the length.
Start by using the clear center line along the ruler’s middle and position it from corner to corner on a square patch of fabric.  Then with a marking pen or pencil (needs to be thin line so chalk won’t work as well), draw along both edges of the ruler. When you’re done, you have two perfectly parallel lines, exactly 1/2″ apart. But even better, each line is exactly 1/4″ from the diagonal center of the square, creating a nice seam allowance. Lay the marked square on top of a second square, pin (if needed) and sew right sides together along both marked lines.
  When you’re done, take a REGULAR rotary ruler (do NOT use the skinny ruler to cut with!) and slice your paired squares exactly down the diagonal middle, between the two sewn lines. Congratulations! You have twins!
So, we used two charm squares to make our sample babies here. That means that the squares started life as 5-inchers. Our finished HSTs will be 4″ so they need to become 4 1/2″ for our piecing purposes. It’s pretty darned close when you start at 5″ but not close enough, so in comes Bloc-Loc to the rescue.
 We featured this stroke of Lucite brilliance in Gimmes not too long ago, and just love it. See, there’s this channel almost down the middle of the square. The channel is made to fit over a 1/4″ seam. It actually feels like it locks into place over the seam. Then, you trim around the edges and you have a perfectly centered HST.
  Yes, you can use a regular rotary ruler, but those of us who aren’t stitch virgins know some shifting always happens with a regular flat ruler. Why? It’s caused by that pesky seam allowance bulking up under the ruler. It’s just enough to make us do the wonky slice unless we’re really careful–and who the heck wants to be that careful anyway? Bloc-Loc ends the rocking off of the seam bulk. If you buy the larger of the squares, say the 6 1/2″, you can cut to smaller square sizes without a headache.
As we said before, these are just two of the many different products out there all designed to make you like the Dreaded HSTs. And we’re happy to act as a clearinghouse for your fave method. Just add it to the comments below.
Now, some other tips and tricks to help you out of HST Hell.

 Fall/Winter 2016 (Issue 22)
 Summer 2016 (Issue 21)
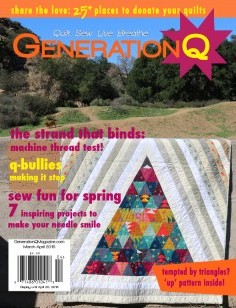
 Spring 2016 (Issue 20)
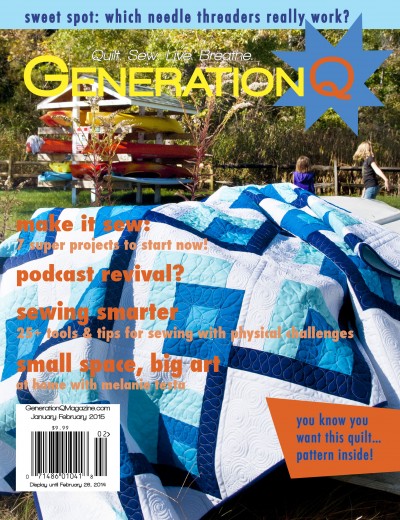
 November-December 2015 (Issue 19)
 September-October 2015 (Issue 18)
$9.99
September-October 2015 (Issue 18)
$9.99
 July-August 2015 (Issue 17)
© 2015 Generation Q Magazine. Site by Spunmonkey.
COMMENT #1
Thanks for the Q-tutorials. Amazing how seeing a visual suddenly gives the grand A-HA. I bought the block-loc at Long Beach, and can’t wait to use it. Thanks for the push.
COMMENT #2
I’m a fan of the ‘cut-and-press’ products – I use the 10″ square for the kind of spinning trimming mentioned above, instead of a rotating mat. It’s a very convenient size for quick pressing on the padded side and cutting on the reverse.
COMMENT #3
Am I the only one that doesn’t really have much of a problem with HSTs? I do usually try to remember to press the fabrics with Best Press (I never use starch, yuck!) to help fight any stretch but I don’t think HSTs are evil! I think they’re AWESOME.
COMMENT #4
I forgot to mention: I want to steal your kitty(s)!
COMMENT #5
I highly recommend the single-needle (or straight-stitch) plate. It helps with HSTs, and in my case, with sewing in general. I know my technique wasn’t the best when I was a newbie quilter, but I almost gave up because those evil feed dogs liked to chomp on my fabric.
Thanks for all the helpful information!
COMMENT #6
Block-Loc. Genius! What irritates me is when you’re piecing two half square units together and the seam allowances sit on top of each other at the corner, it’s so hard even with a stylus, to keep your 1/4″ seam allowance straight when you come to that diagonal ledge of 6 layers of fabric. And don’t even think of suggesting I press those allowances open. It’s not going to happen!
COMMENT #7
More great tips. I may yet tackle one of these beasties… :oD
COMMENT #8
I want all these tools – NOW! I’ve not seen them at my LQS – but maybe since I wasn’t aware, I wasn’t looking??
COMMENT #9
I just want to know one thing. How many “duh” moments am I allowed before I’m considered a “duh” person ?
COMMENT #10
Thanks for enlightening me on that single needle plate. I always wondered what in the world you would use it for ….. especially when you constantly forget and switch to zig zag. Makes sense now!
COMMENT #
Hey Molly. The other thing the single needle plate is great for is free motion quilting. Sometimes, in FM, as the needle dulls, it also pushes the quilt into the bed of the machine and the single needle gives more support, thus less stitch skipping and needle breaks. And, when I was first using it and having trouble remembering to change it, I would put a small Post-It over the button for the zigzag setting to remind me. It worked great! Happy quitling!
COMMENT #11
LOVE YOUR INFO
COMMENT #12
I am so a fan of Bloc-Loc rulers for squaring up HSTs and Flying Geese! I would take them with me to a desert island…