


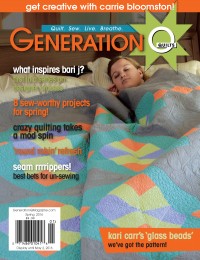
by Vicki Tymczyszyn Level: Beginner with a ‘Tude if done with fusible appliqué, Intermediate-Crazy if using reverse appliqué Finished size: 24 1/2” X 55”

What do you do when you’re an architect who is tired of building buildings? Well, you learn to quilt. Actually we exaggerate. Yes, Vicki is an architect currently on sabbatical from building and planning. But the quilting came along while she was raising her two kids (now sorta grown and at home during college-and we love them still!) in Southern California. This prolific quilter, designer and teacher is a member of the Los Angeles Modern Quilt Guild and took on the recent Kona Charm Pack Challenge issued by Robert Kaufman Fabrics to come up with this beauty. The challenge, open to MQGs around the country, used one charm pack (in this case, the dusty collection) to be paired with one additional solid fabric and fabric for the binding. LA’s challenge was issued in January this year and finished quilts were brought in for Show-and-Tell in March. Vicki is a skilled appliquér and used her pack with reverse appliqué. In reverse appliqué, the top fabric is cut away and the raw edges are turned under and sewn down to reveal a second fabric underneath. Here the main circles are behind sections of solid Kona gray fabric. The smaller ovals are appliquéd on top of the circles and the oval’s edges are needle turned under. This is the more challenging way of accomplishing what Vicki did and she just does it for fun. (Won’t even comment on that one!) For those of us overly taxed by the “A” word, an easy-peasy alternative is to drag out the fusible webbing (we like Lite Steam-A-Seam 2) and fuse those darned round things to the strips of gray. So, these are the main instructions we’re offering up, but we’ll also give you some tips for doing it Vicki’s way at the end of it all. And finally, about the dimensions: Vicki made this quilt specifically to cover a door that gets a good dose of sun at a certain time of day. We’ve repurposed this quilt with its unusual size and now give you a choice of uses, including table runner, bed topper, spot o’ couch color or wall filler for that long, narrow spot.

(View some of the other challenge entries here.) Materials and Supplies 1 charm square pack with at least (42) 5” X 5” squares or (42) 5” X 5” squares (36 for circles and 8 for ovals) 2 yards solid gray Kona cotton fabric for background and binding 1 2/3 yards backing fabric 30” X 60” batting Threads for piecing, appliqué and quilting 2 yards Lite Steam-A-Seam 2 if on a 16” wide roll Template plastic Extra fine Sharpie or other permanent marker Cutting and Piecing
(Tip: Use a 24” X 8 1/2” ruler for this and carefully slide ruler along cut line to keep strip straight, OR fold length of fabric in half, press fold line firmly and measure from fold to 27 1/2” long for the cut. Remember you can always use two rulers together to create a longer cutting guide.) Circles
Ovals
Creating StripsVicki placed her circles randomly along her strips. Do the same. Use the illustration as a guide for placement, but don’t be locked into it. There is no right or wrong way to place them. One strip has 10 circles. Two strips have 9 circles and one has 8 circles. Along each strip, two circles also have an oval on them.
Piecing the Top
 To download a template for the circles/ovals click here.
Finishing
Fusible appliqué will stay in place for some time, especially if you’re not washing the quilt regularly, but this is a perfect opportunity to play with stitching. You can satin stitch the edges, straight stitch along the inside edges of the circle or ovals, or even use a decorative stitch on your machine. Also, you can do the stitching before the sandwich the top, batting and backing for quilting, or it can become part of the overall quilting scheme. You need to decide now, though, as it’s time to sandwich your quilt.
As promised:

Click on image for more detail.
Without doing a whole tutorial on reverse applique, which you can find at the links below, we’ll say that Vicki designed her project to be traveling handwork while she sipped at her red and nibbled her dark chocolate with some of us at quilt gatherings.
Since Vicki was working with squares, she then added additional sections of 6 ½” wide pieces of gray fabric to create 55” long strips. It was random and there’s no set rule for measuring these. But that’s the fun, ehh? O.P.T. (Other People’s Tutorials) Each link offers a slightly different version of reverse applique. Our belief is that you should try as many techniques as you have the patience to endure, and then settle on the one or ones that work best for YOU. After all, you are the only person you really need to please here.
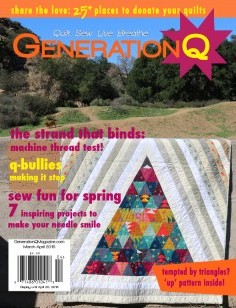
 Fall/Winter 2016 (Issue 22)
 Summer 2016 (Issue 21)
 Spring 2016 (Issue 20)
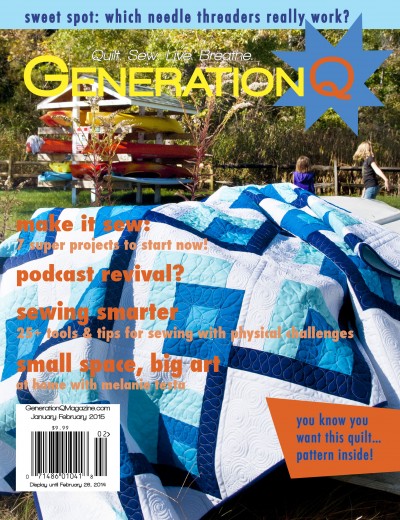
 November-December 2015 (Issue 19)
 September-October 2015 (Issue 18)
$9.99
September-October 2015 (Issue 18)
$9.99
 July-August 2015 (Issue 17)
© 2015 Generation Q Magazine. Site by Spunmonkey.
COMMENT #1
Lovely tutorial and sweet table runner/wall hanging/space filler thing. 🙂
COMMENT #2
Love anything with applique circles!
Thanks for the additional tutorials too. I am off to check them out!
COMMENT #3
Cool idea!
Another way to do these circles and ovals is with Sharon Shamber’s “Piec-liquè” technique. Works great with stuff like this and I think comes out better than regular applique.
COMMENT #4
just found you from someone who told me you linked to me in the reverse applique – I’m putting you on my google reader so I can keep up with your new blog/magazine?
Karen
http://karensquilting.com/blog/
COMMENT #5
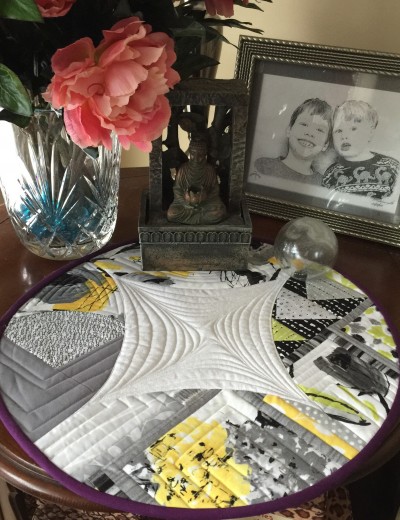
I love this design, and can really see it as a baby boy play mat!! Thanks for sharing!!
COMMENT #6
Awesome quilt Vicki!
COMMENT #7
I really love how the funky circles look like olives. Because olives mean martinis. So when I look at this, I think of martinis. With olives!
It’s very cute and funky. Dig!
COMMENT #8
I very much like this. It’s fun, not too fussy, and a great way to practice FMQ without stressing on the huge finished quilt. This is an item meant to be played with, and I like that, too!