

Internationally known quilter, designer and author Sarah Fielke delights us all in the latest issue of GenQ (Fall 2012, in shops and on newsstands now) with a sassy little dolly quilt that’s big on improv and high on fun. If improv piecing is new to you, though, you might need a bit o’ practice. GenQ technical editor Vicki Tymczyszyn has written an easy-to-follow tutorial that’ll help you earn your improv chops in no time. Now, this is only Part 1. Look for Part 2 on Saturday, Sept. 8.
By Vicki Tymczysyn
There are about as many ways to do improvisational piecing as there are FQs in my stash, so we are only going to show you two typical methods.
The first method is a version of string piecing, using a base fabric. In this example, we are working on the diagonal in a variation of the traditional Roman Stripes pattern.
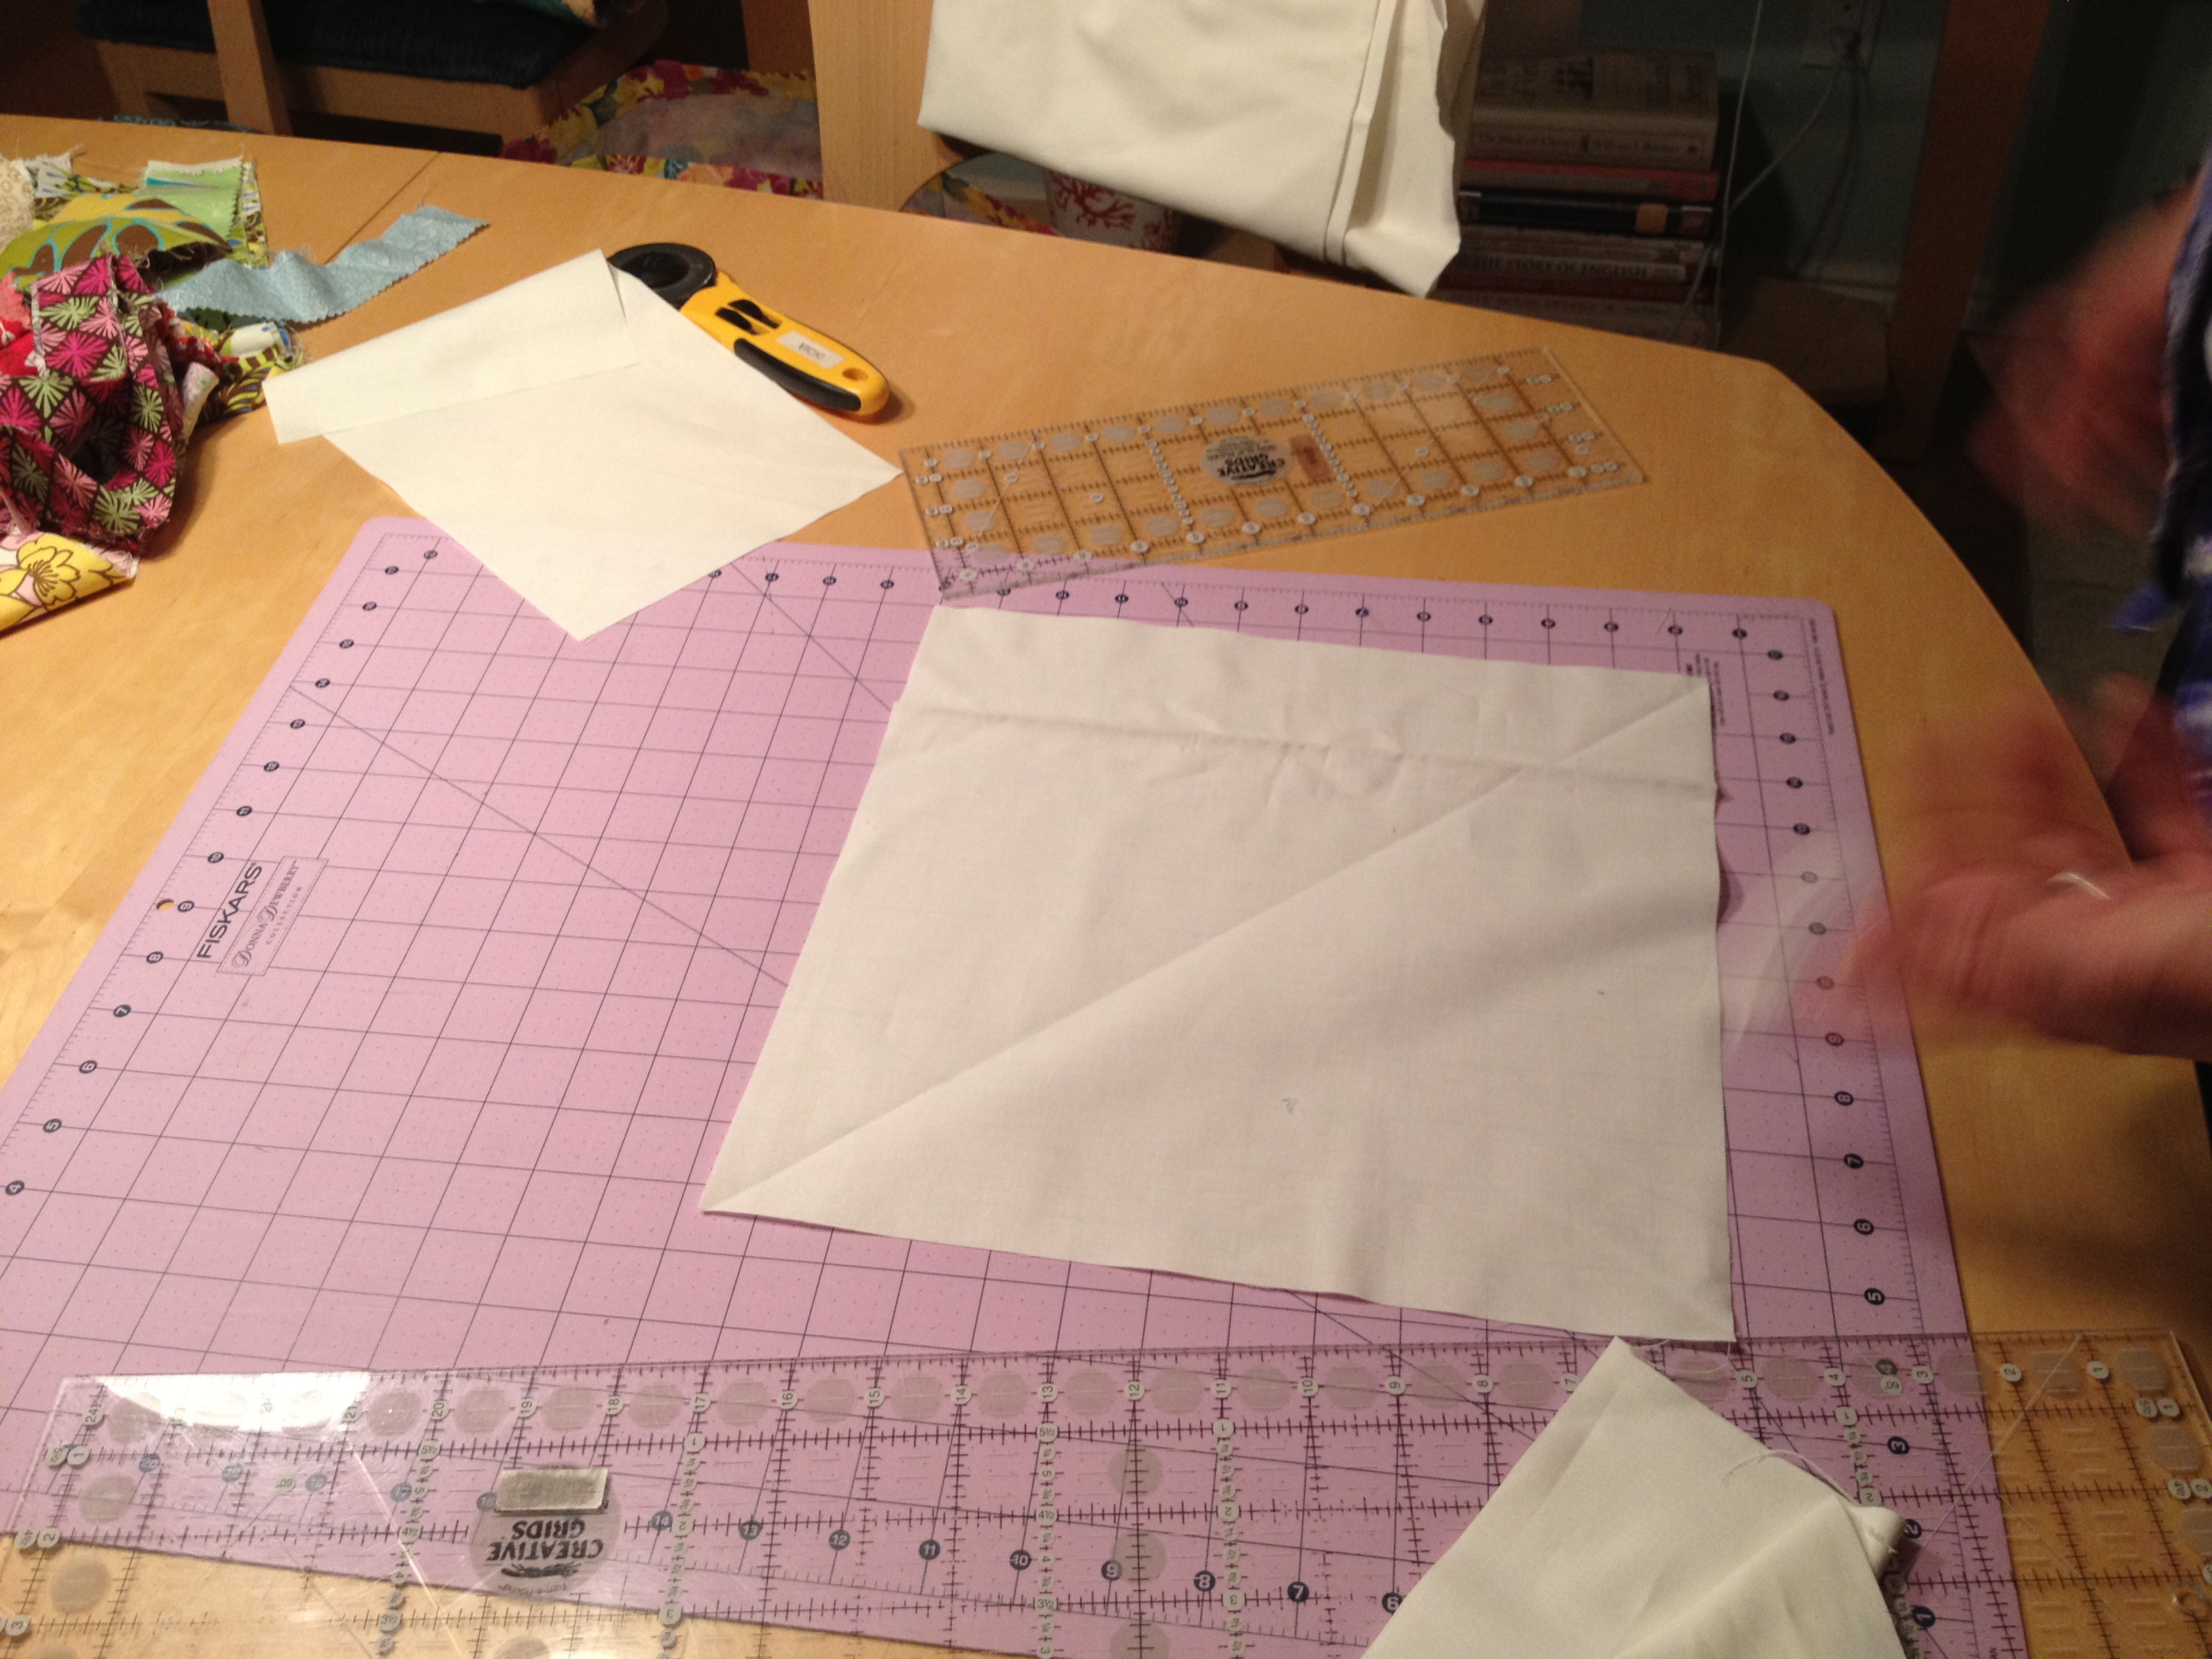
1. Cut a square of fabric—muslin, white, ecru, black or any other color you like. Here, we are using a 12 ½” square of white cotton.
2. Find the true diagonal by folding your starting square in half diagonally, making sure edges meet, and finger-press the crease.
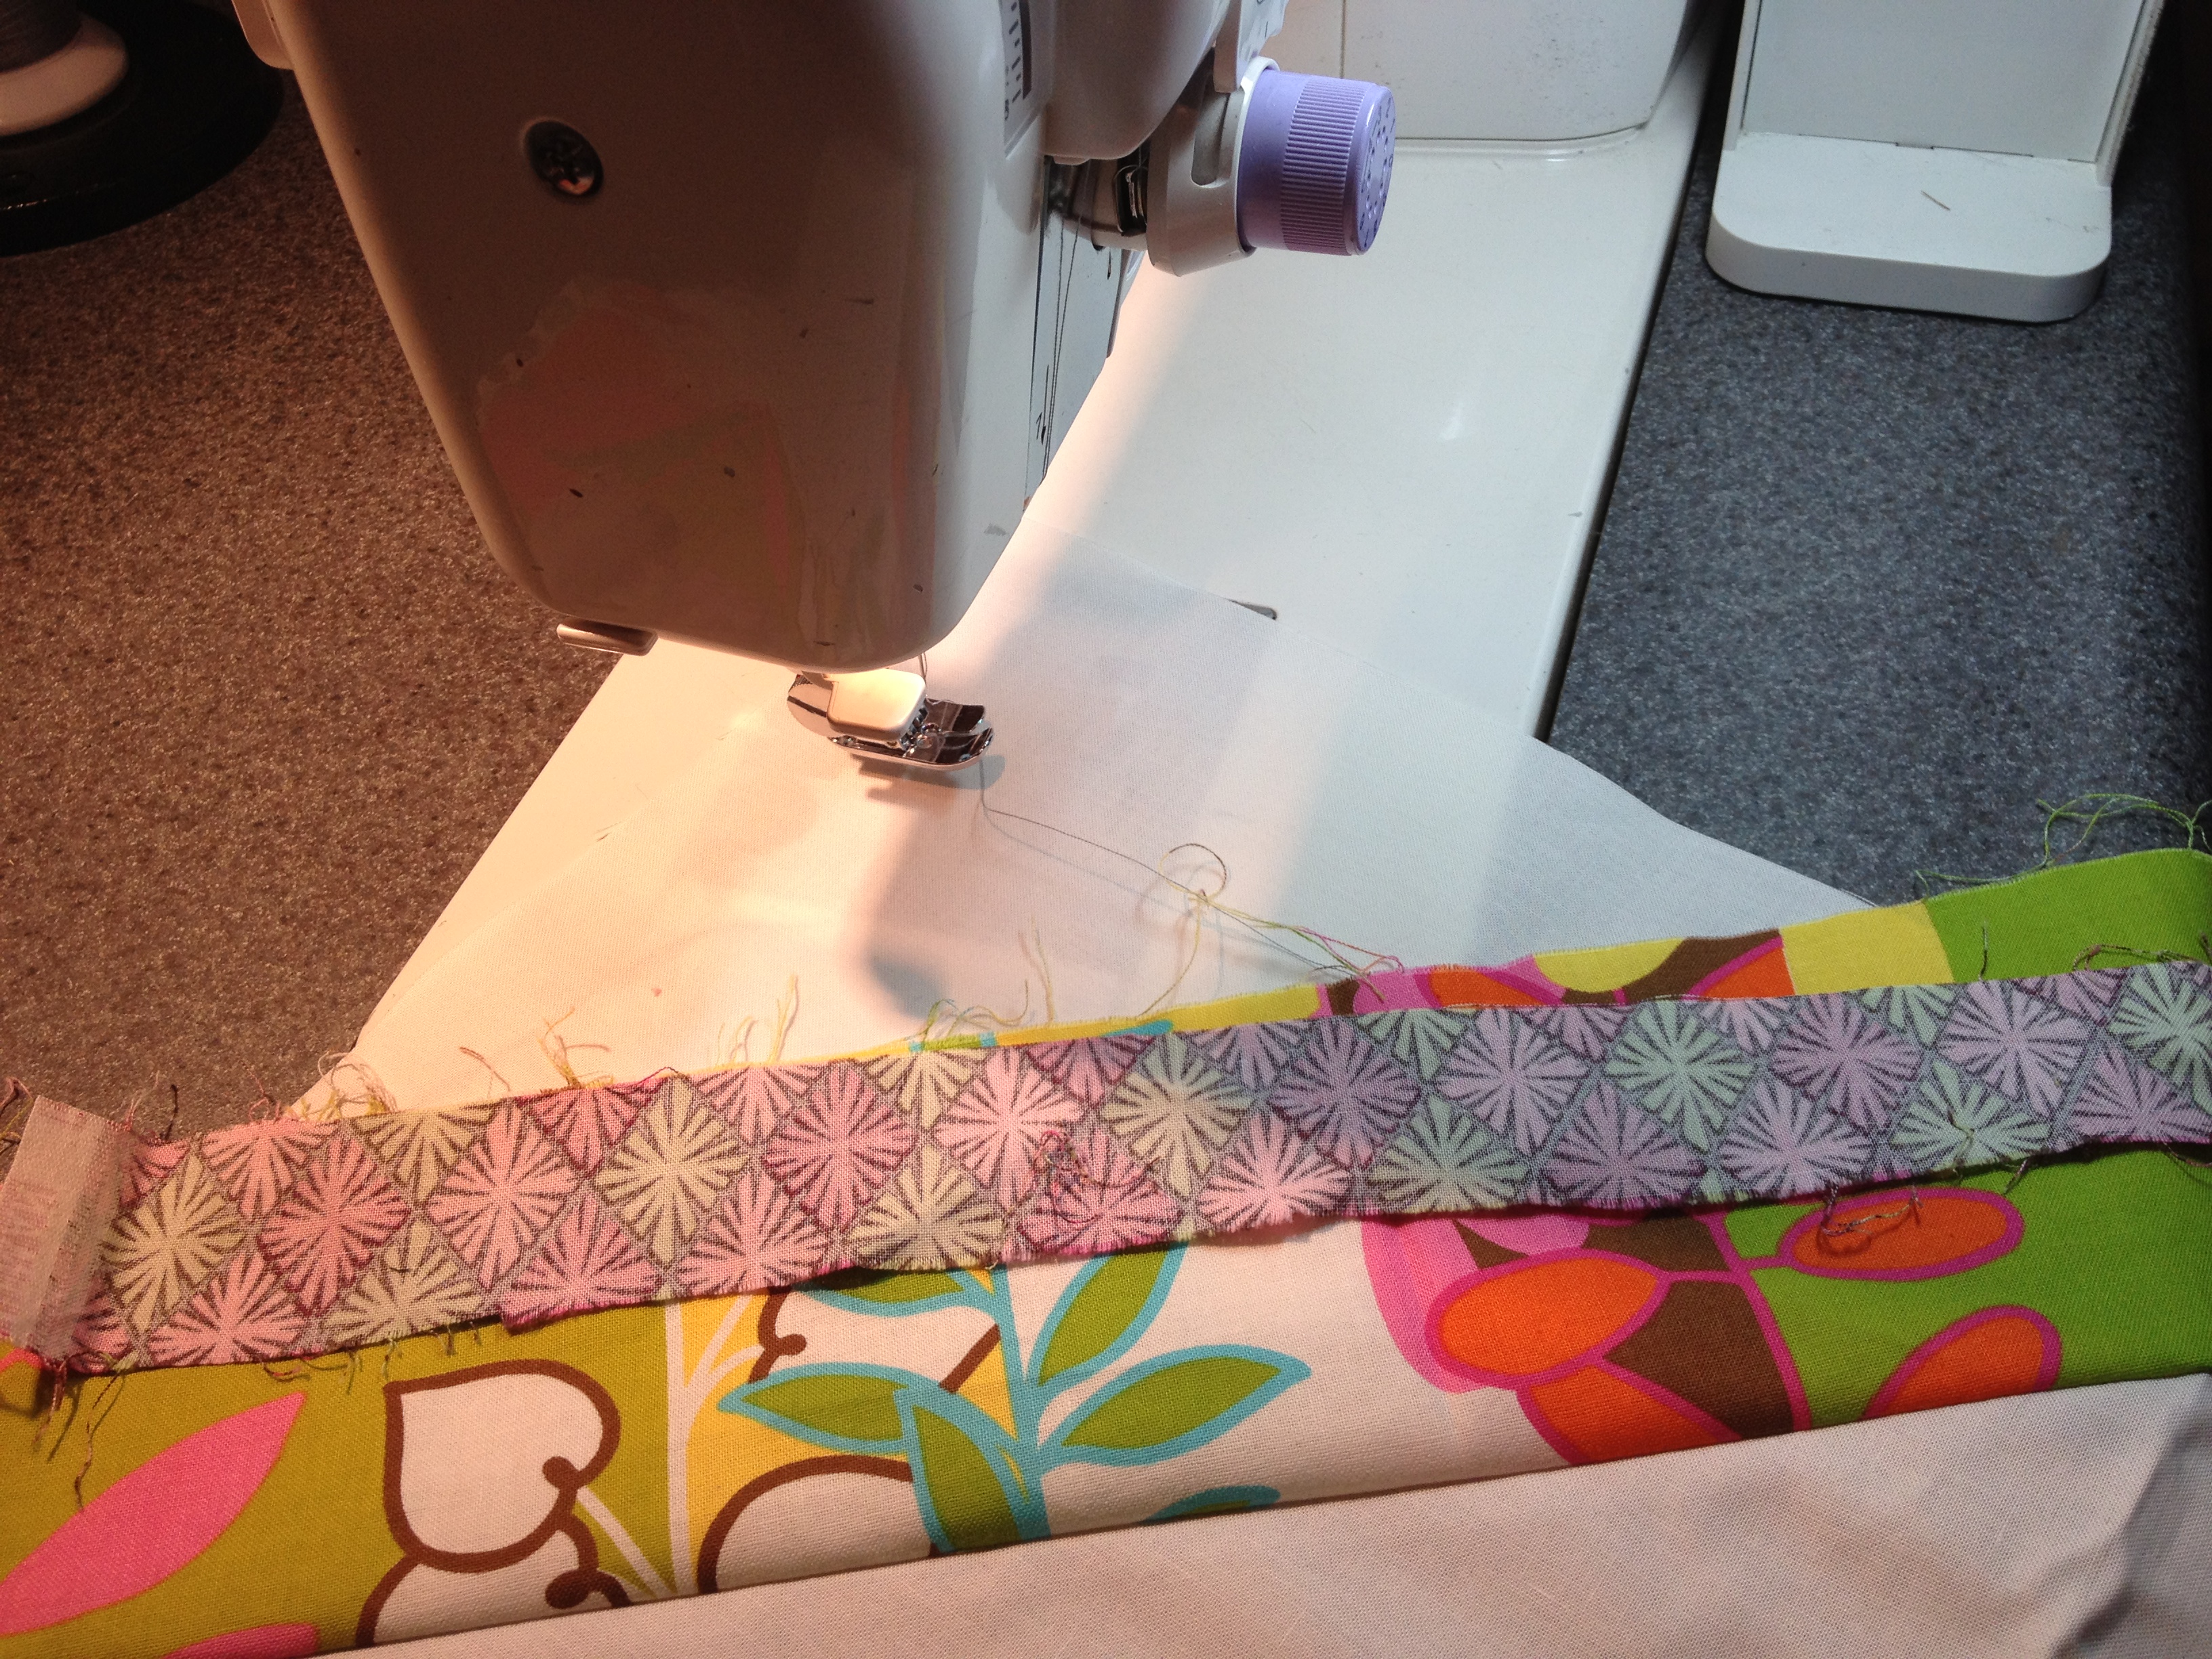
3. Take your first fabric strip and lay it right side down on the square along the diagonal line. Sew from one corner to the opposite corner, ¼” minimum from the edge of the strip. The strip you are sewing does not have to be a consistent ¼” seam; this is part of what makes the piecing improvisational. Trim the excess fabric off the strip, and finger-press (or iron) the strip over your seams so the right side is up. (Just ignore the cat.)
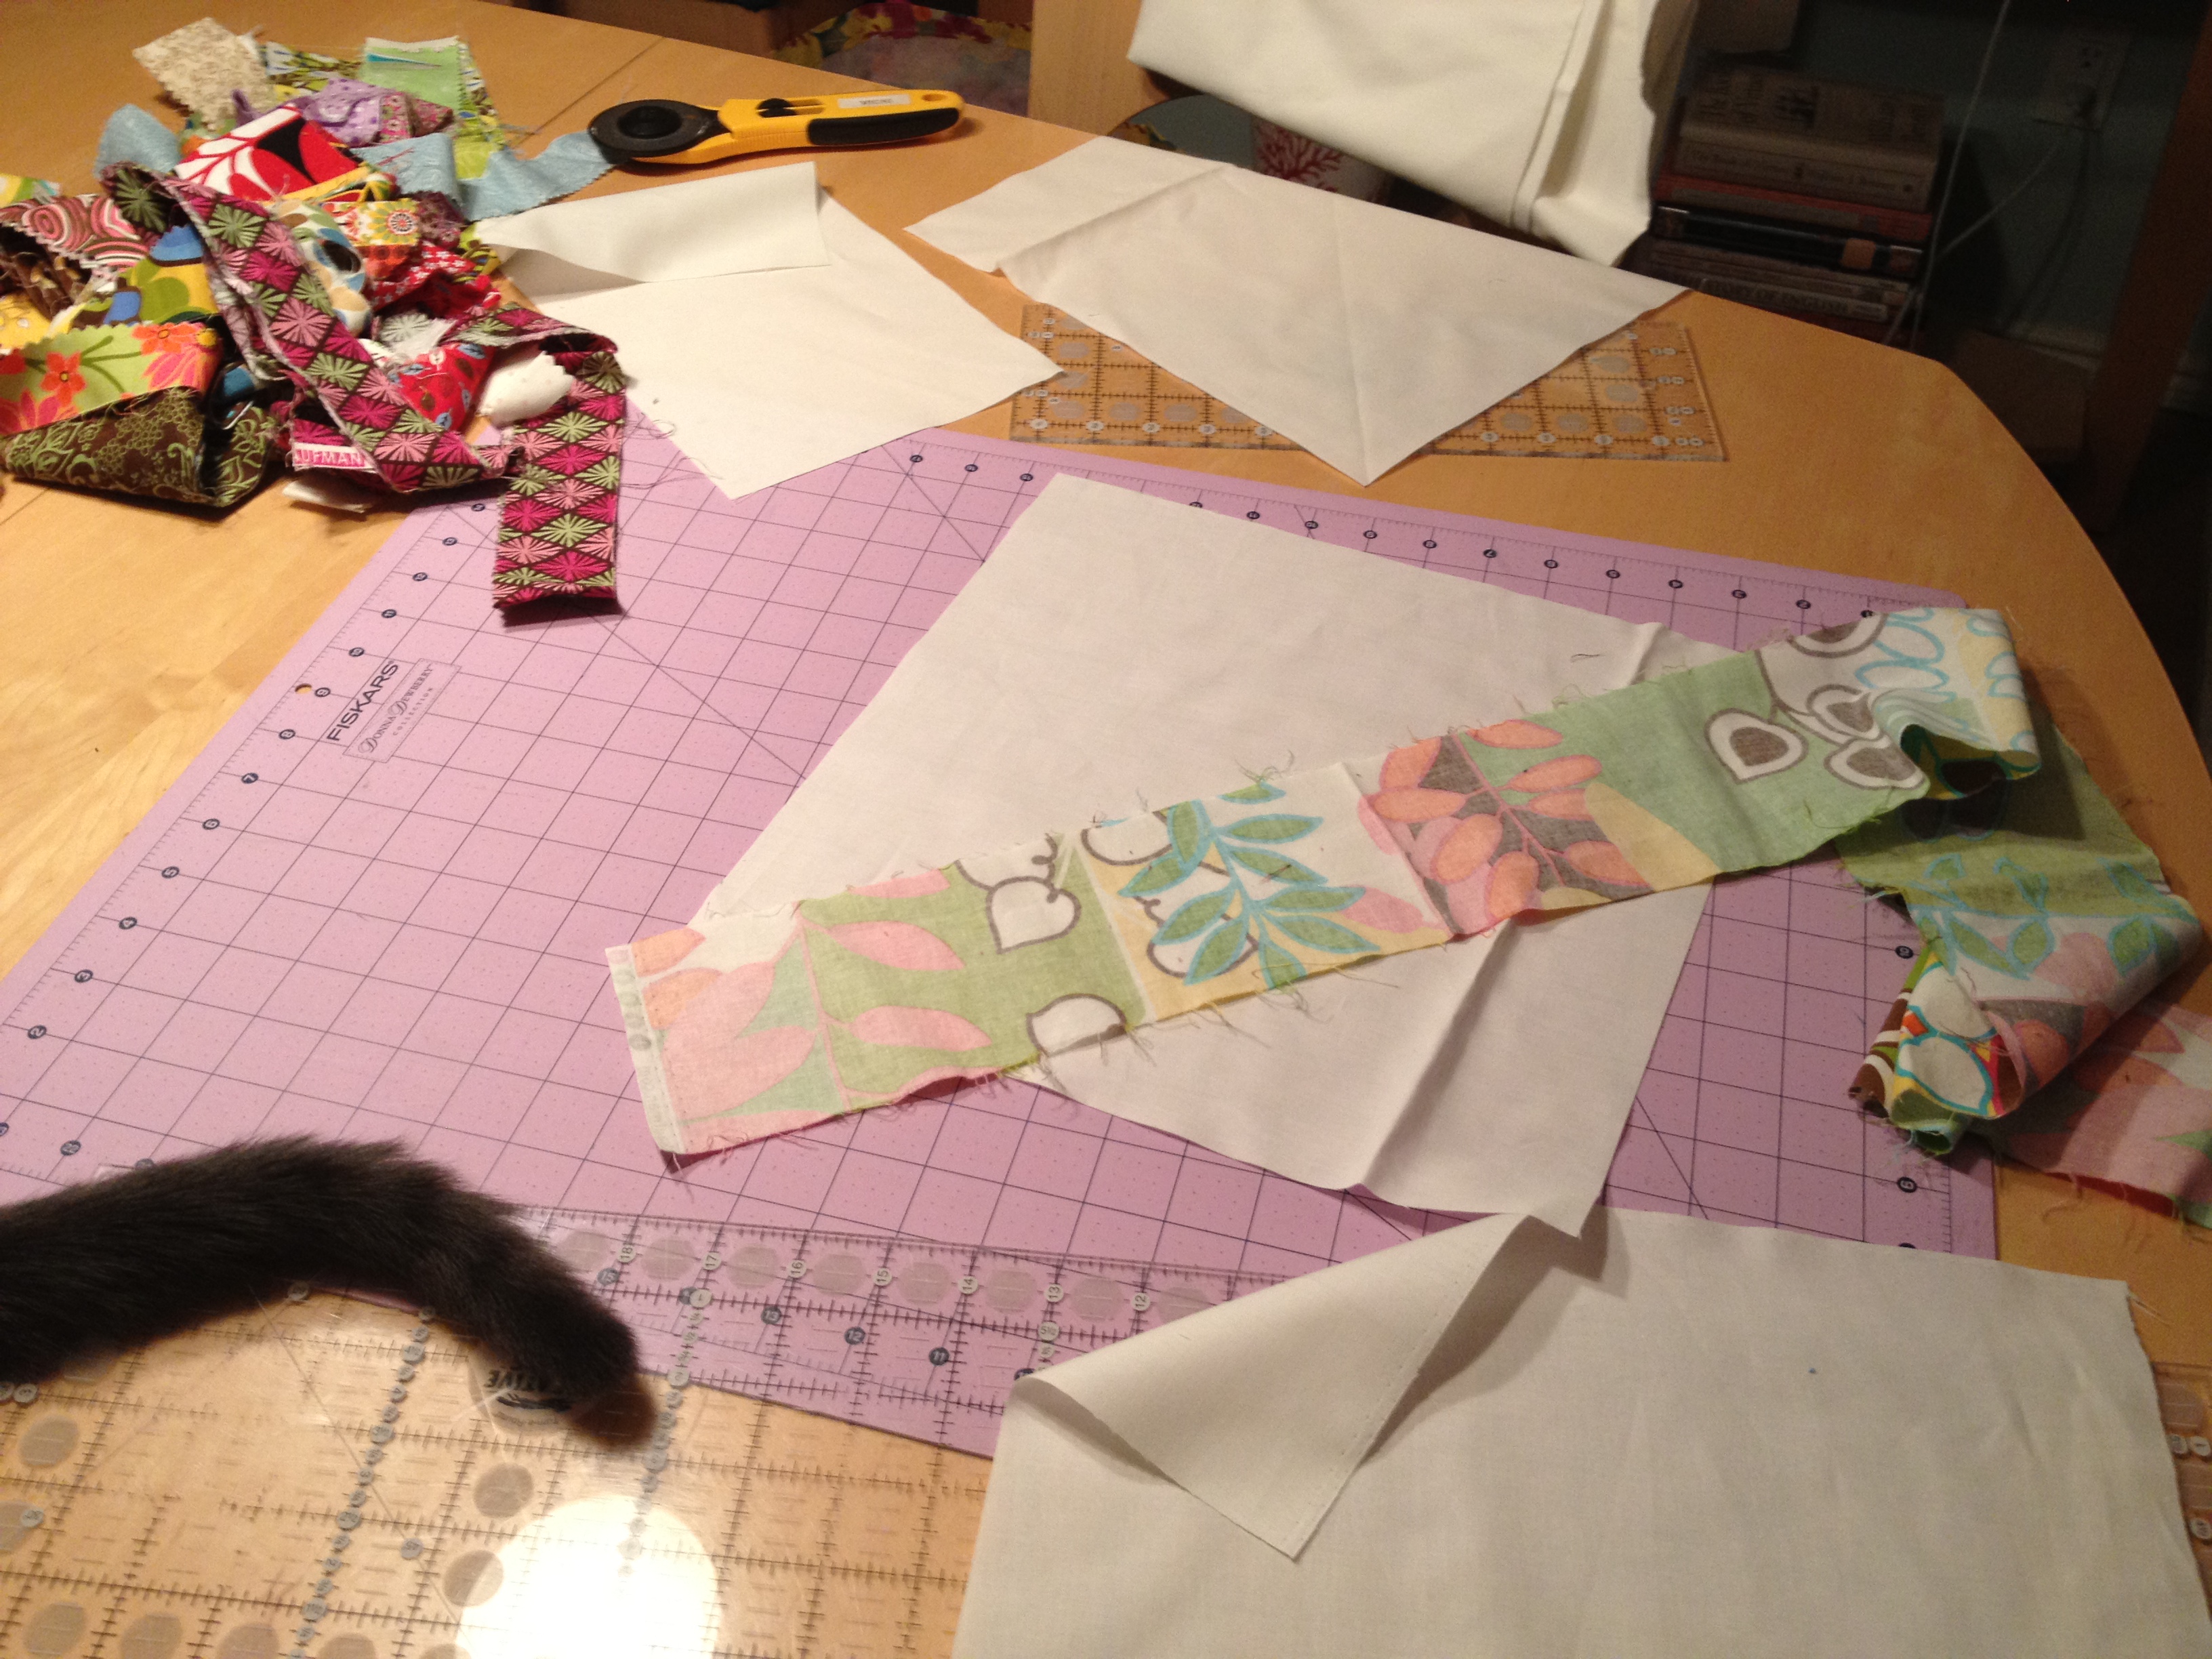
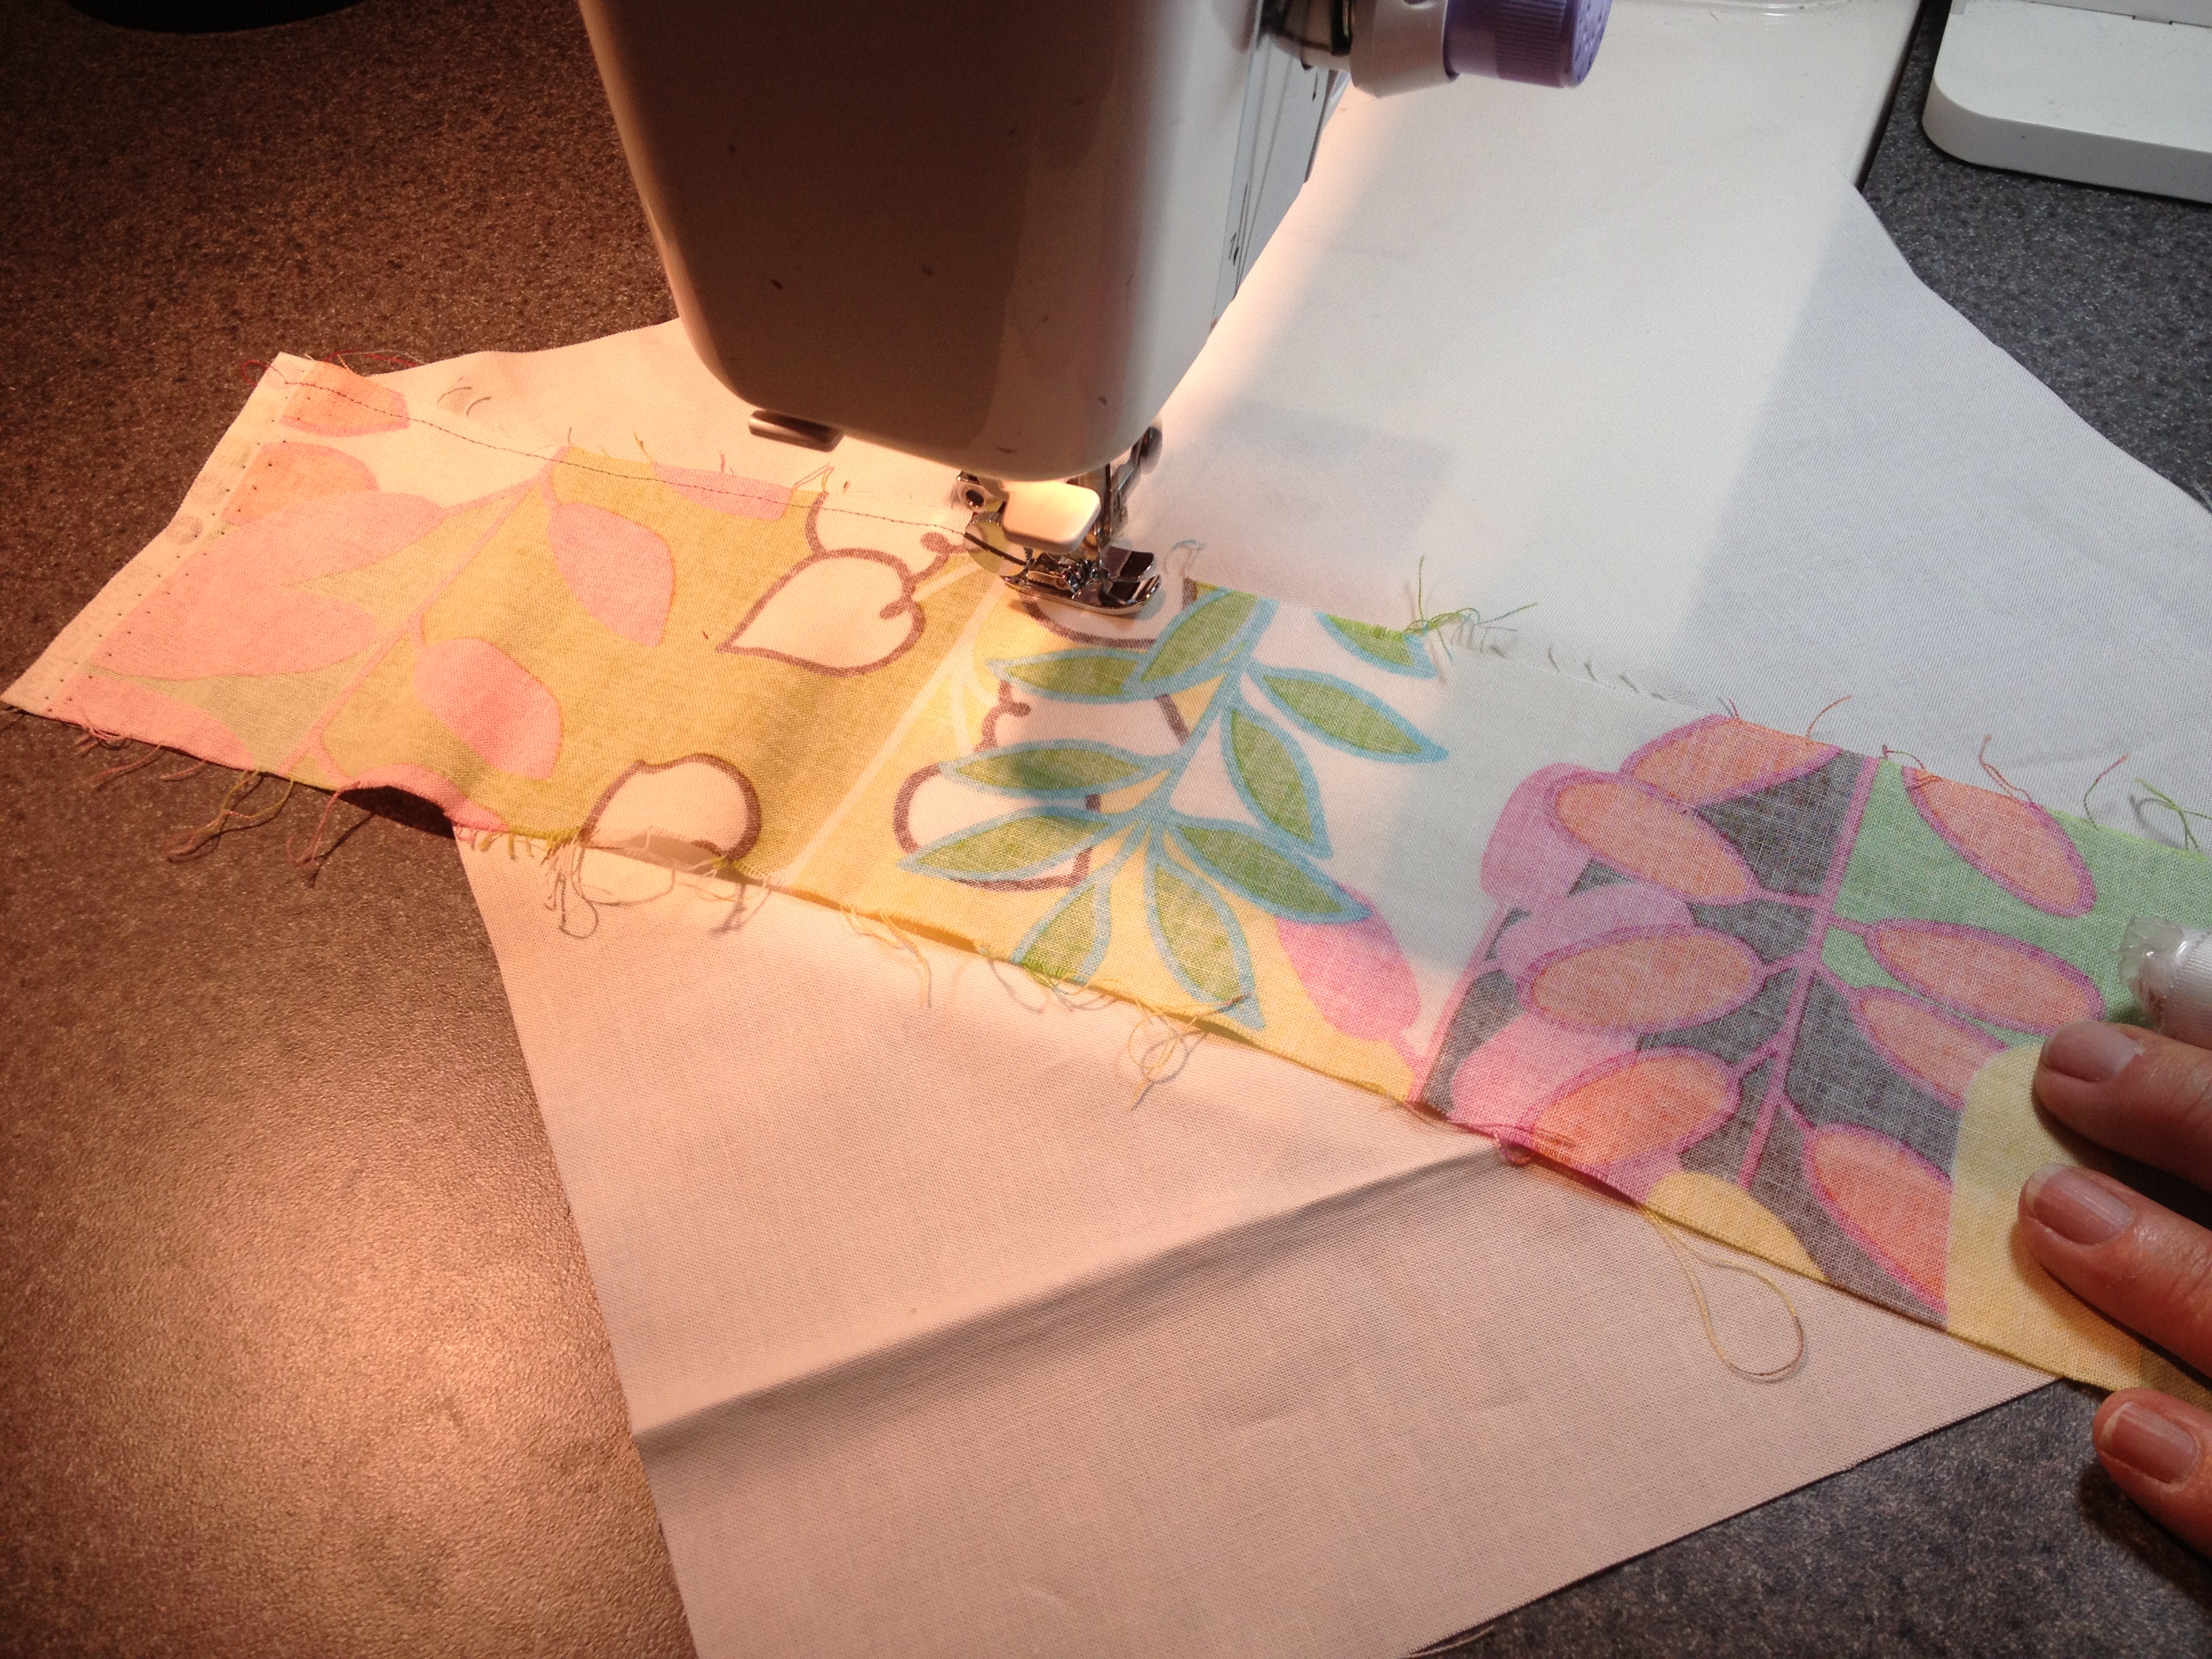
4. Add the next strip by aligning the edges of the first strip and the new (second) strip. Sew at least ¼” from the raw edge.
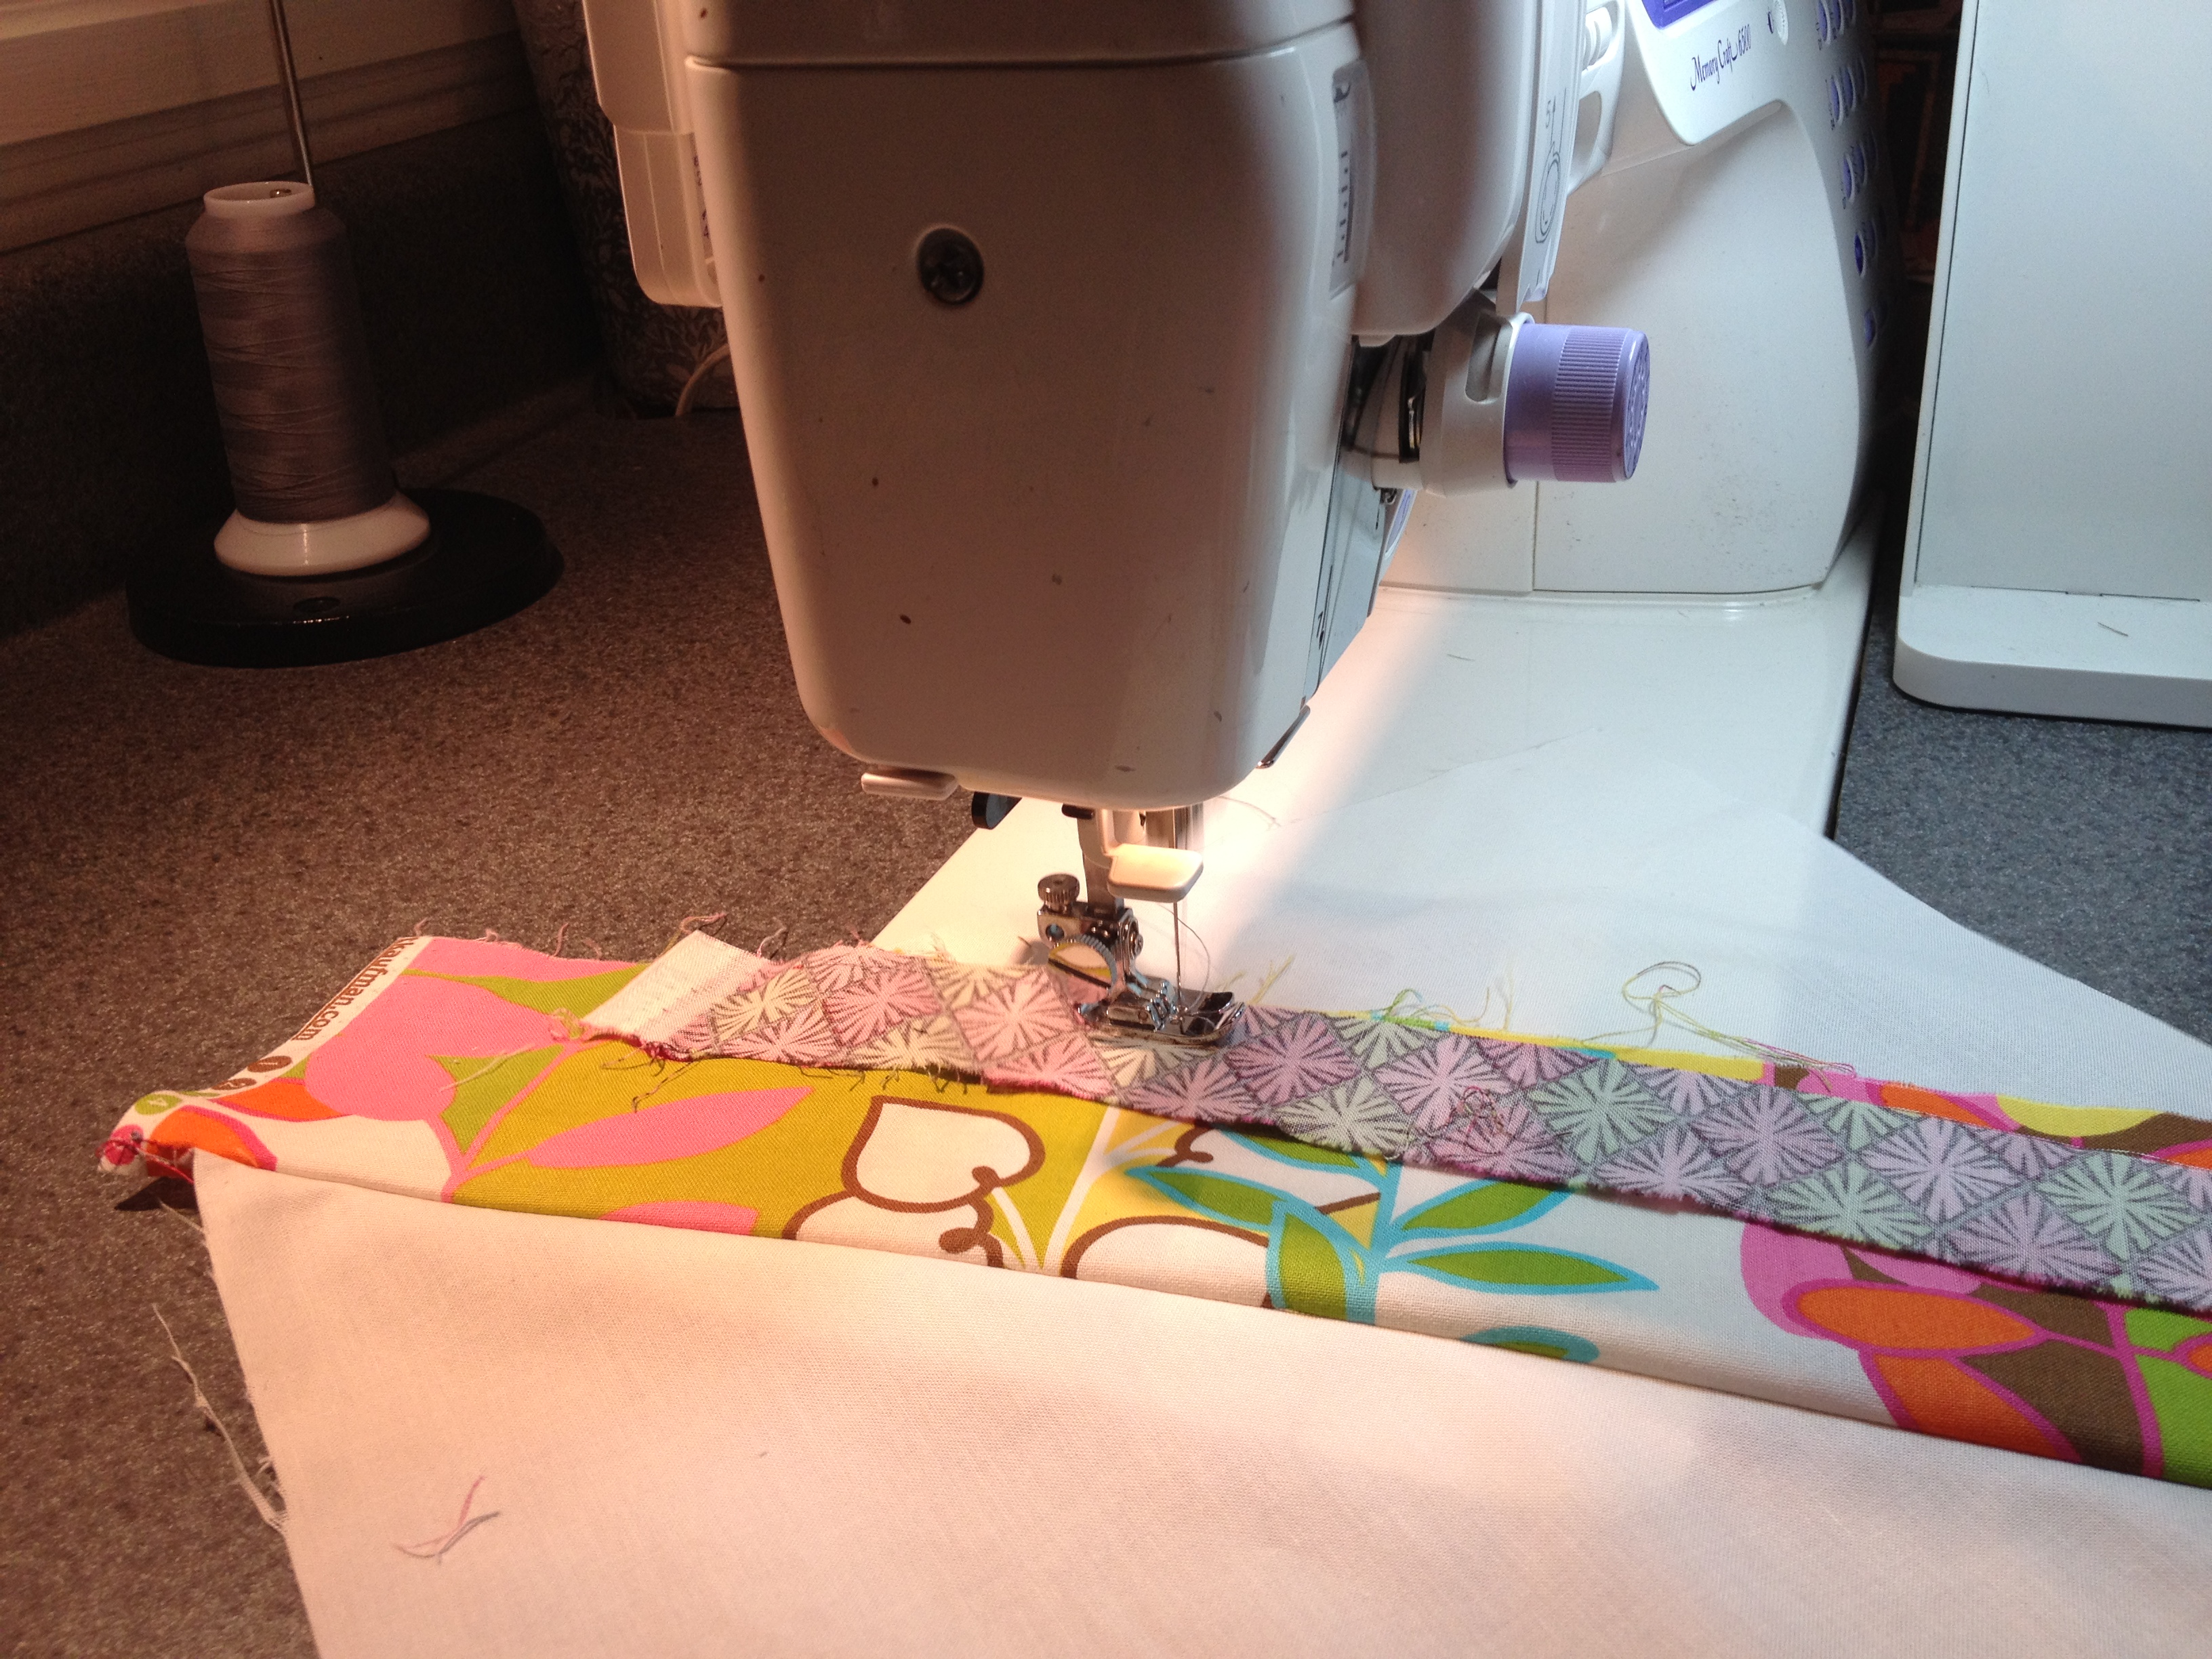
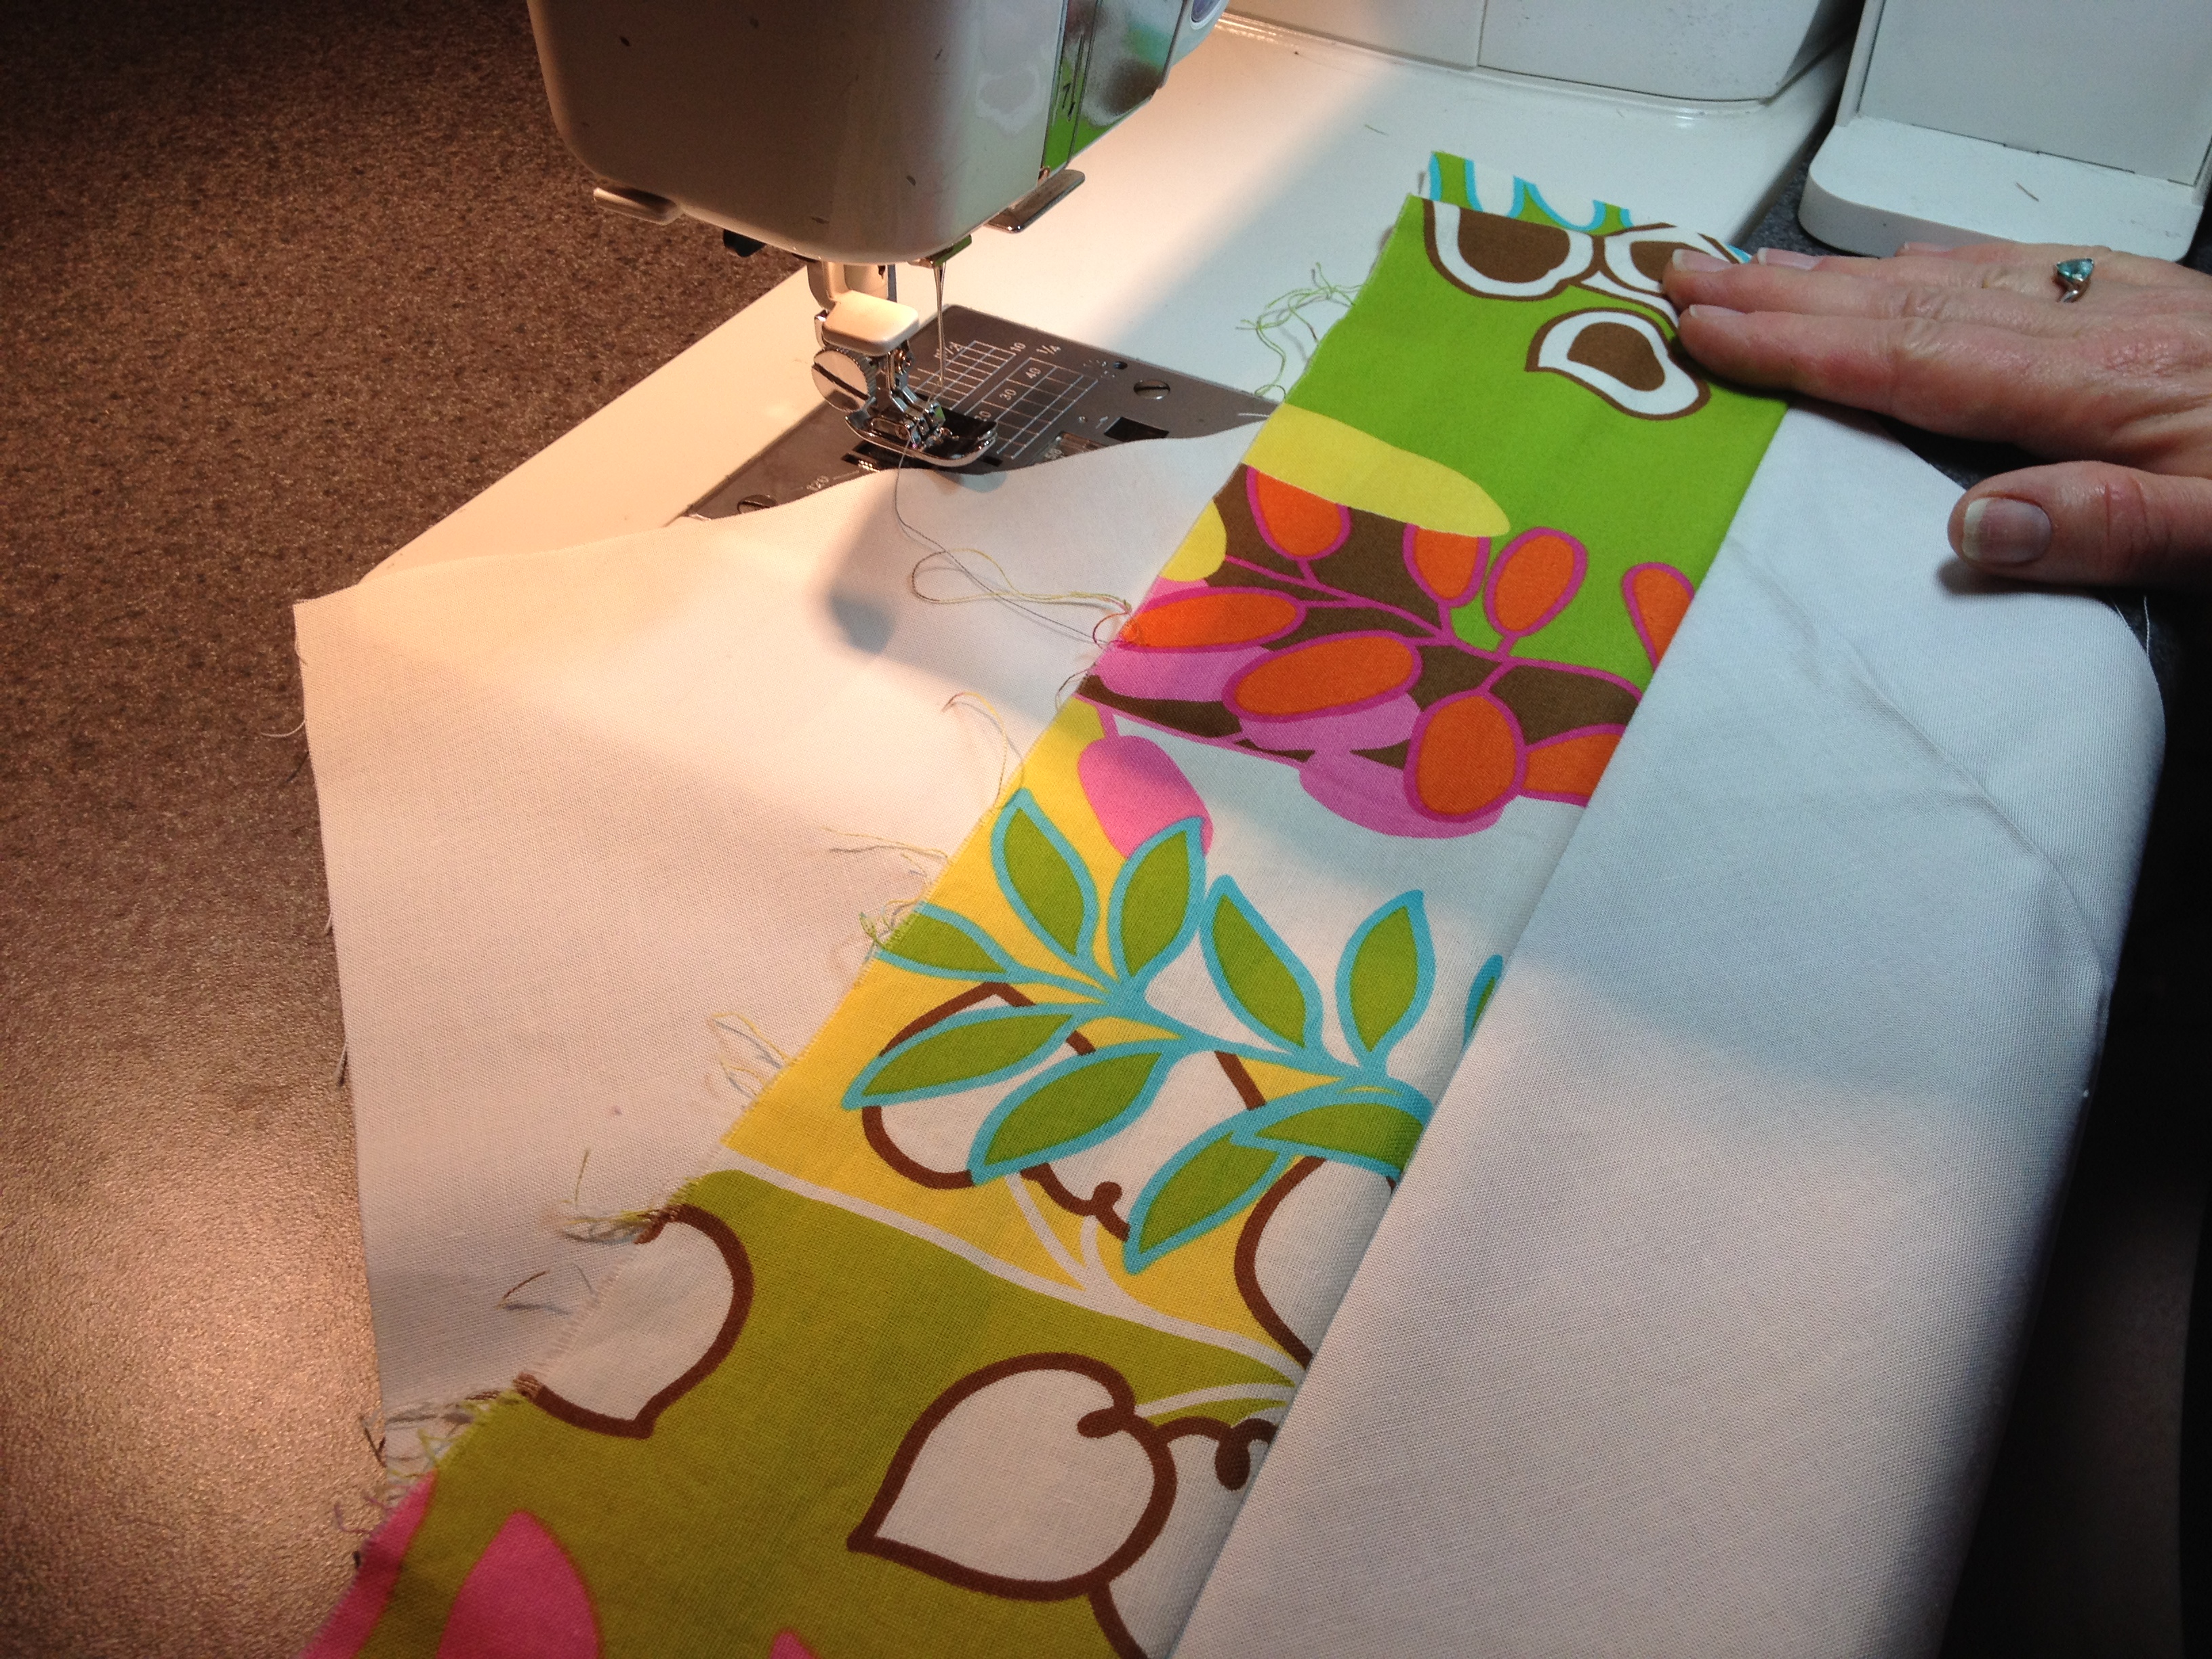
5. Keep adding strips in the same manner. The strips can be any width you have on hand, it looks best if there is a good variety of widths and fabrics. The amount of control or improvisational appearance you achieve in the finished product is completely in your hands. (In other words, the quilt police are off duty!)
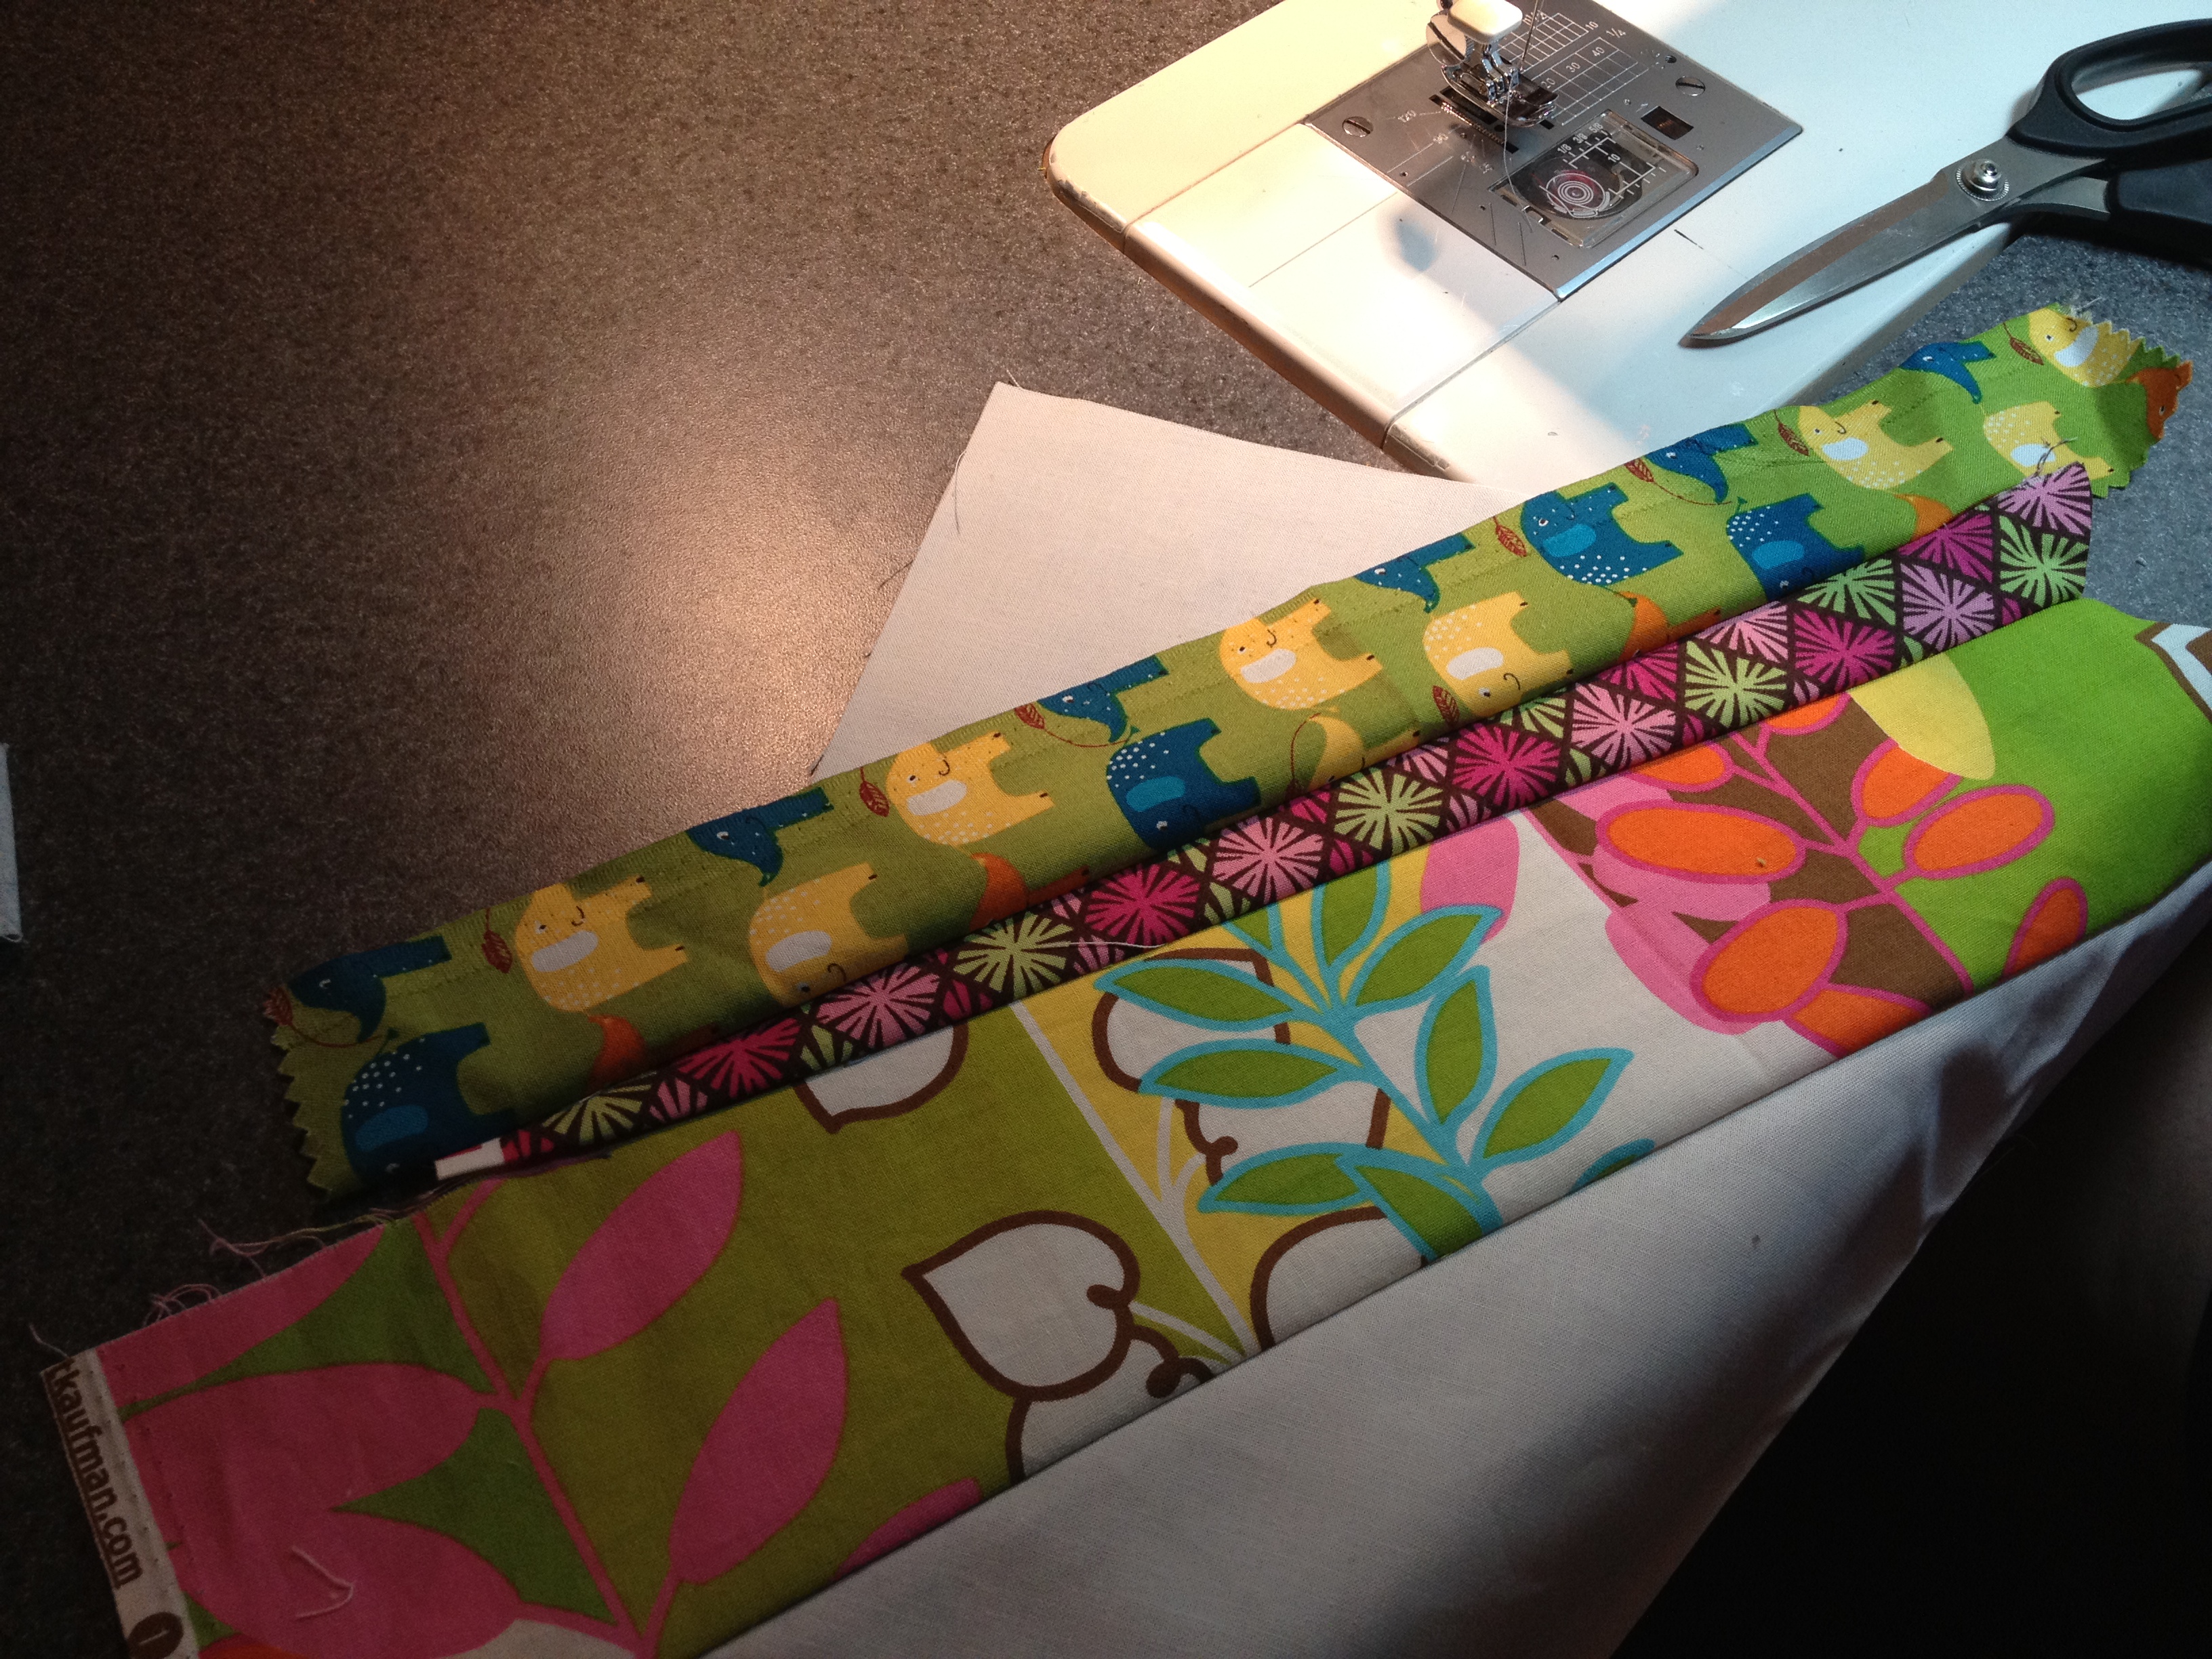
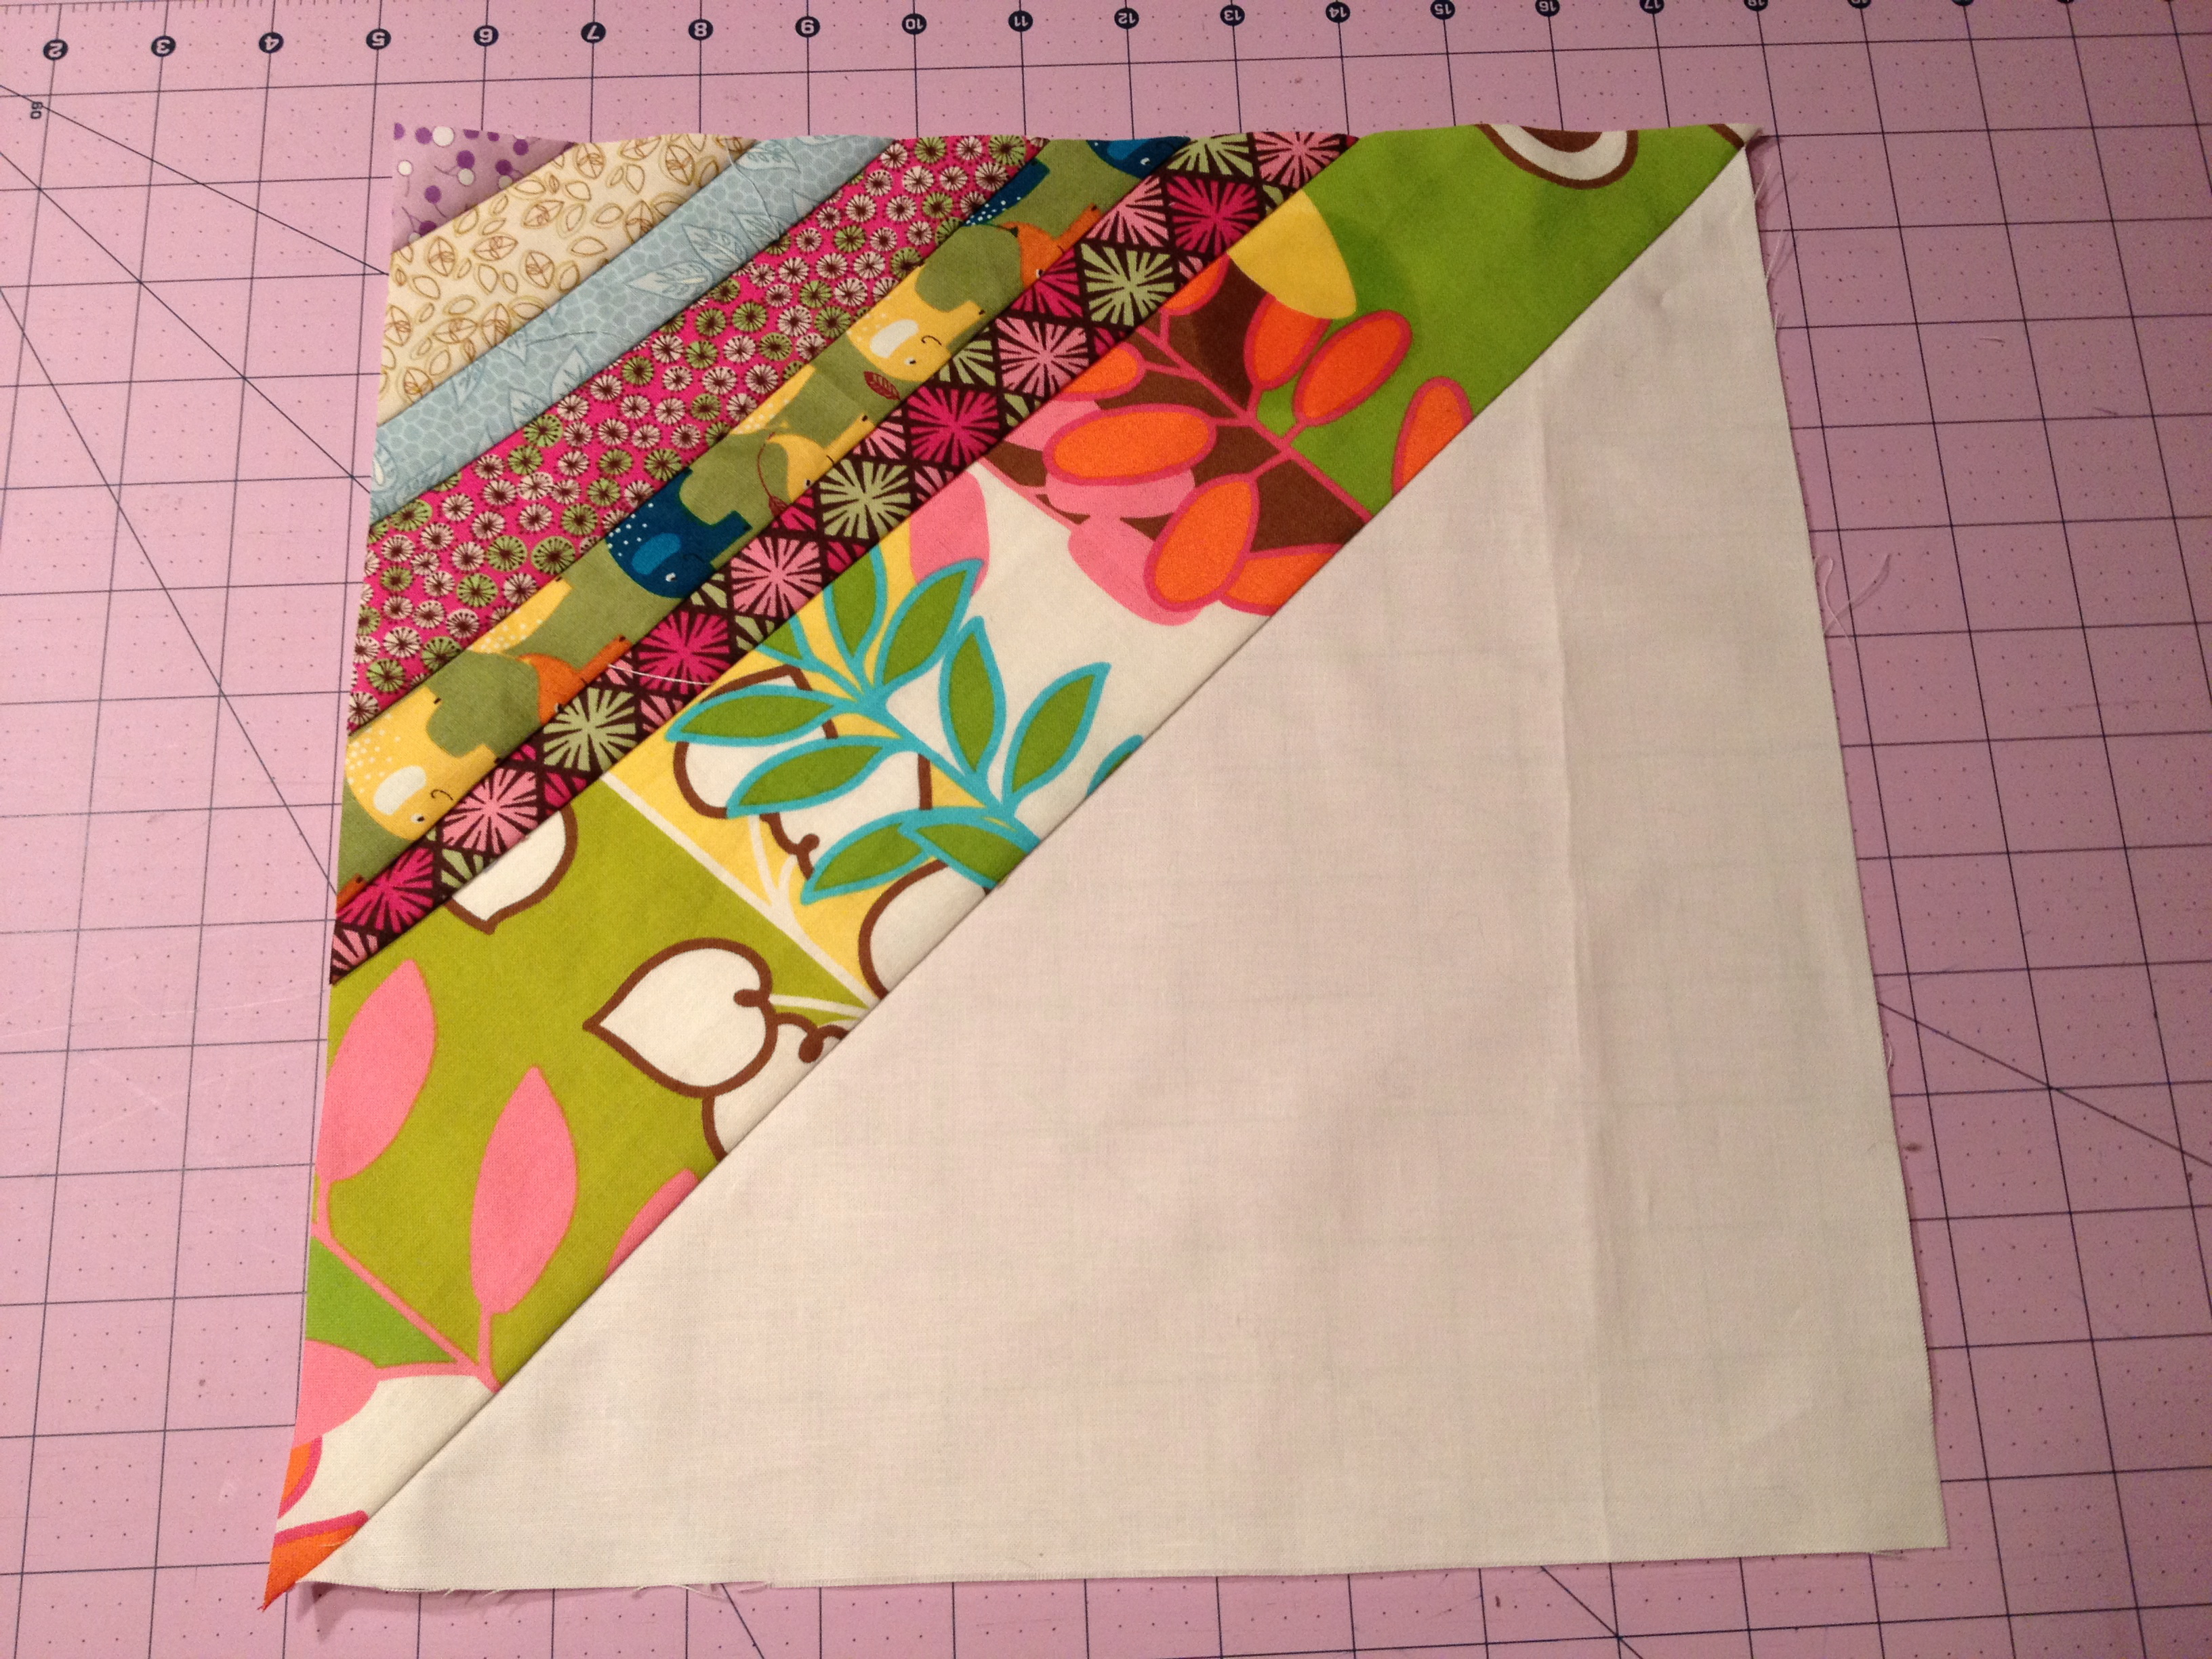
6. Continue until the entire half block is covered with new strips. Using the solid fabric as a foundation will help keep your finished block square.
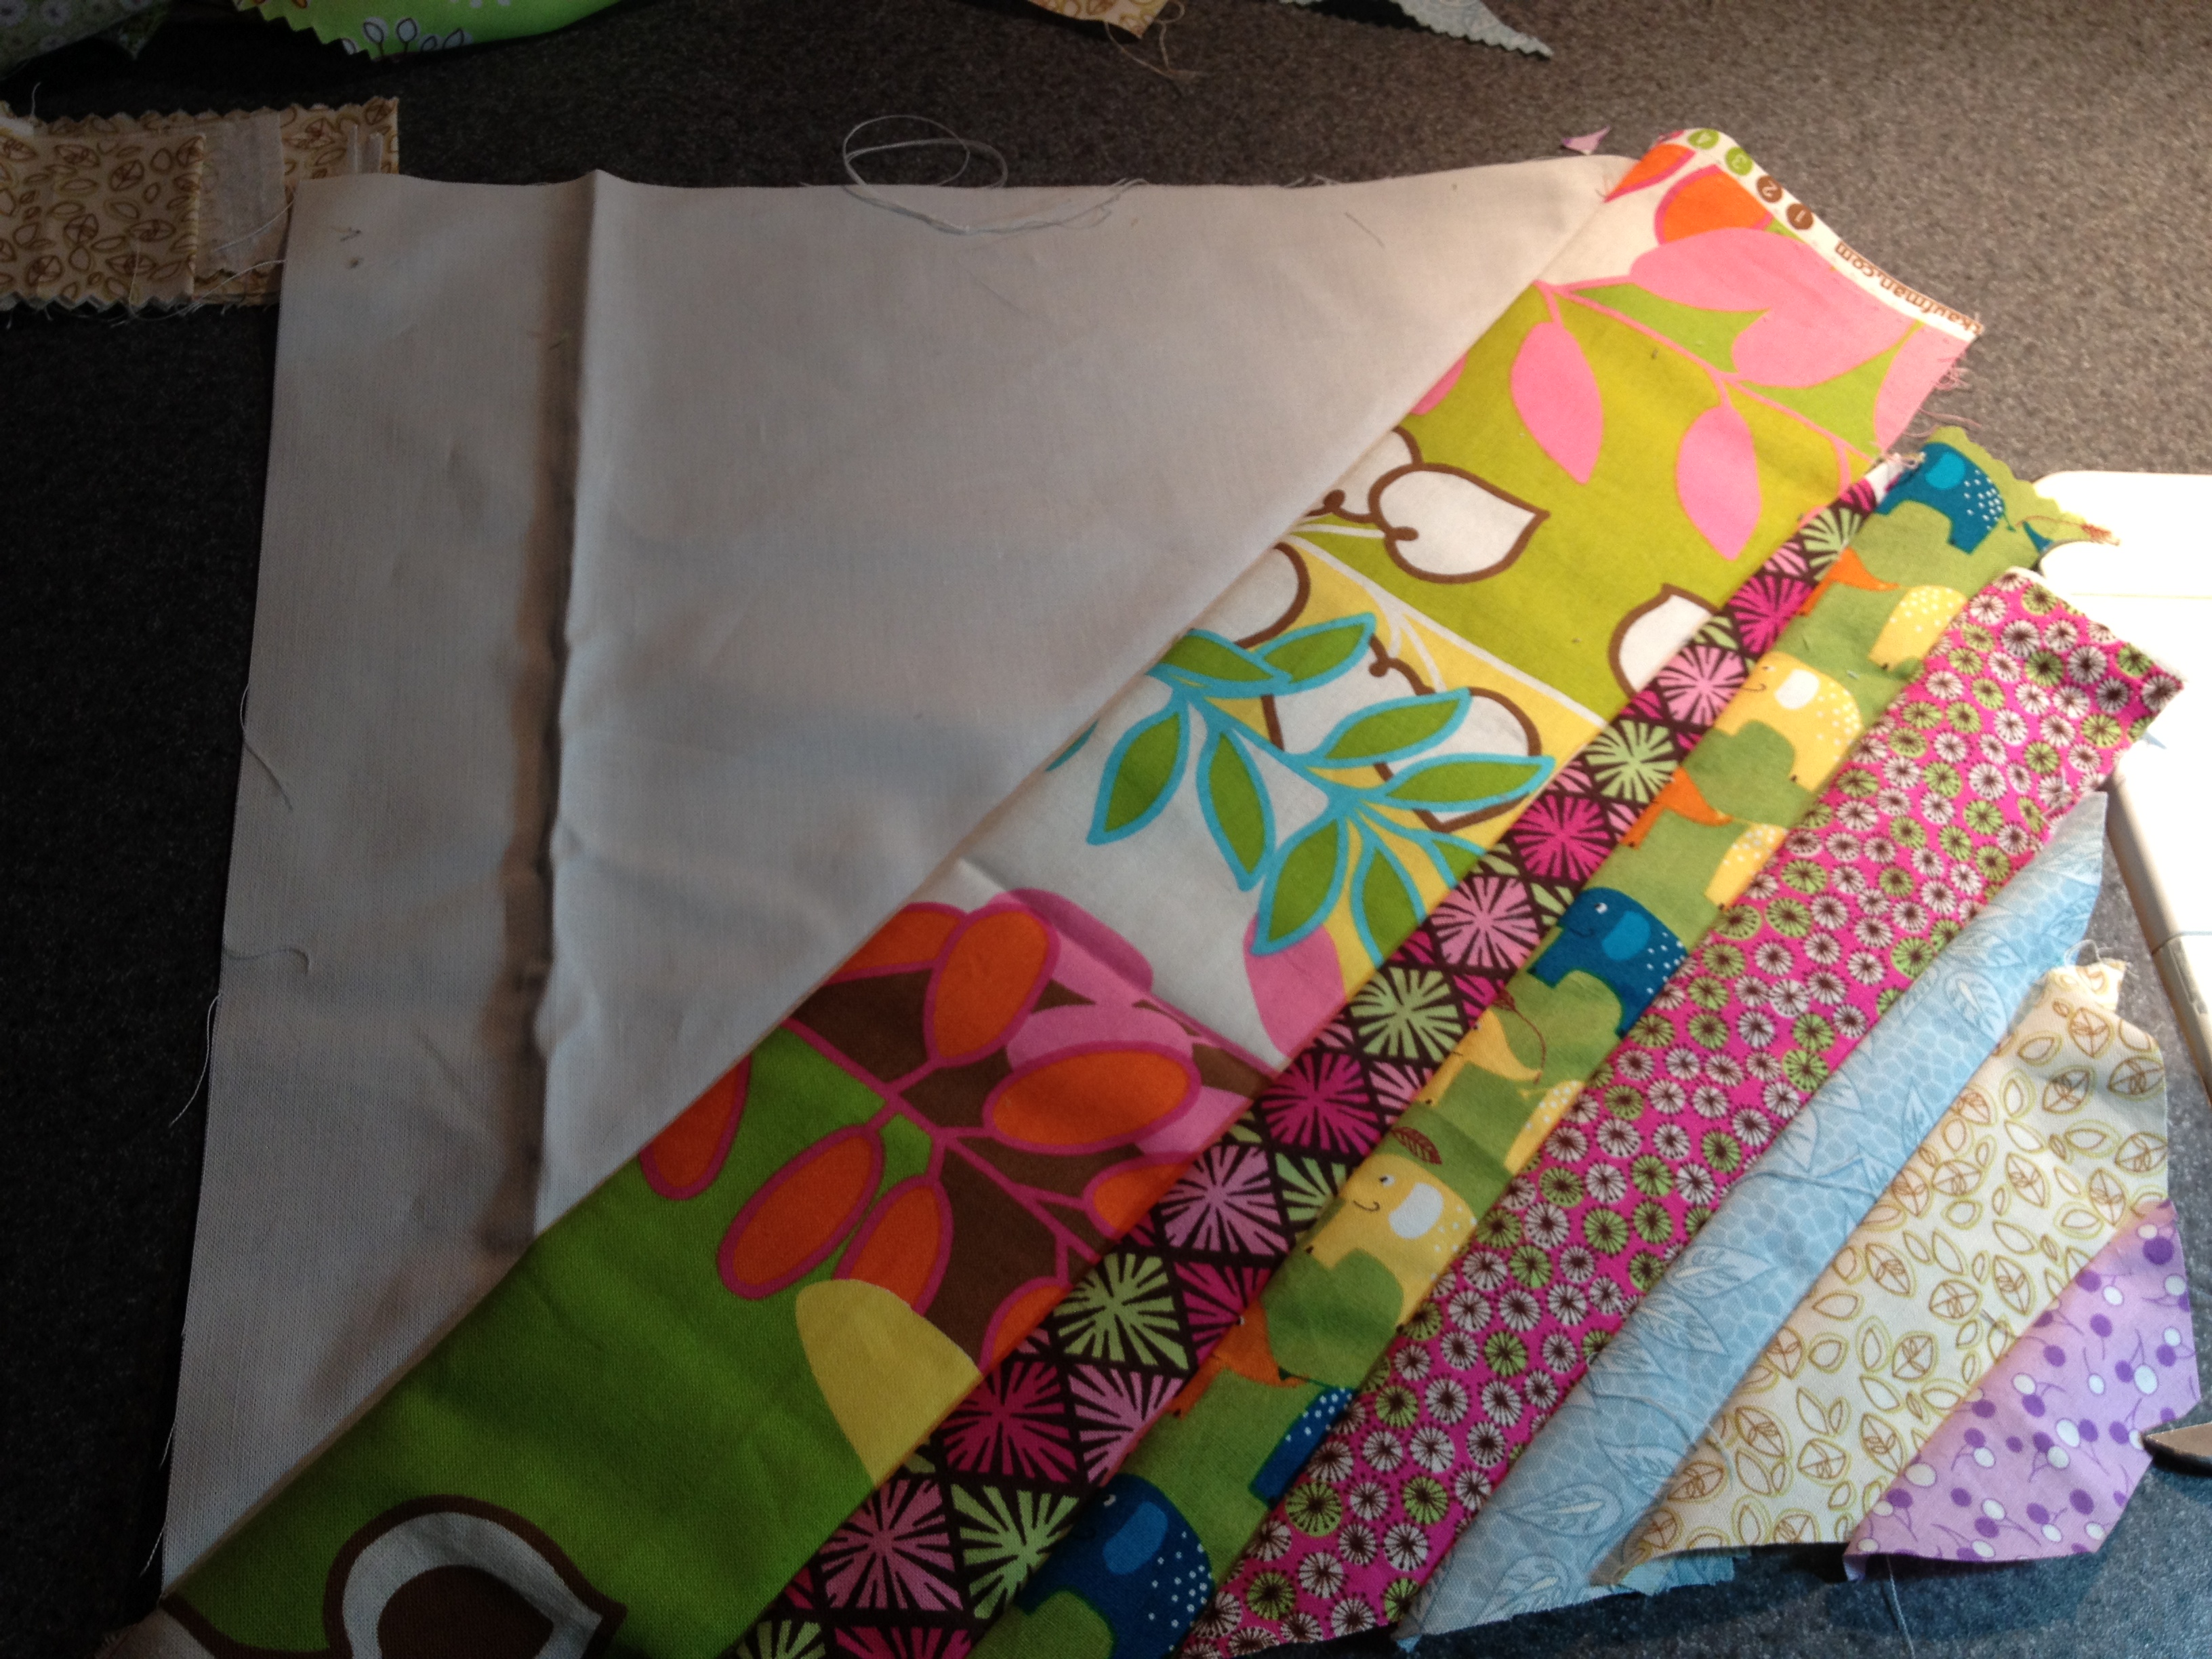
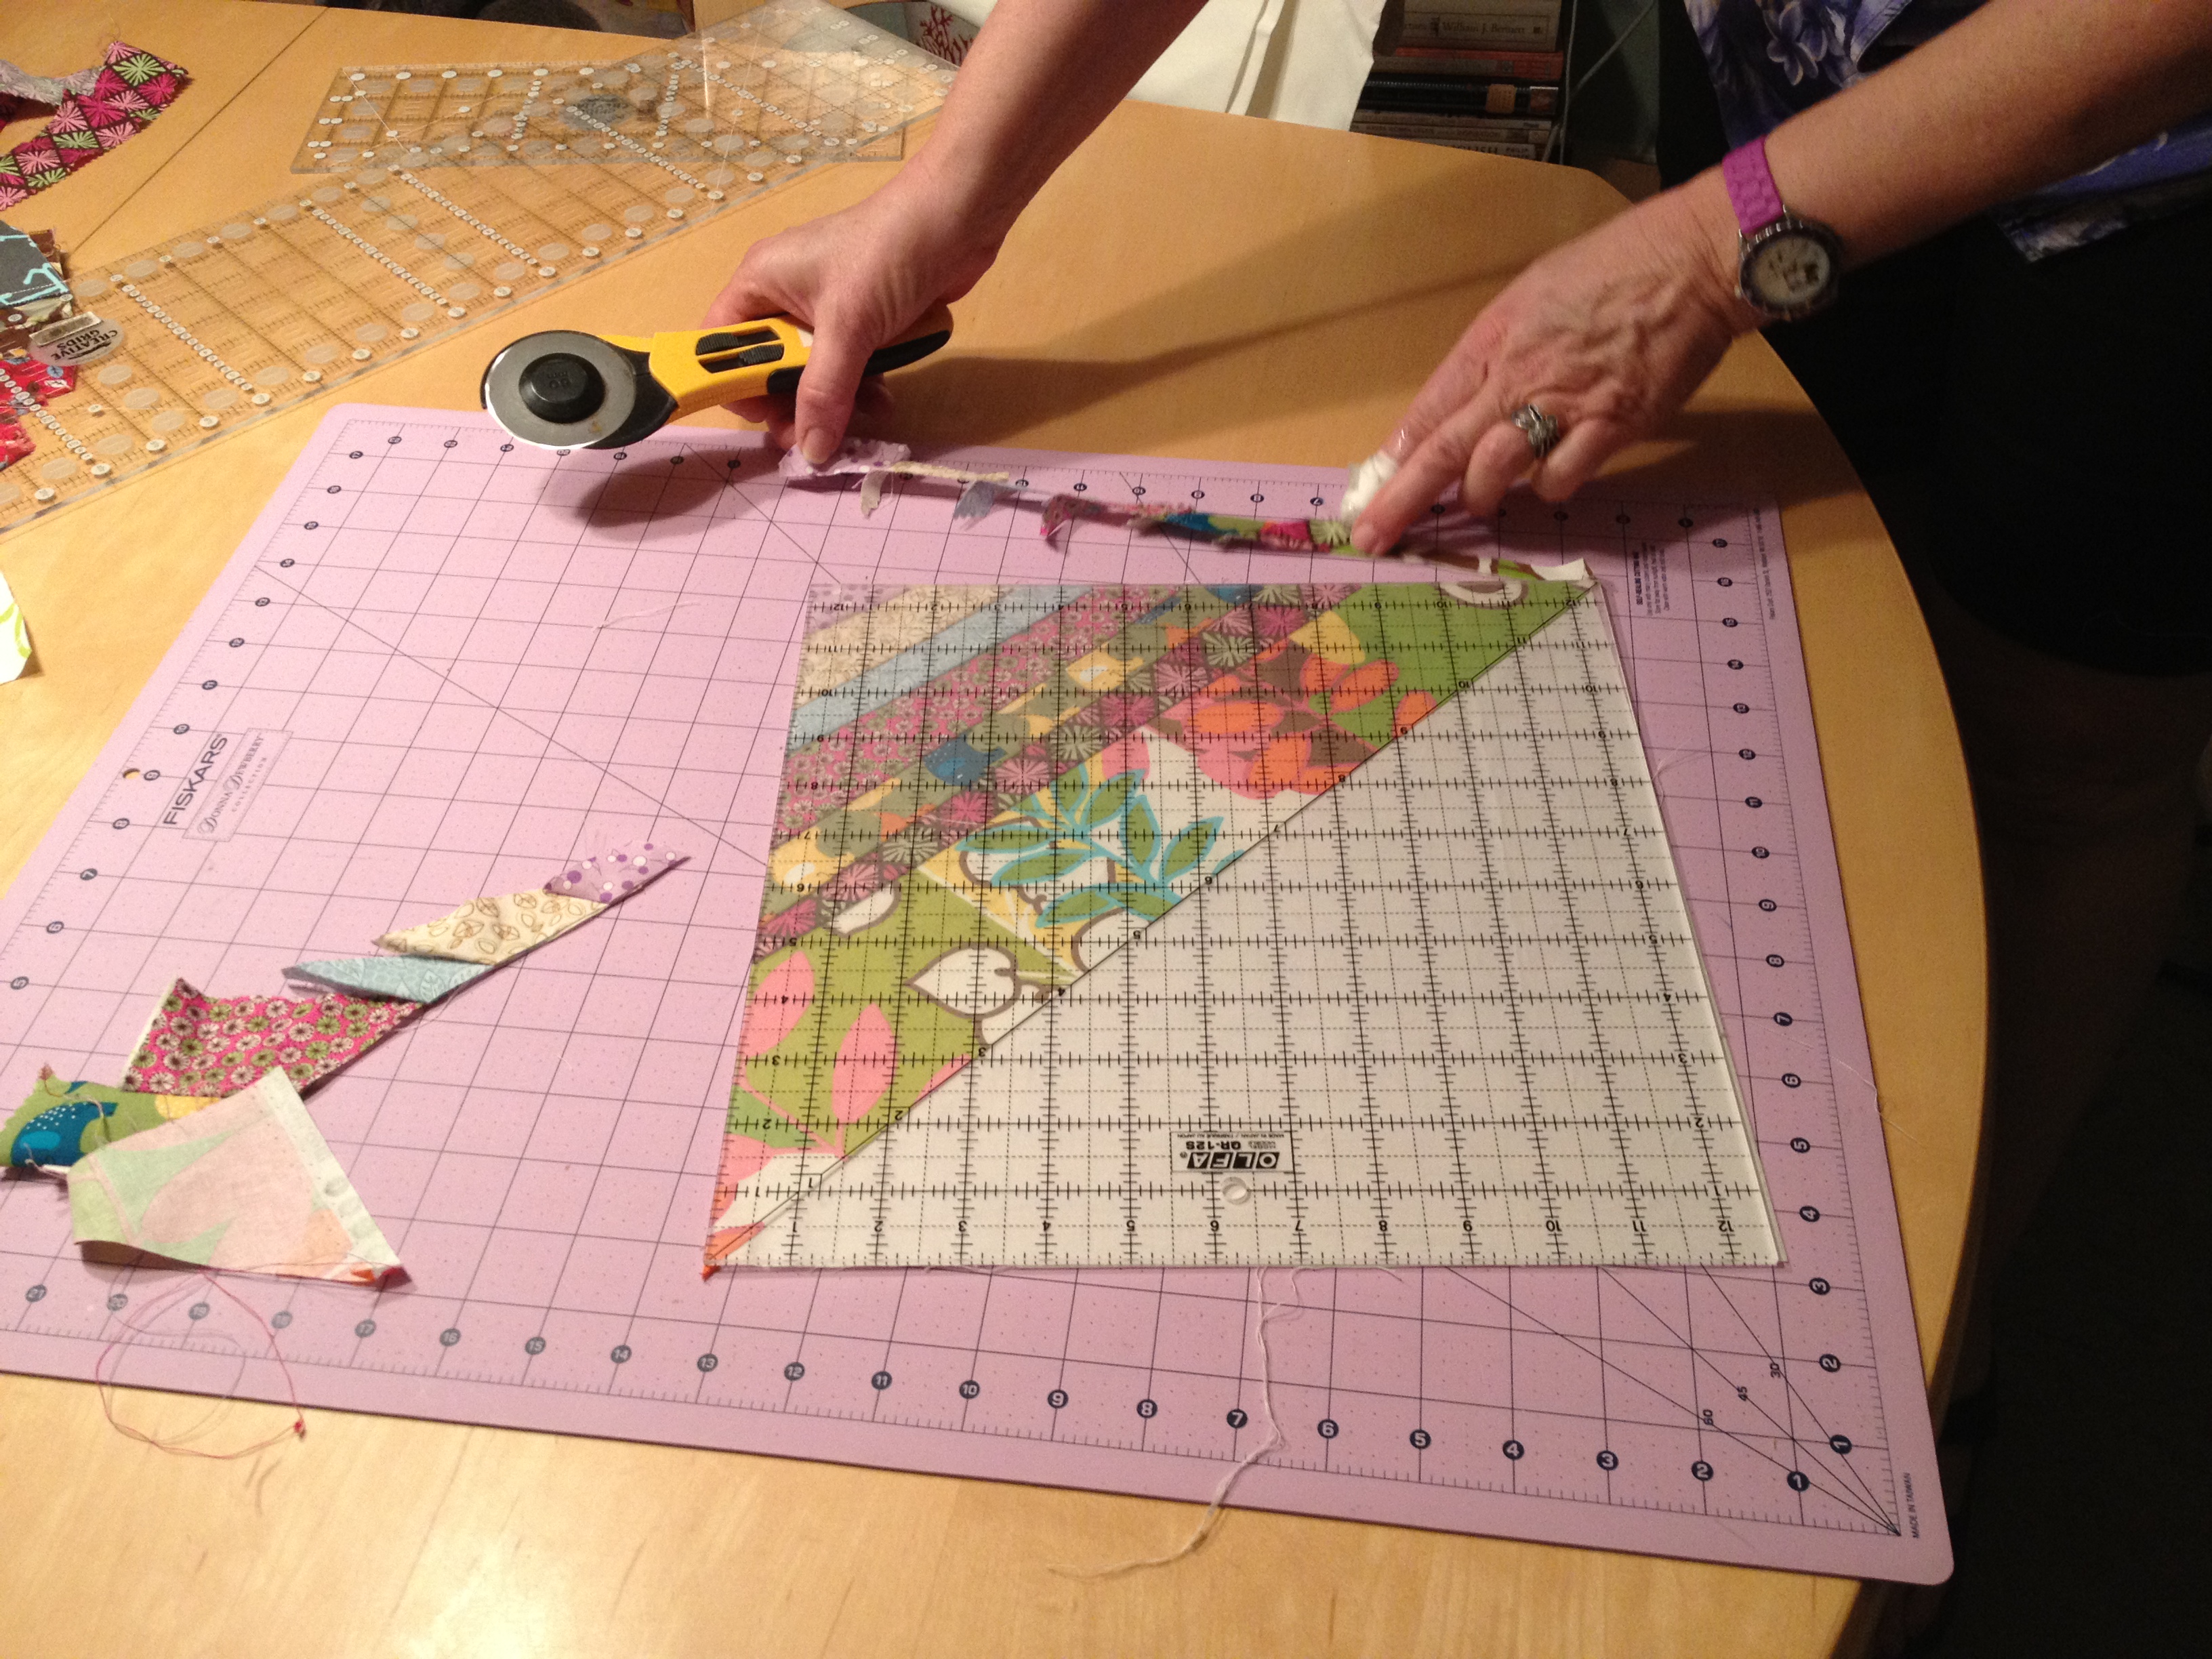
7. Once you have the block pressed and all of the strips in place, trim the new block square with a large square ruler. It is best if the ruler is at least the size of your finished block or larger; we used a 12 ½” square ruler for a 12 ½” square block.
This is a flip and sew method…you sew, flip, finger press, and sew again until your base fabric is covered. Fun and easy…go use up those leftover strips in your scrap drawer!
Fun, huh? Tune in tomorrow for Part 2, where Vicki will show you her version of a stacked wonky square (sort of) block.


{ 4 comments… read them below or add one }
Great tute Vicki! Now I have to dig out something for my background & get sewing!
Hi – You might add a note that says either 1. sew the strip, press, and THEN trim (referencing your first instruction about trimming the first strip) OR 2. just say trim at the end. If the strip is trimmed before it is flipped, the edges will point in the wrong direction. “Ask me how I know….”
Regards,
Deb
what happened to part 2?
Hi Kate: It’s running tomorrow. We had a blog tour that had to go up first.