
We asked Kerry Goulder of Kid Giddy to share with you how she uses her custom-designed dies made by Sizzix to customize for her signature dolls. The same dolls featured in our current Sew Myself Doll Challenge.
By Kerry Goulder
Hi, GenQ readers!
I have been so thrilled to see all of the #sewmyself dolls on Instagram lately. It’s been fun getting to know you and your personality through your doll creations.
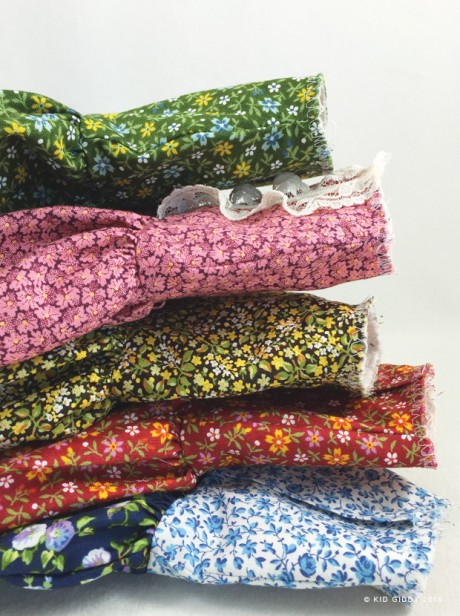
I wanted to share a few different things you can do to customize your dolls. Recently, while I was making all of the Little House on the Prairie ® (look-a-like) dolls for Andover Fabrics ®, I snapped a few pictures of the process and thought I’d share them here for you with some brief explanations.
To make the girls’ dresses, I used the same body piece as on the die, cutting about 2-3″ off the bottom. I then added a long rectangle piece of fabric that I had gathered together with my ruffler foot so the dress would be fuller. This piece slipped right over the body of the doll that I made using a skin tone fabric. In the picture you can see I serged the two body neck lines together so they would not shift around as I connected it to the head. TIP: The more layers you have to connect, the harder it can be to get them all lined up.
To make a button-down shirt, as I did for some of the girls’ dresses and for Pa’s shirt, you’ll need to cut three body pieces. Two will be used in the front and one in the back. To make the front, fold one piece under on the long edge and center it on the body. Double-stitch it down to the other body piece. Once you add the buttons, it gives the illusion of a button-down shirt. Trim any excess fabric away from the seam allowance to prevent bulk in your seams around the body, and add the buttons once it’s stuffed.

Pants are done the same way as the shirt. You can easily make pockets and add what looks like a zipper fly. Cut extra pieces from the body shape, cut off the top portion of the body, and fold pieces accordingly. Top-stitch the pockets before putting all the layers together. Stitch down the waist line on top of the body pieces (or shirt, as it appears). Trim seam allowances as necessary, and then sew up the body. Don’t forget to add a belt or suspenders, too. Jewelry pieces you can find at craft stores make great buckles.
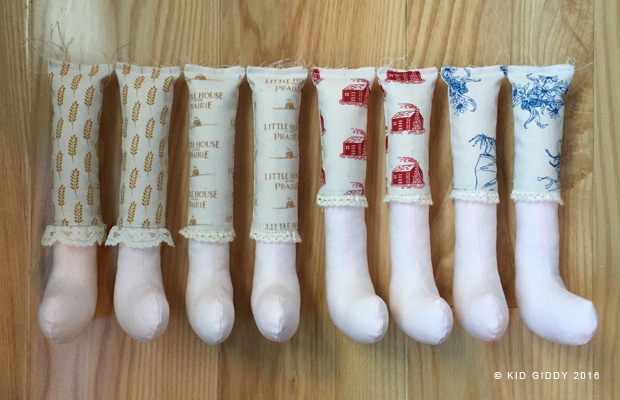
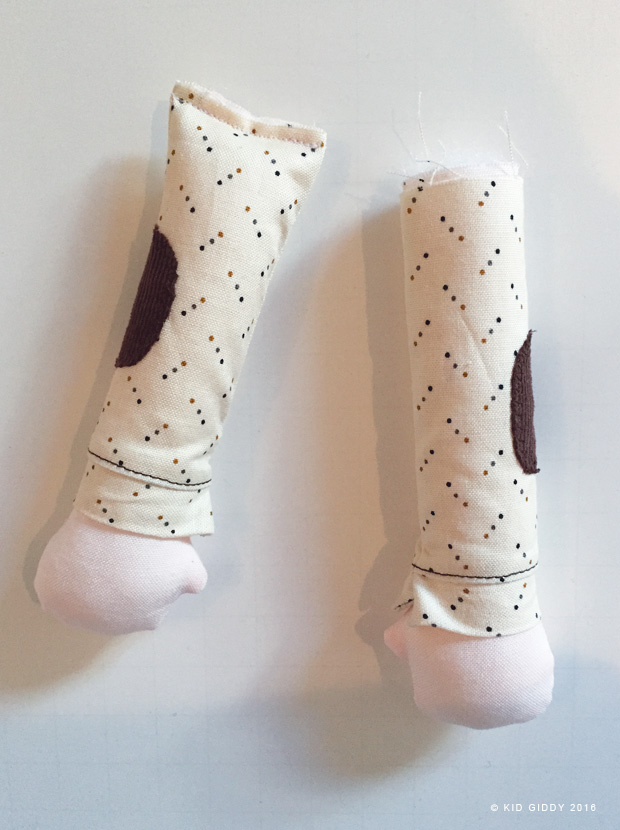
To make sleeves or pants/leggings, cut extra arm or leg pieces and trim to the desired length. You can add simple 1″ folded cuffs or a cute lace trim to place over the arms or legs for realistic or fun details.
To make some shoes, cut the desired fabric on the foot die shape and trim the top edge so all of the pieces are the same length. Sew them using a 1/8″ seam allowance and then top stitch a single fold hem. Be sure to place the shoe on the foot before stuffing the leg. If you are making tall “boots,” this is even more important because you otherwise won’t be able to get the boot on afterwards.

I hope this gives you a few extra ideas for making your #sewmyself Kid Giddy doll (or another one) and hope you continue to have fun making more dolls.

I’d love to see your dolls! Please be sure to tag me on IG http://instagram.com/kidgiddy or on Facebook http://Facebook.com/kidgiddy–Kerry
***
Pre-cut body kits for the Sew Myself Doll Challenge are available from Kid Giddy or Love Bug Studios. To enter your doll in the Generation Q Sew Myself Doll Challenge with Sizzix and Kid Giddy, simply post your photo on Instagram with the tag @GenQMag and the hashtag #SewMyself.
Quilt. Sew. Live. Breathe.

No Comments