
Picture it: Autumn in the Pacific Northwest and you’re on a four-day quilt retreat with Joe Cunningham, aka Joe the Quilter, and his q-colleague Patricia Belyea of Okan Arts. Not sure what you’d experience? Well, Joe offered to give us all a sneak peek at his quilt-making magic, and we jumped! If his guest blog post is any indication, his classes are incredible. More on the retreat at the end. Now, here’s Joe….
Portrait Problem
By Joe Cunningham
When I make a quilt, I often try to think of a new way to work, sort of a new way of making quilts every time. When it works out, I surprise myself with images and techniques I find in these unknown realms. When it doesn’t work out, I end up suffering the consequences of of my ignorance. Oh, well.
Like this one time, when I decided to make a self portrait. A woman had given me a couple of grocery sacks full of silk scraps from a hippie shirt factory that had closed in 1973. These silks are beautiful–some plain, some richly printed with flowers. The fabric is so thin it is translucent, but so strong you could tie pieces together and escape from a mental hospital by dangling it out the window and climbing down. (Why I think of this particular example, I don’t know.)
Anyway, looking through these scraps one day, I found a rolled-up bunch that were more or less square and tannish brown, and I was struck with a lightning bolt of inspiration: I could paste a bunch of these onto a white background in a rough shape of my head and make a self portrait on them somehow! And I could try using a new technique like fusing them to the background and then quilting them in place! Never having tried fusing before–especially silk–I decided to start that very minute. First, I needed the image. I had a photo of myself I had taken with an app on my iPad, called Paper Camera, which transforms any photo into a drawing. Like this:

into this:

Now that I had a computerized drawing to work with, I decided to make an actual drawing in my sketch book, simplifying the image even more:
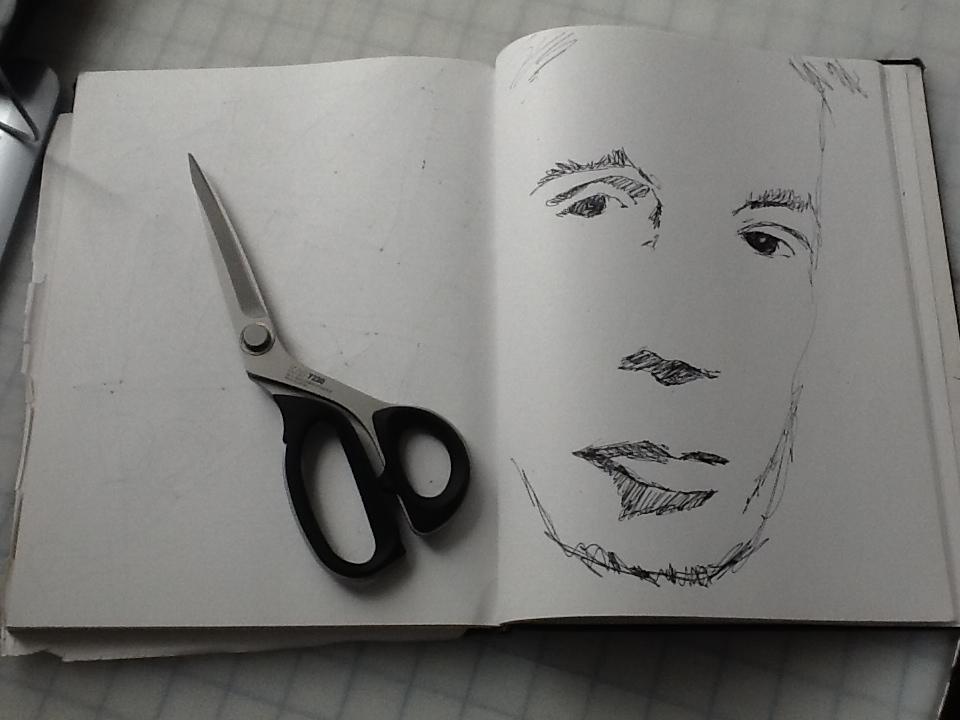
As you can see, Paper Camera seemed to leave off my glasses, and to eliminate wrinkles and most signs of aging, an approach I loved. Now I had the idea of how to make my image, which would be to make my brownish field with rough squares of silk and then apply a few bits of black silk to indicate eyes, lips and etc. First I made a test piece to see if it would work.
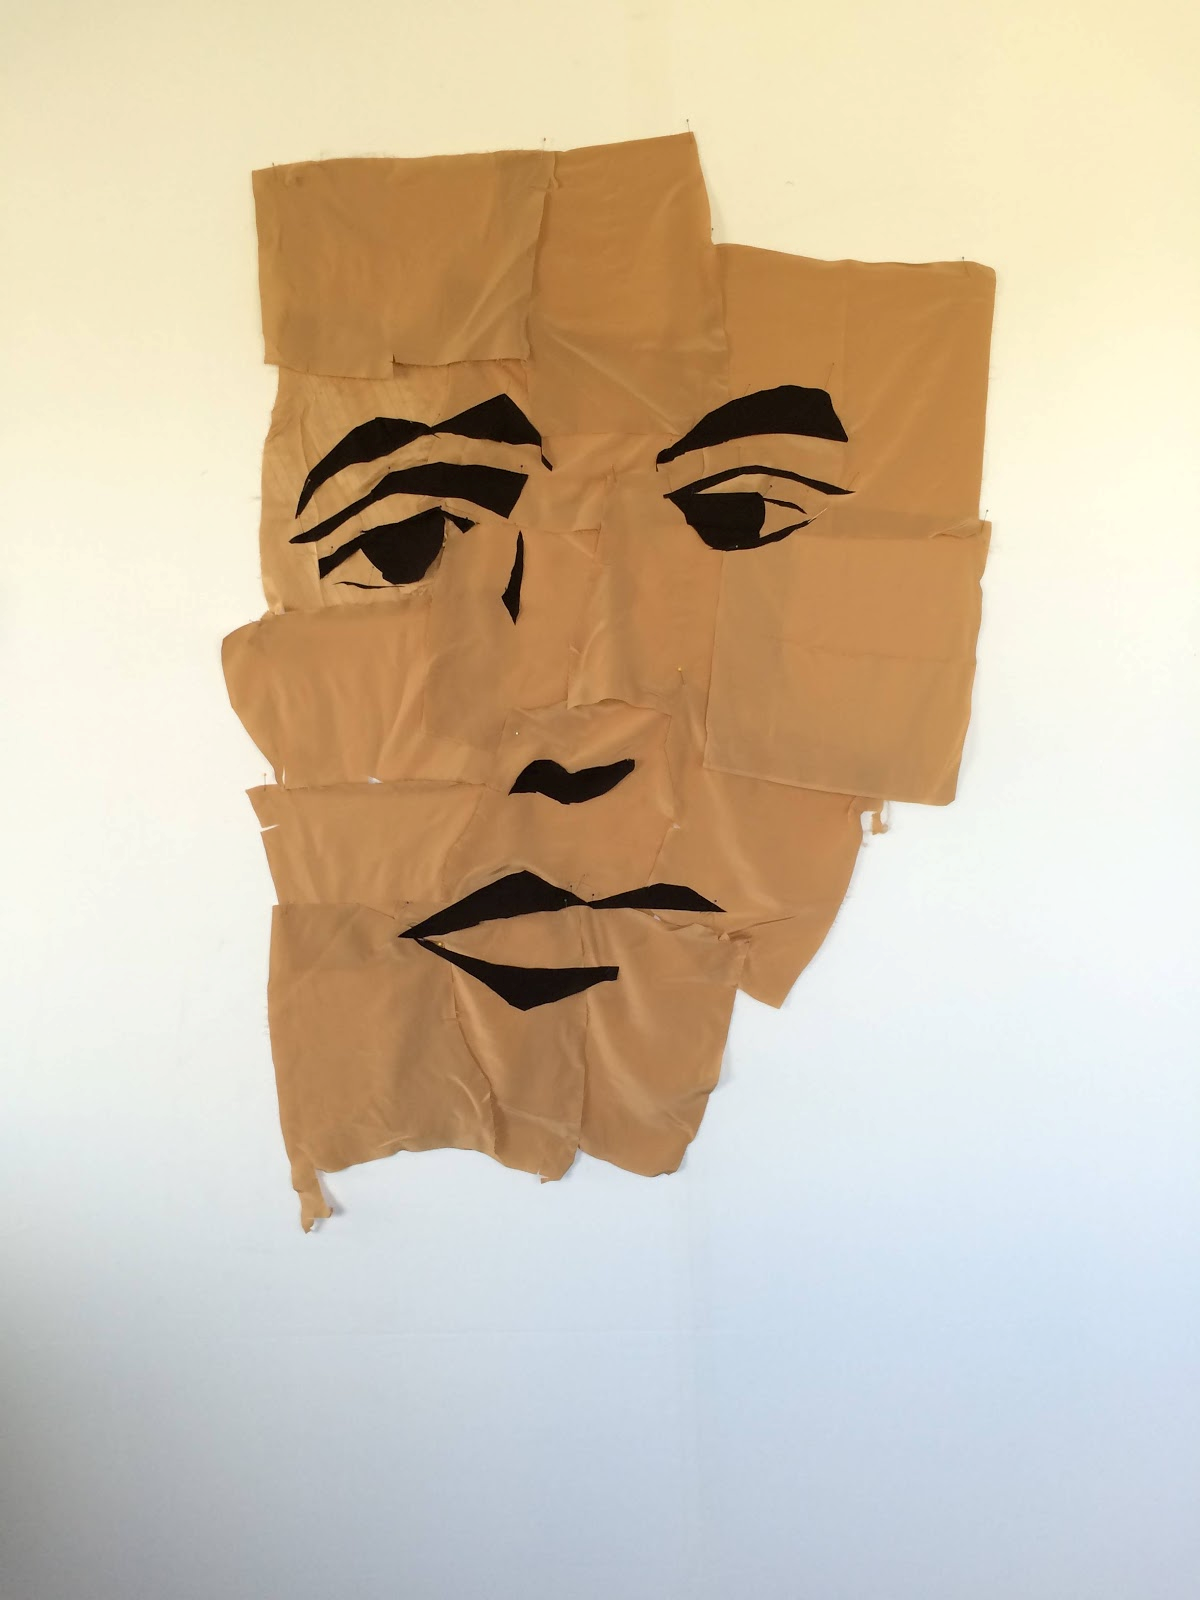
It worked well enough, but I ended up looking sort of grumpy and crazy. That’s when I figured out I should use an overhead projector to shoot the drawing onto the background so as to have a more reliable way to get the look that I wanted.From there I could just spray adhesive on each piece of silk and build up a background, then cut some facial features freehand and lay them on.
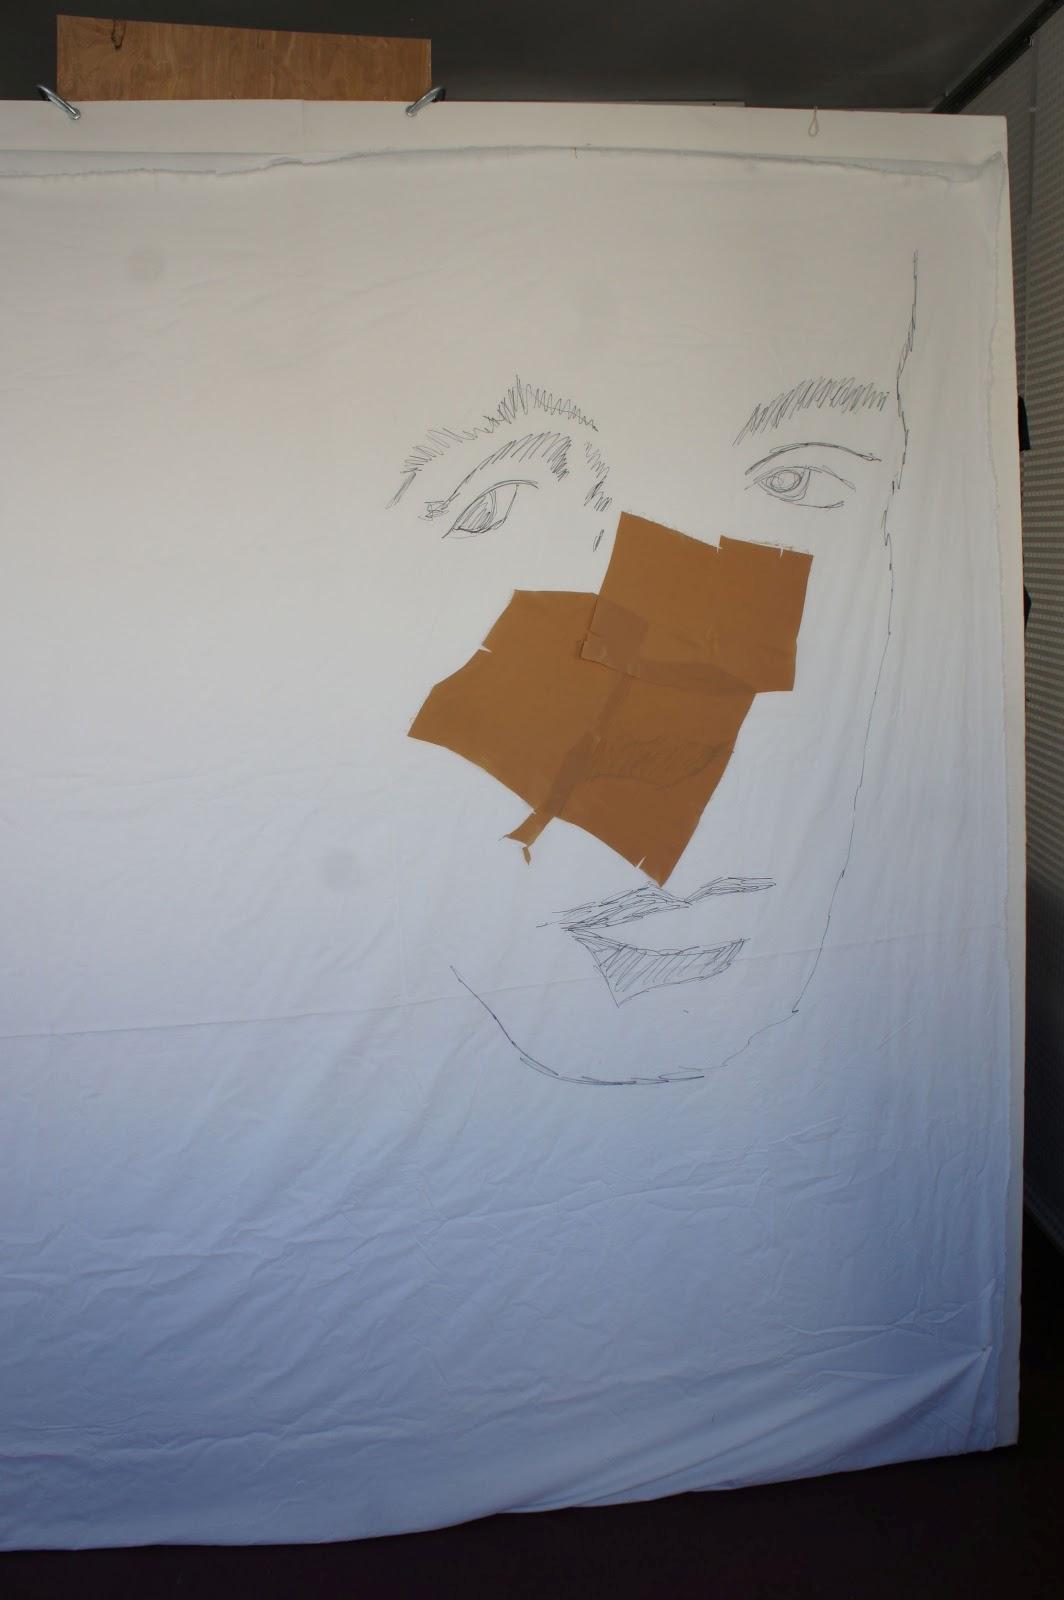
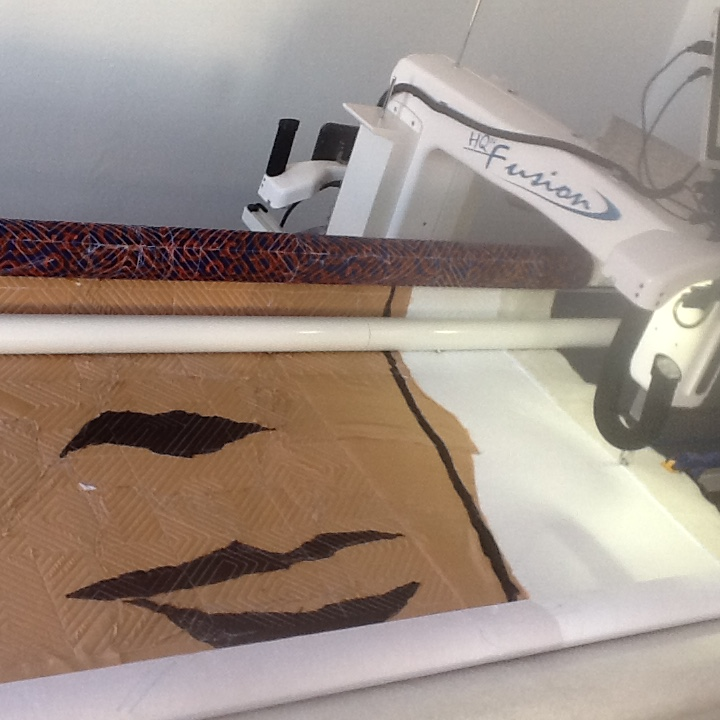
Note the way the top piece of silk is starting to fall off the background in the picture below. I did not realize the significance of this until I put it in the longarm frame.


 Ta-dah! Quilt top done! For the quilting design, I came up with a fiendishly difficult grid made of diagonal lines that would devolve into a field of leaves. Quickly, I loaded the whole thing into my Handi Quilter, sent the digitized quilting design to the ProStitcher, and turned on the machine to watch it do my bidding.
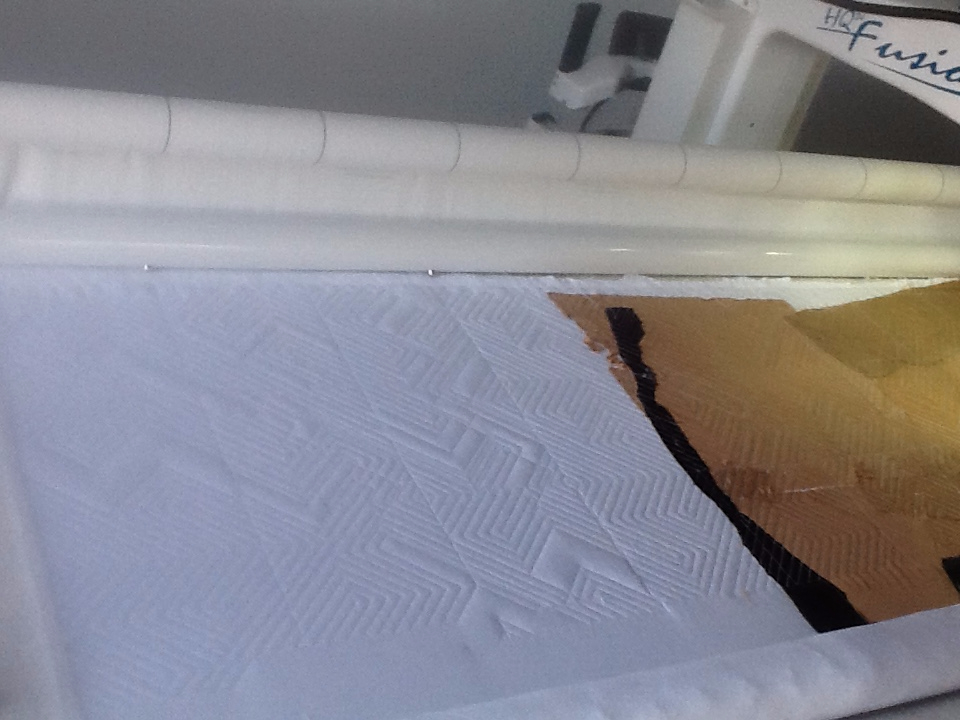
The first section, which was the all-white section on the upper left of the top, went smoothly, leaving me free to sweep up, file papers and clean up my quiltmaking messes. But when the machine got to the first piece of silk, I learned that my cavalier attitude might possibly lead to some unforeseen problems.
Iinstead of sliding smoothly over the lightly fused silk, the hopping foot slid right under it, and within approximately 2.3 seconds quilted itself in beneath the silk, jamming the machine and causing the motor to make plaintive, urgent squawks of distress.
“Oh,” I said. “Darn it,” or something like that. Thinking maybe it was a one-time accident, I cut the hopping foot free and tried again. All was well for about 15 seconds, until it hit the next edge, where it repeated the slipping-under-and-quilting-itself-in routine. This, I learned, is why the ProStitcher screen has an EMERGENCY STOP button, so the machine does not tear itself apart if it has quilted itself beneath the silk and is straining to continue sewing.
So, this was my situation: The quilt was already loaded onto the machine. It already had a big section quilted, and now I would have to somehow secure all the edges of my poorly fused self portrait. I had already decided that my technique here would be rough, what with the slapdash brown pieces just laid on willy nilly. Why not take matters in hand and use the handlebars to guide the machine to stitch all around the edges of each piece? Once all the edges were secure, I could return to the computerized quilting and sit back with a martini or something.
That was when I learned that even working carefully with the hand guided system, I could still manage the “quilting itself in” trick, jamming the machine and finally breaking it! Yes! This time when I cut the hopping foot free, it would not lift, remaining clamped down on the quilt top, immovable.
“Oh boy,” I thought, or something like that. “Now you’ve done it!” Hmmm. Lemme see. Oh, right–Handi Quilter has a legendary tech support department. The guy I talked to there explained that nothing was actually broken. A thing had come off the other thing and needed to be put back on the thing where it belonged. It is a simple repair, and he even pointed me to an online video that showed how simple it was. Great!
It turned out that all I had to do was to pull the three rails of the quilt frame with the quilt sandwich out of the table, lay the enormous sewing machine on its side, unscrew 15 or 20 bolts, open up the entire thing by removing the top half, and then put the thing back on the other thing. Then, of course, I could replace the top half of the machine, replace all the bolts, stand it back up, and reinstall the quilt!
What had seemed like an almost impossible job turned out not to be too bad, and I actually pulled it off without a hitch. Altogether it only took a couple of hours, much better than sending it off to the manufacturer and waiting for a few weeks. It was empowering to be able to fix my own longarm, and now I would know to be extra, super, meticulously careful when sewing along the edges of my silk pieces.
Once I had the edges all secured, I could release the ProStitcher again and have it quilt my groovy diagonals across everything. One swath across the quilt and I could roll it, secure the edges of the next part and let er rip again. Oh, it is a beautiful thing to watch the robotic quilting machine.
Finally, having reached the bottom part of the face and secured every last bit of silk to the white muslin background, I could start the machine on the left side and watch it work itself across. (Or, more precisely, I could skip down to the coffee shop while it was working itself across the quilt! One Americano, please, with room for milk!) When I returned and opened the door to my studio, however, instead of hearing the steady workings of my beautiful machine, I heard only a sort of ominous hum.
Somehow, the machine had gotten stuck in a whole new way while I was out. It had somehow jammed in place on the wide open white section, and had pounded and pounded until it had ripped a three-inch hole in the quilt. I had to cut it free.
“Oh, no,” I said–or something like that.
By now I was sick of the whole thing. I just wanted to get it out of my frame and folded up on a shelf somewhere. What to do? That was when I remembered the super strong silk I had so much of. Quickly I grabbed a piece of that and laid it on the top, grabbed a piece of backing and basted it to the back, and quilted the repair like crazy.
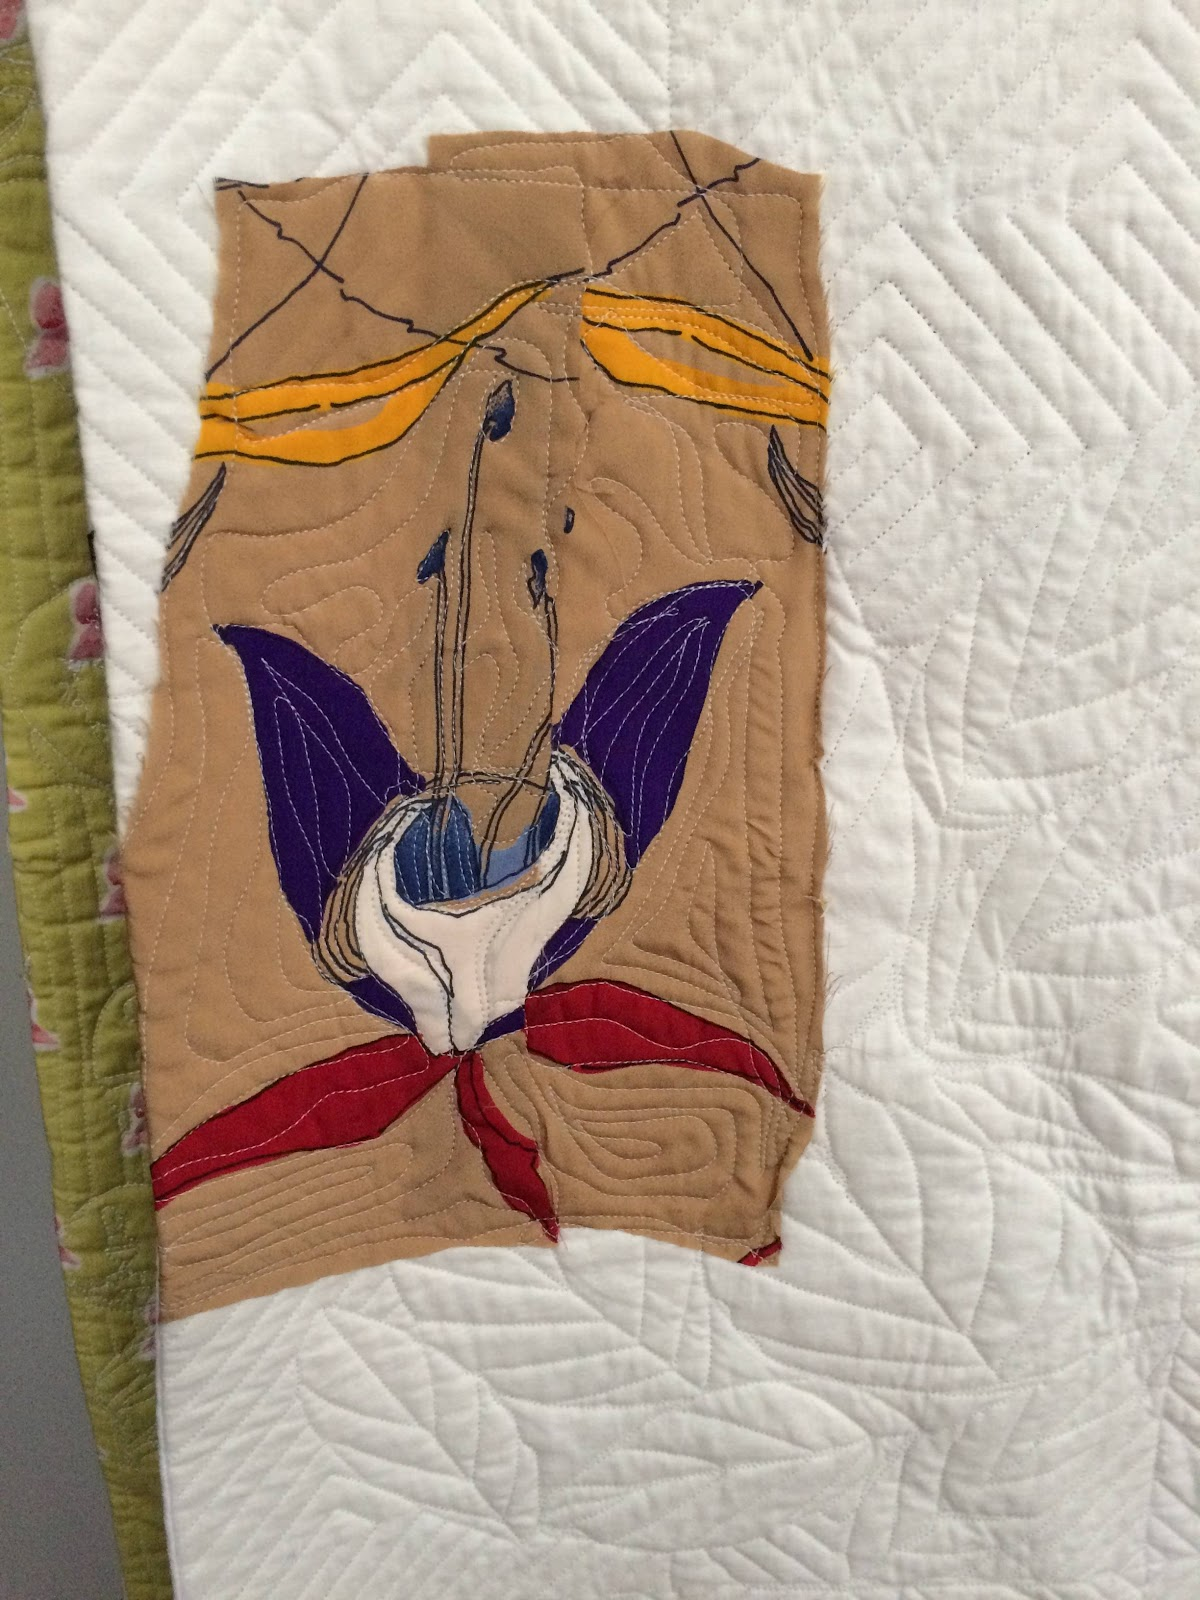
Now, my leftward-cast eyes would have something to focus on.

I had wanted the quilt to be technically crude, to look as if the face were made out of torn pieces of a grocery sack. My concept was to make a face in the opposite way of a beautiful, lifelike portrait, to have it look like one of the rough old utility quilts I have studied so much. But sometimes when I look at it now, I wish it would just go away.
This year, however, the Oulu Museum of Art in Finland invited me to show seven quilts as part of a major exhibit of “significant American quilt artists.” The first one they picked from all the images I sent, was Self Portrait. And I have to admit, it looked right at home on the wall of the museum.
***
Thanks, Joe! To learn more about the Okan Arts Quilt Retreat in November near Seattle, click here. Session 1 is Nov. 8-13, and Session 2, Nov. 13-18. Available space is limited in both sessions.
Quilt. Sew. Live. Breathe


No Comments